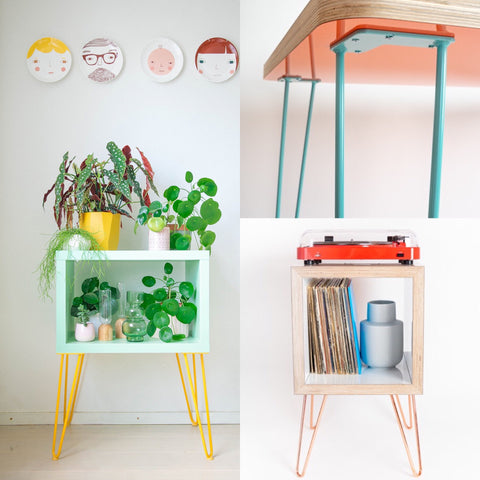
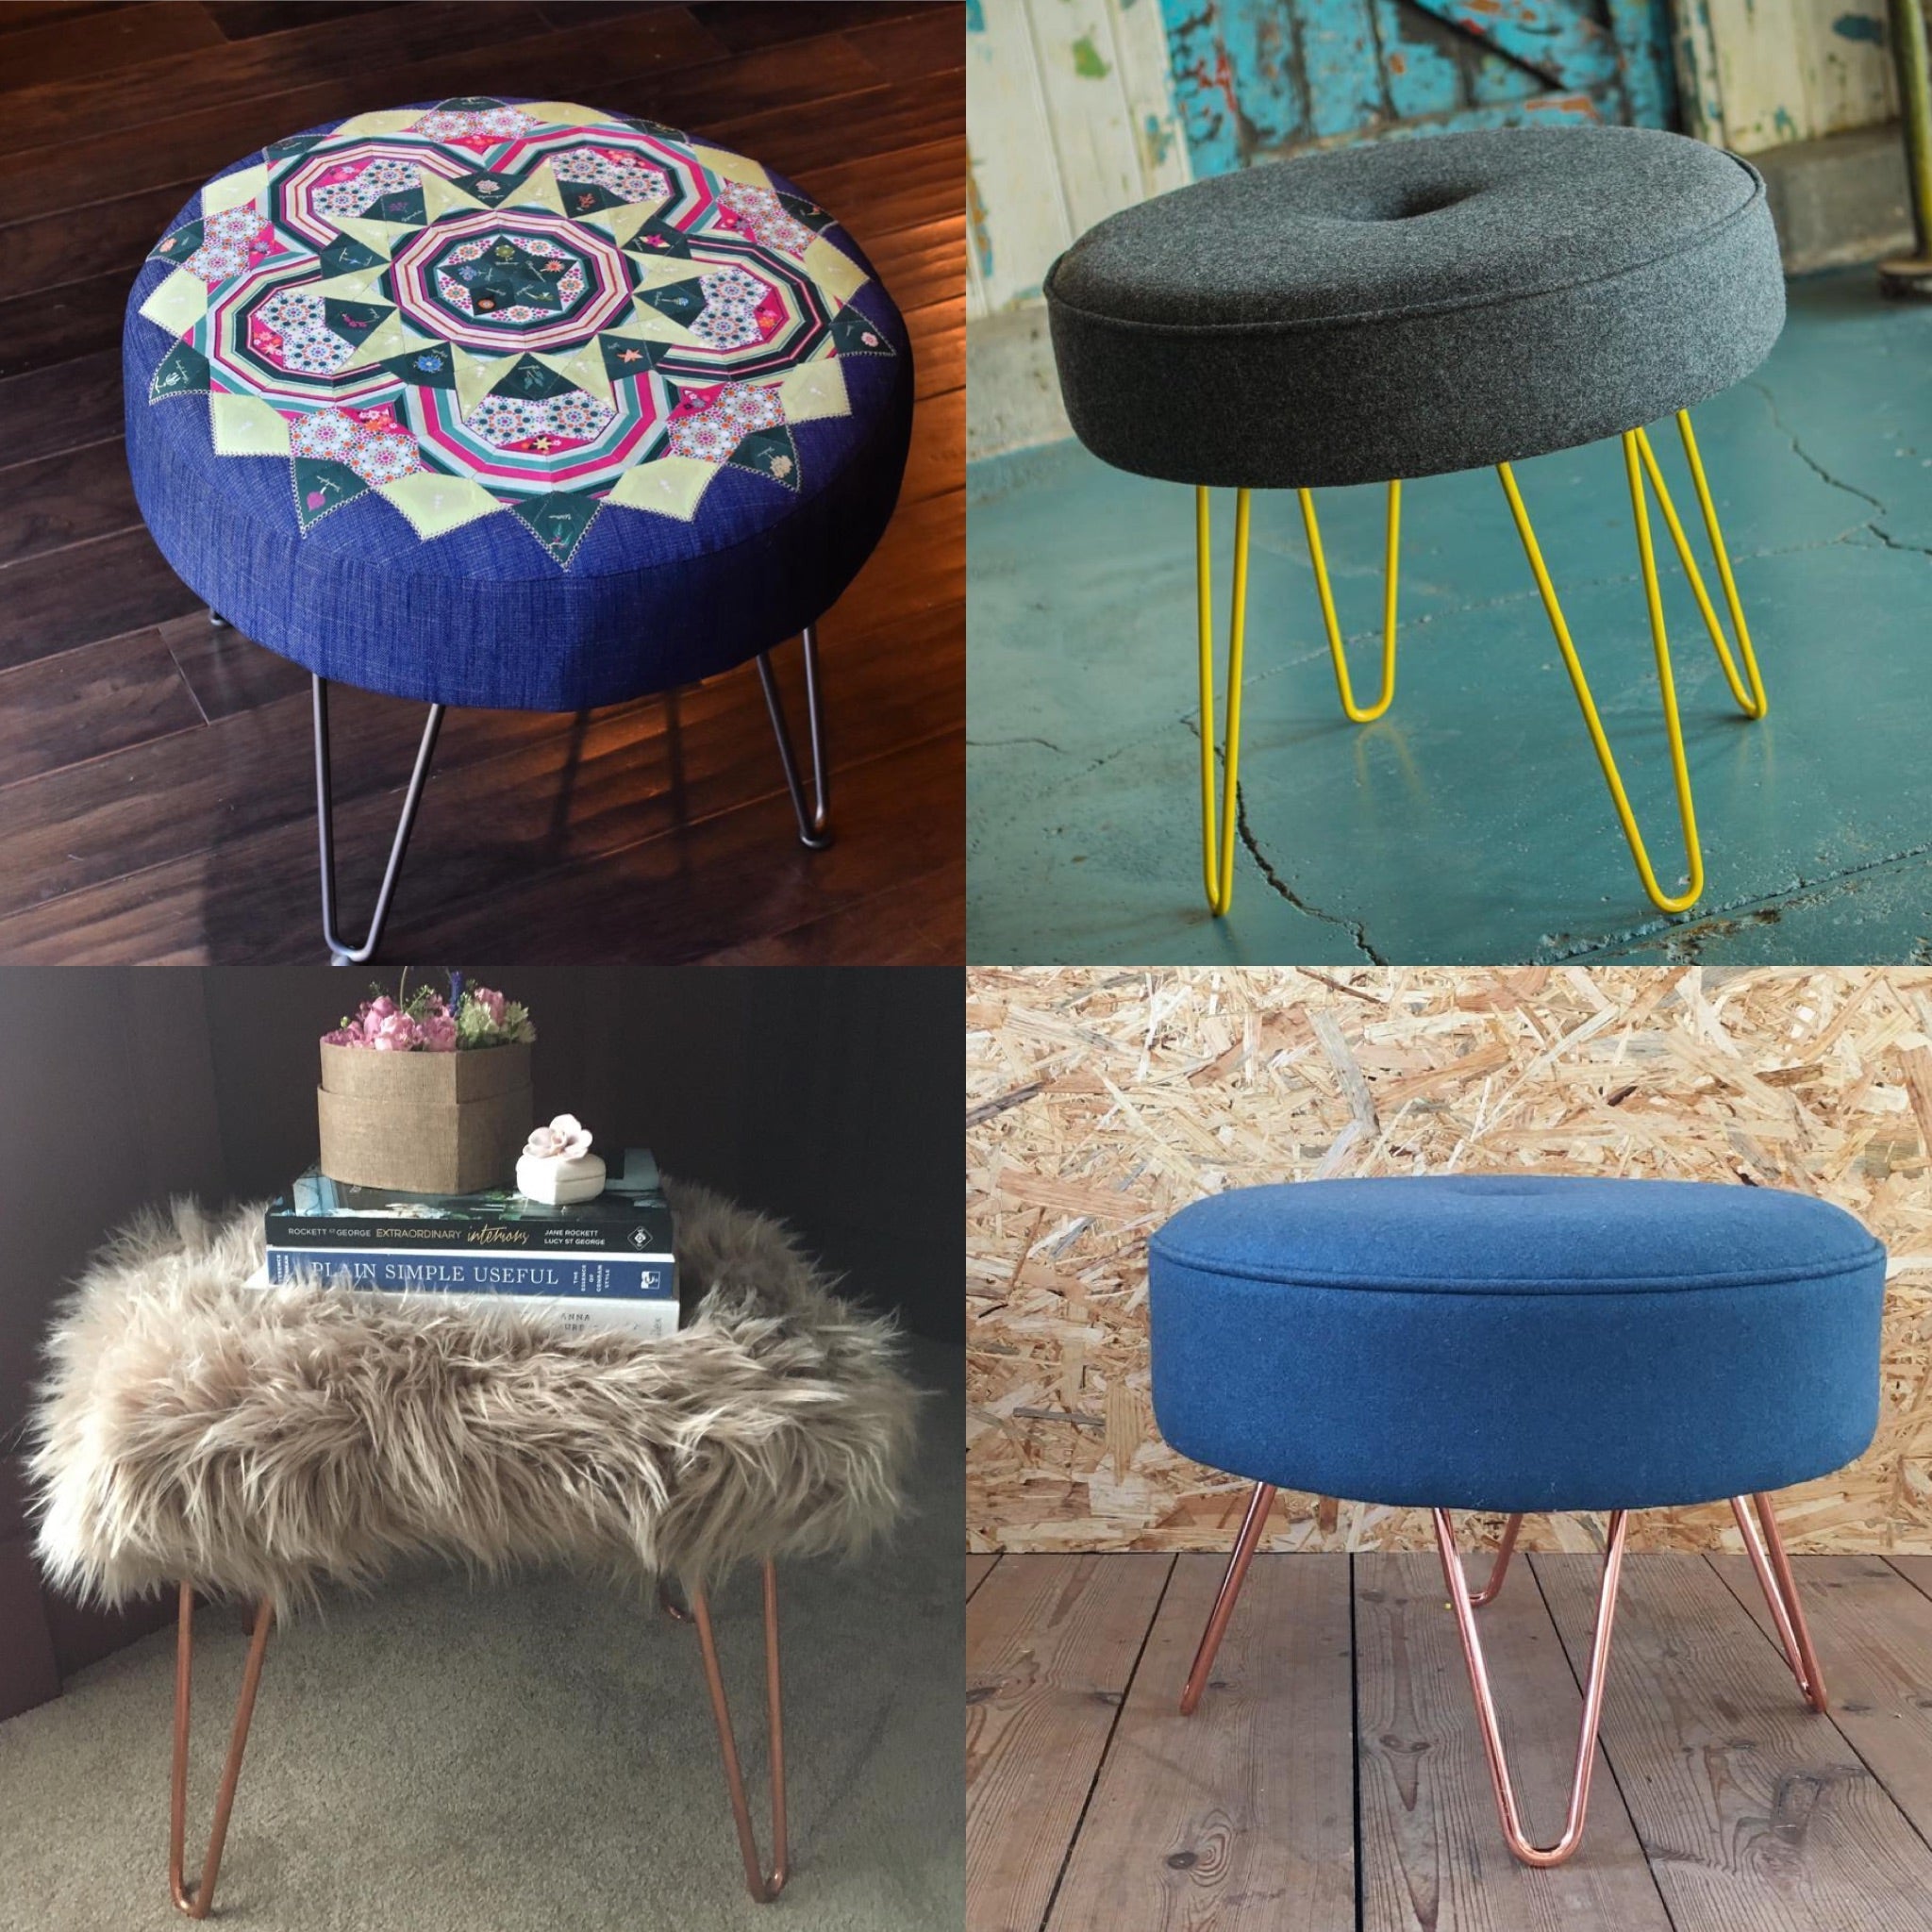
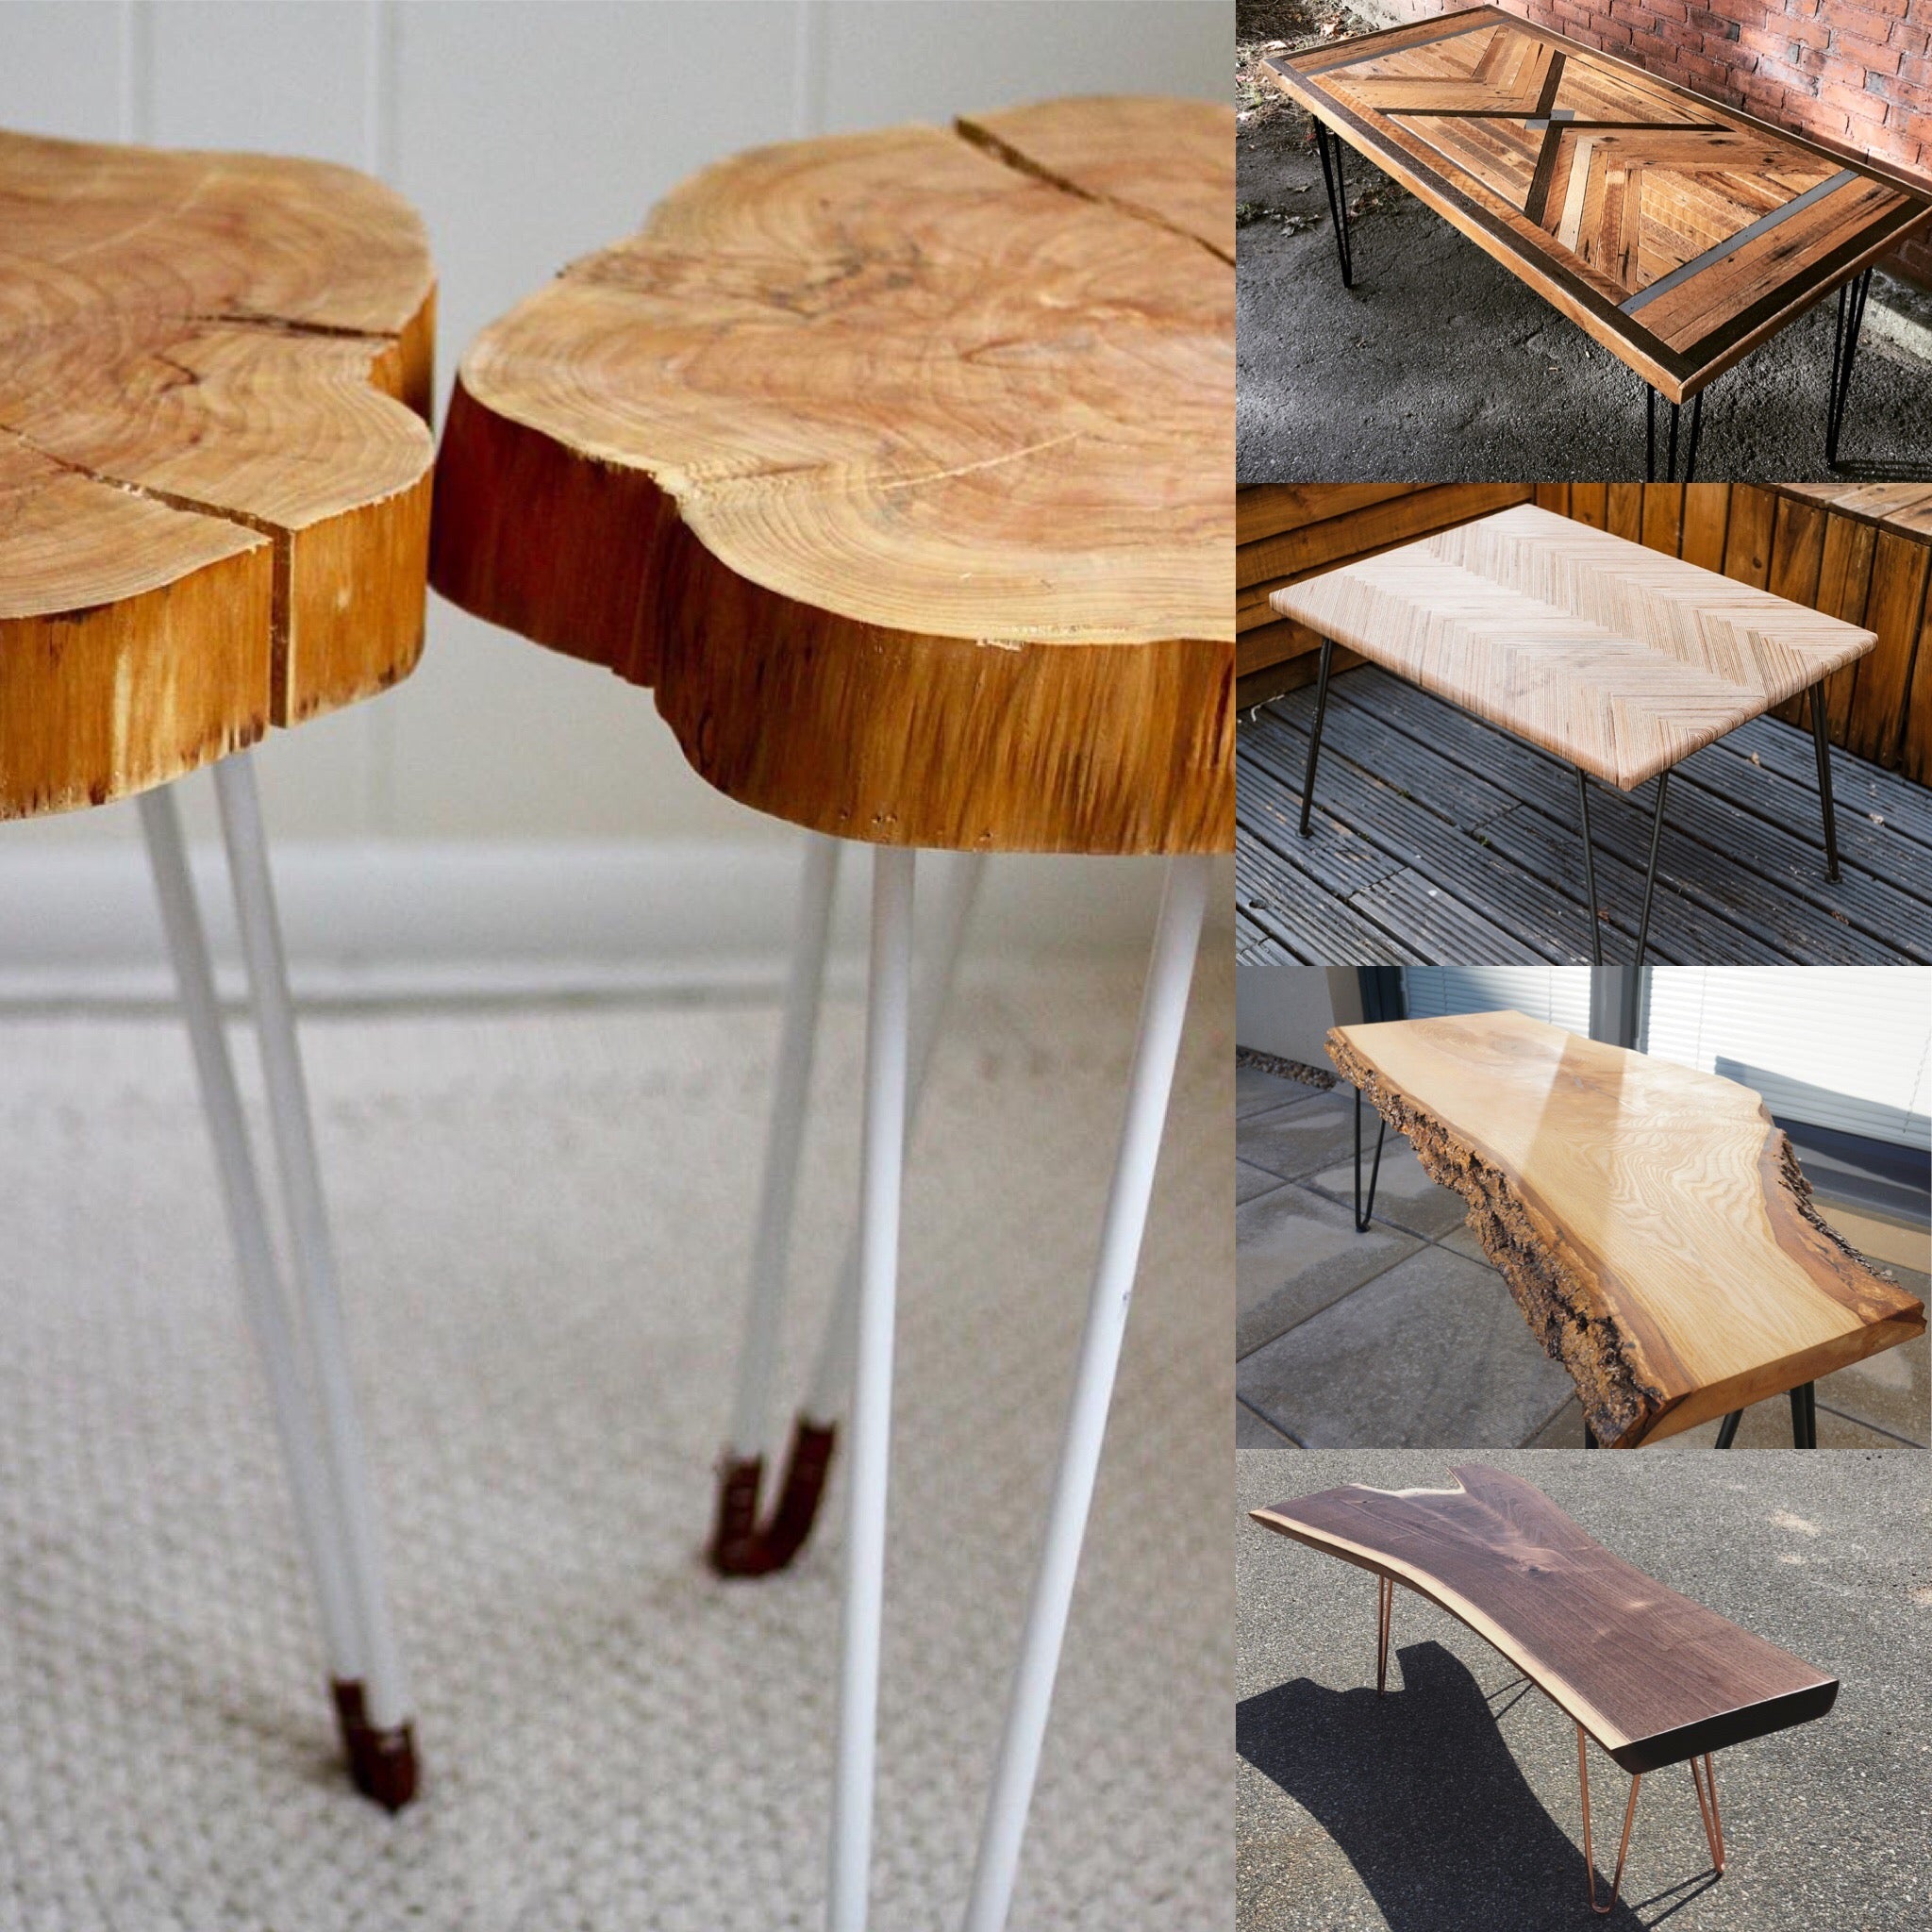
One of the best things about hairpin legs is how easily you can personalise them. Their versatile shapes and colours work wonders on any project – from colourful upcycled storage units, to industrial-style dining tables.
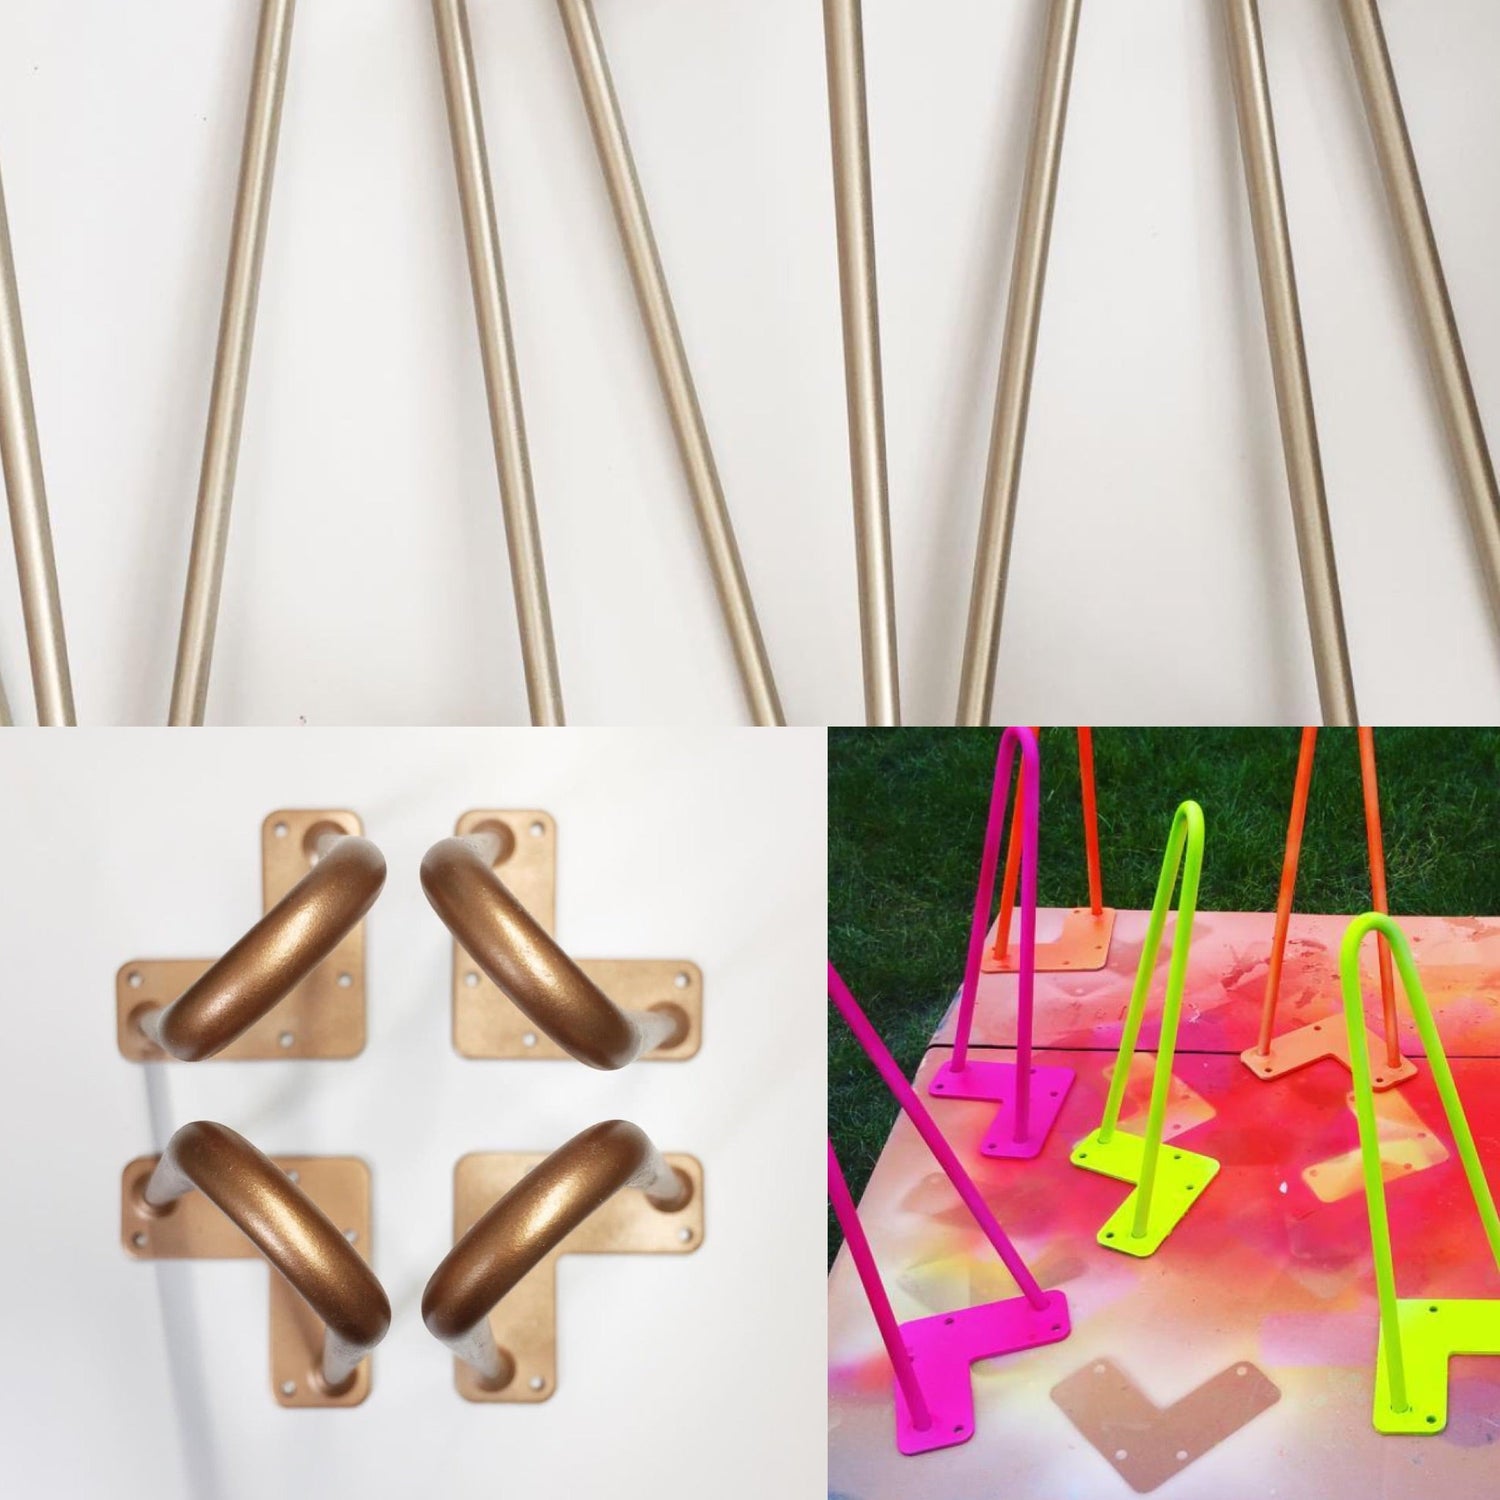
To give you plenty of choice, we make our legs in 13 different powder coats and metallic finishes – including white, pastel green, and industrial brass.
Colourful hairpin projects by @idainteriorlifestyle and @helloretrodesign
But if you want full control of the finished look, you may want to get creative and paint them yourself.
Here’s how to do it properly, so you get a quality, long-lasting result.
Which hairpin legs are best to paint?
Raw steel hairpins will get you the best result. They’re unfinished, so they’re your very own blank canvas.
Cleaning your legs
Make sure your legs are really clean before you start painting them, or your paint won’t stick.
Our raw steel hairpins have a thin rust-resistant coating, which you’ll need to remove.
We find the best way to get it off is to use a little bit of degreaser, such as acetone, and a dishwashing pad.
Priming
Why use primer?
A lot of people skip this step, because it doesn't make much difference visually.
They're missing a trick though, as it makes sure the paint sticks to the steel. You'll want to do it to prevent your paint chipping off over time.
What primer should I buy?
Acid primer in a spray can is our preferred method, as it’s specifically designed for metal. You’ll find it in most car shops, or online.
How to apply it
Apply at least two coats of primer. It’s best to spray it thin, so it doesn’t run. Then, leave it for at least 24 hours. This will ensure your hairpin legs don’t rust under the paint.
Painting
What should I use to paint my hairpin legs?

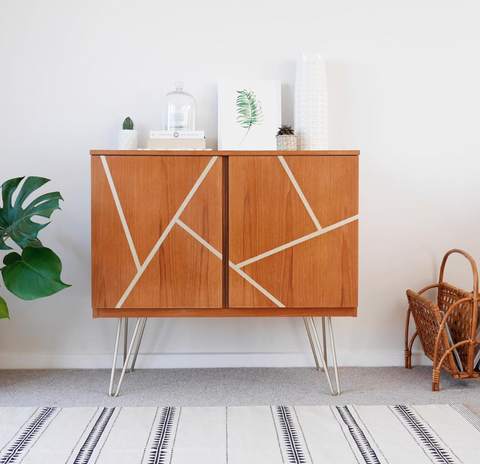
Rustoleum paints are great for a metallic finish, as used by queen of upcycling – @ElizabethDotDesign. They’ll give you a much higher quality finish than cheap rattle cans.
How to apply it
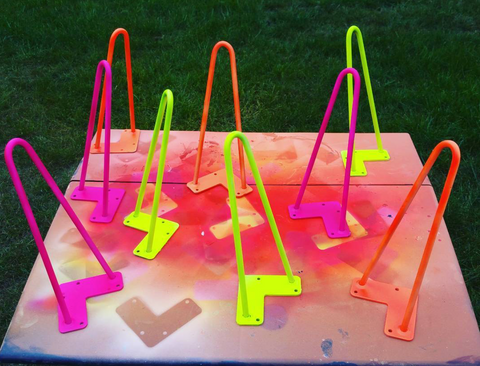
Fluro hairpins, painted by @vintageretrograms
Apply 2-3 thin, even coats – allowing 3-5 hours’ dry time between.
Once you’re done painting, leave your legs somewhere well-ventilated for 24-48 hours.
And when they’re finally dry, you can attach them to your new piece of furniture!
Show us your true colours
We love sharing your creations with our followers, so feel free to tag us @thehairpinlegco when you’re done. You might even inspire us to make a new colour option!
As always, we’re here to help. If you’ve got any questions, give us a shout in the comments below, or contact us.
Happy painting :-)



Leave a comment
This site is protected by hCaptcha and the hCaptcha Privacy Policy and Terms of Service apply.