


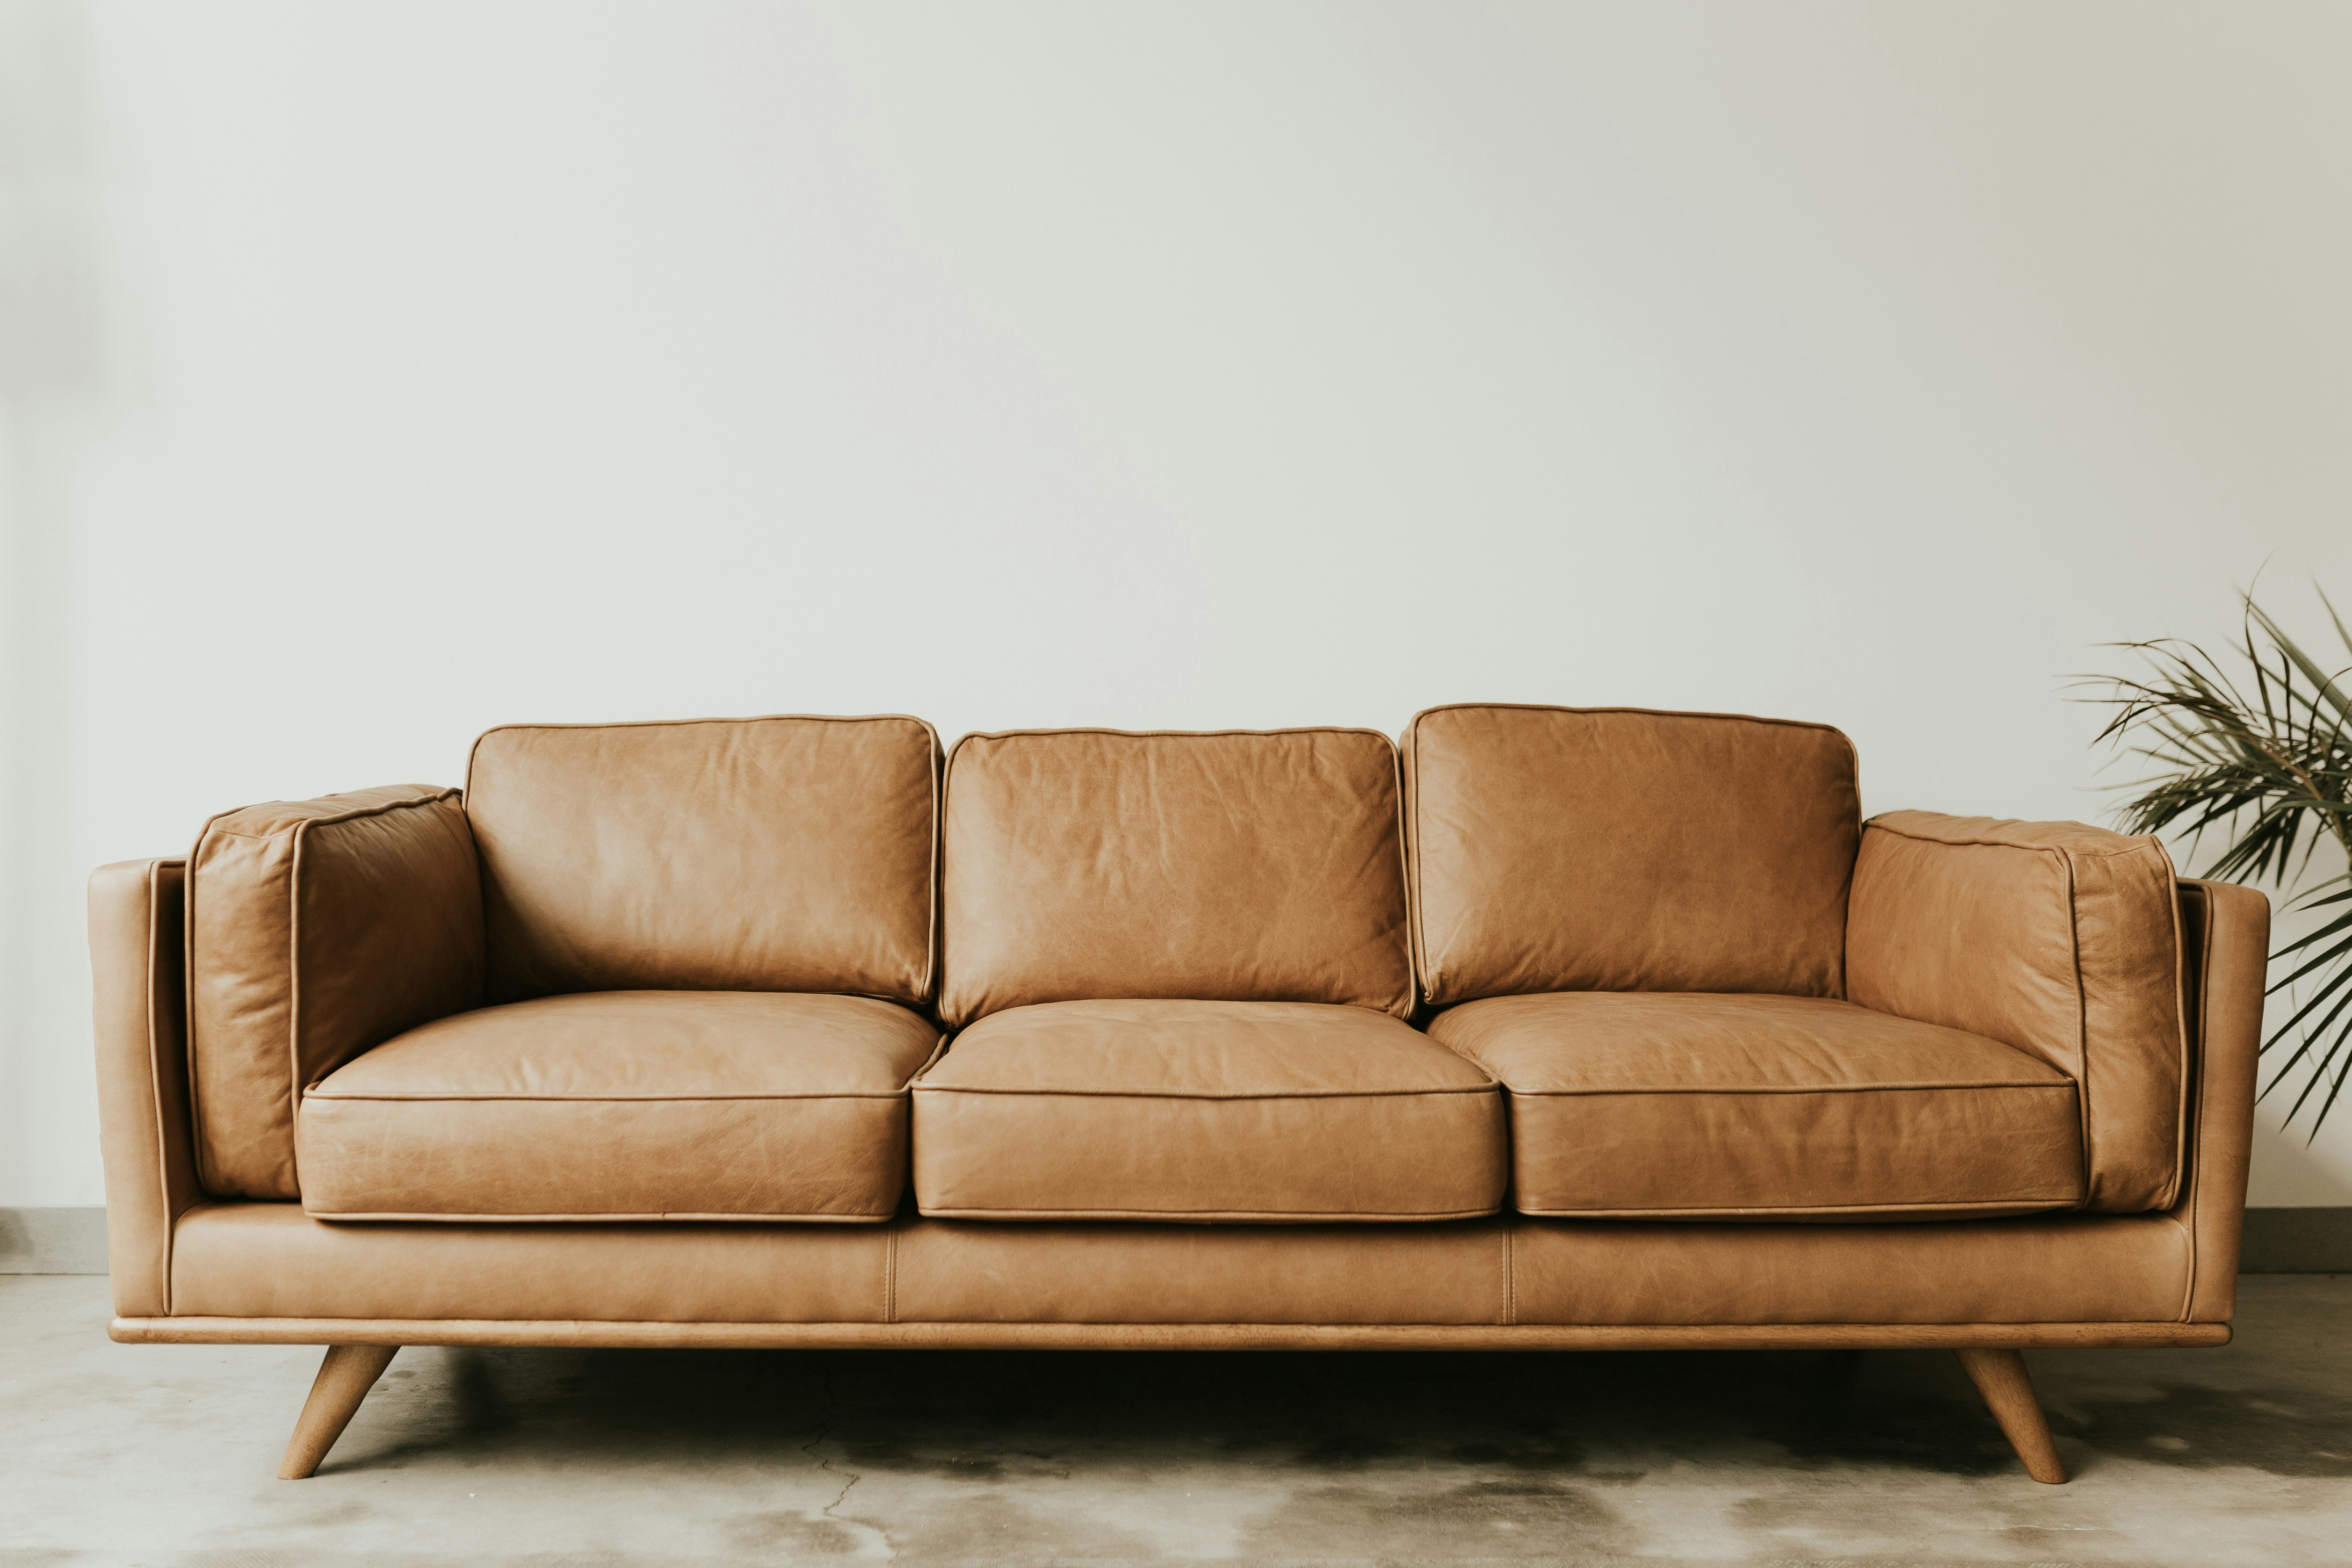
Table legs are not a detail you can overlook, whether you're upcycling an old table or crafting new furniture to sell. They influence the stability, style, and longevity of your creation.
Opting for DIY metal table legs is a compelling choice as you can unleash your creativity and achieve a sense of accomplishment when it’s all said and done. Because so many individuals are interested in metal table legs DIY, we created this guide on how to make metal table legs yourself.
However, we also want you to carefully assess the effort involved and be realistic with yourself about your capabilities. Creating your own table legs can be rewarding, yet challenging. You’re almost always going to be better off saving time and stress and leaving this project to the professionals.
So, if you are wondering where to buy metal table legs to skip to the good part, look no further than The Hairpin Leg Co. Our furniture legs are available in various designs and sizes, and you can rest assured you’re getting a durable, long-lasting solution to elevate your furniture.
Order with confidence today knowing your purchase is backed by our 60-day return policy!
The Role of Table Legs in Furniture Functionality and Aesthetics
Before we dive into our DIY metal table legs guide, it’s important that you realise just how significant the legs are in the first place. They form the foundation for your furniture, thus determining the structure's stability, weight distribution, and overall durability.
A well-crafted set of legs can support considerable weight, allowing tables to hold heavy items without wobbling or collapsing. This ensures furniture not only lasts but also remains safe and reliable. Factors such as the leg angle, joinery quality, and material strength are important for both performance and style.
Beyond their functional importance, table legs contribute to the furniture's design identity. They offer a canvas for creativity, where different materials, shapes, and finishes can transform a simple table into a statement piece.
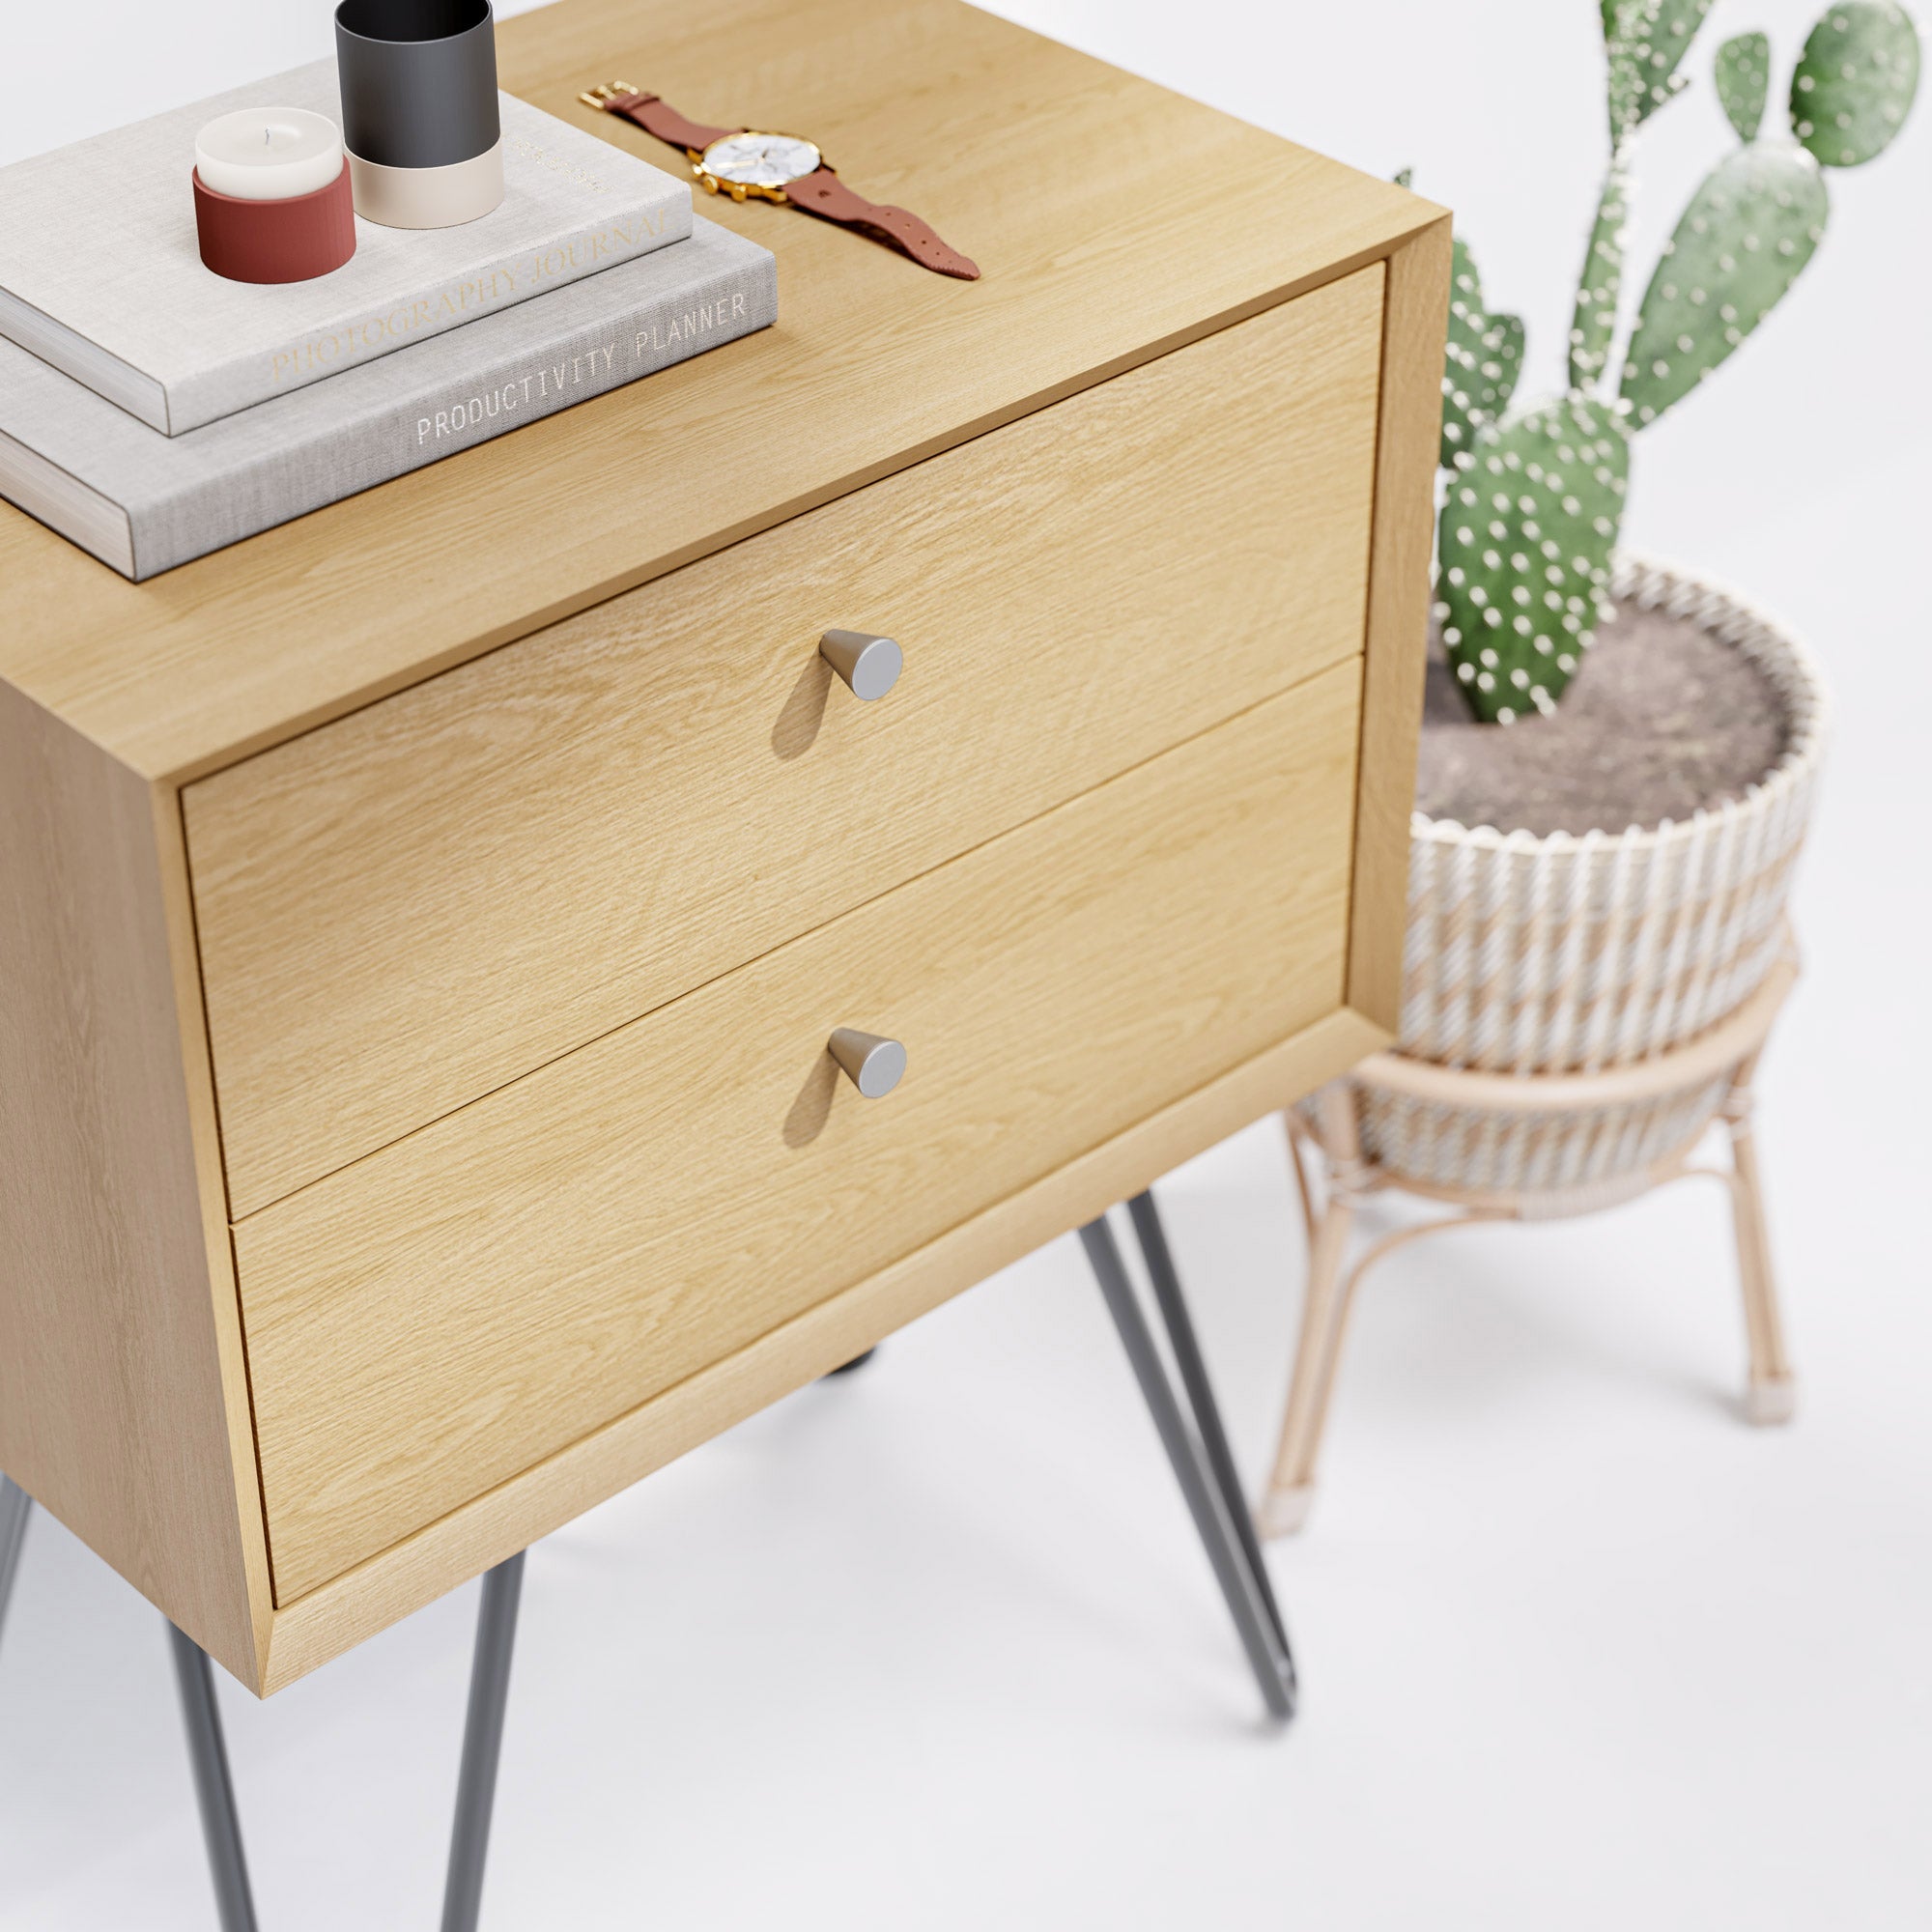
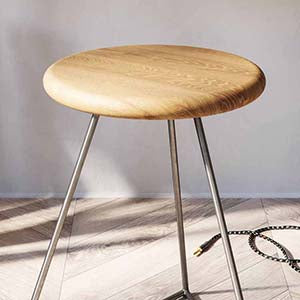
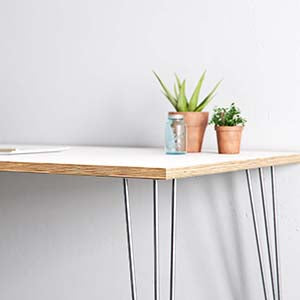
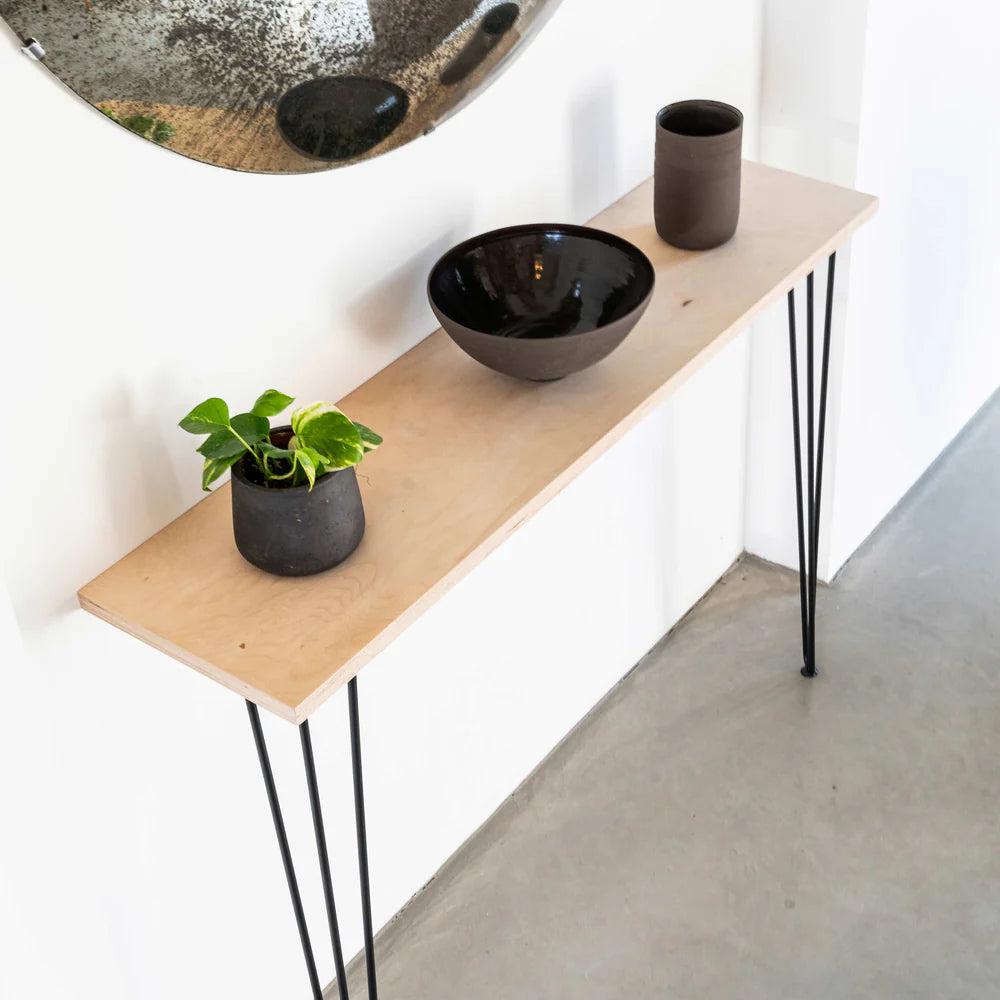
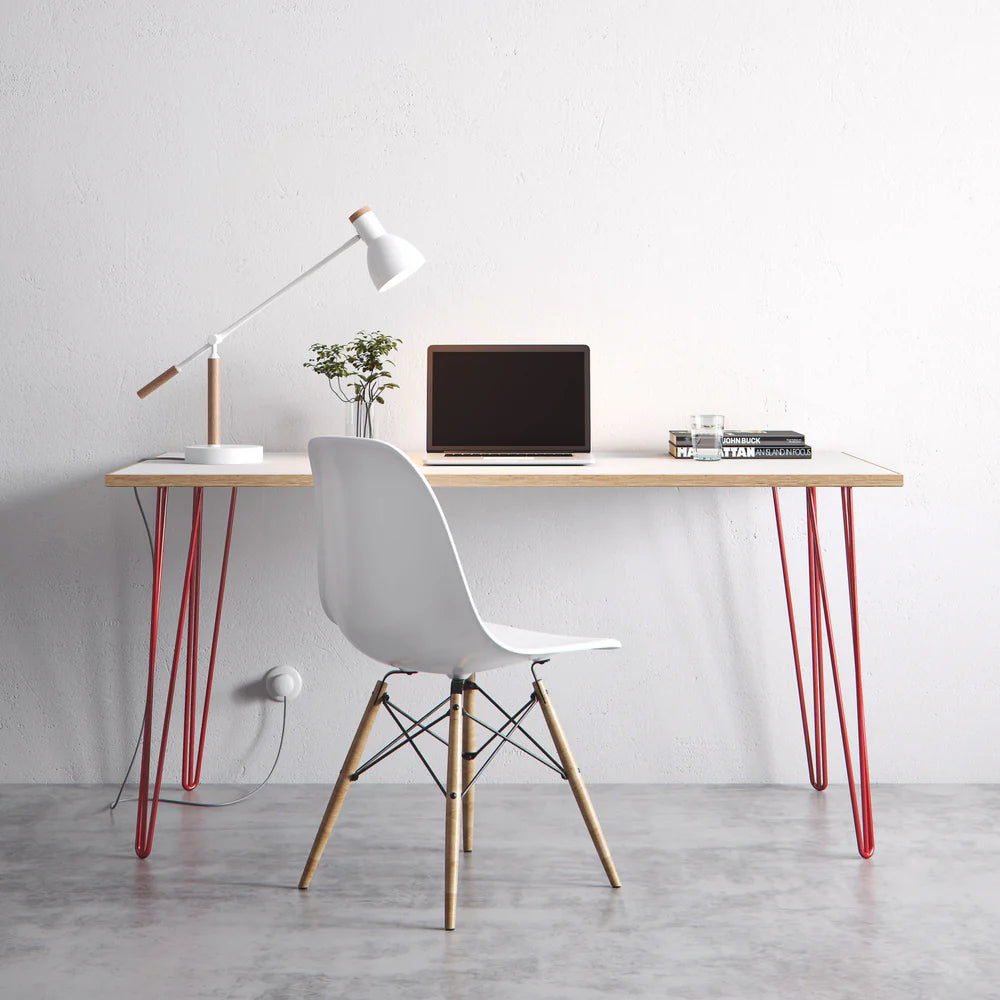
Metal furniture legs, in particular, bring a modern and industrial edge to furniture design, with their sleek lines and shiny surfaces adding a contemporary flair.
The choice of table legs can also influence the perceived space within a room. Slim, tall legs can make a piece seem lighter and less obtrusive, enhancing the sense of openness and flow. On the other hand, thicker and more decorative legs give the room a solid, traditional feel, making the furniture seem more grounded.
How to Make Metal Table Legs: Step-by-Step Guide to DIY Metal Table Legs
The important role that metal table legs play is part of why ultimately, we encourage most individuals to avoid the DIY route and invest in peace of mind at The Hairpin Leg Co. The stakes are high from a functionality and aesthetics standpoint.
That being said, we’ll guide you through how to make metal table legs DIY below if you’re committed to the project!
Designing Your Table Legs
Part of the fun of creating your own table legs is that there are so many different directions you can take from a design standpoint. Remember, though - your design has to marry aesthetics with functionality. Otherwise, what’s the point? You’ll end up with an unsafe table.
First, consider the table's intended use and the weight it needs to support. For dining table legs, you might want taller, sturdy legs, while coffee table legs can be shorter and possibly more decorative. Whatever the case, consider these important factors:
- Dimension Planning: Measure the height, width, and length of your tabletop to ensure the legs will be proportionate and provide balance. The standard height for dining tables is around 71-76 cm, whereas coffee tables usually stand at about 40-50 cm.
- Style Consideration: Decide on a style that complements the table top and the room’s décor. From sleek, minimalist designs to intricate, industrial styles, the shape and detail of the legs can significantly impact the overall look.
- Load Bearing: Calculate the weight the legs must support, including the tabletop and anything that will be placed on it. This calculation guides the material thickness and leg structure to ensure stability.
If you’re looking for inspiration, don’t forget that the best table leg designs await you at The Hairpin Leg Co. Even if you’re sold on making your own metal table legs DIY, you can get some ideas by browsing our catalogue!
Materials and Tools Required
Material selection is just as important as your leg design, if not more so. It influences stability and functionality along with longevity. So, what metal is used for table legs?
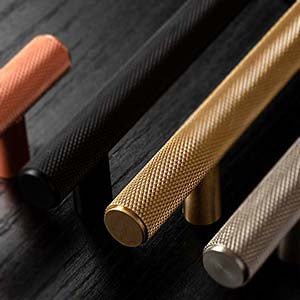
Common metals used for table legs include steel and aluminium, chosen for their strength and workability. Consider the finish of the metal, such as raw, powder-coated, or painted, to match your design vision.
Beyond the raw materials you’ll also need certain tools and equipment to bring your vision to life. This is typically the biggest barrier to entry, as you may not have a welding machine, metal saw, or angle grinder.
However, these are essential to cut the metal to size and a file or sander to smooth edges. Precision in cutting ensures the legs fit together perfectly. You’ll also need to make sure you have the right type of welder for your material, with MIG welders being a popular choice for steel and aluminium.
Don’t forget the safety gear, of course. You’ll need protective clothing, gloves, and a welding helmet to prevent injuries from sparks, heat, and ultraviolet light during welding. Once you have a vision and the essentials, it’s time to get to work!
Overview of the Fabrication Process
This is where the real work begins. Creating welded DIY metal table legs is a complex process that requires precision, attention to detail, and a bit of elbow grease. Here’s how it works:
- Measurement Accuracy: Begin with exact measurements of each leg piece based on your design to ensure the table will be level and stable.
- Cutting Technique: Use a metal saw or angle grinder for cutting. For straight cuts, a chop saw or bandsaw provides better accuracy and cleaner edges. Check each piece for accuracy in length and angle after cutting to prevent issues during assembly.
- Shaping and Bending: If your design calls for shaping/bending, like the hairpin legs style, you can employ a few different techniques. Gentle curves can often be shaped by hand or with basic tools, while sharper angles or consistent curves might need a metal bender or brake press. Consistency is key here or you’ll end up with a rocky table.
- Welding: Your table legs will likely consist of multiple pieces welded together. Start by dry-fitting the pieces together to check alignment and fit. Adjust as necessary before welding to ensure that all parts will come together correctly. Then, carefully execute the weld and inspect all joints for strength and completeness. Grind down welds to a smooth finish, ensuring they're not only strong but also aesthetically pleasing.
- Surface Preparation: Smooth the metal surface with sanding or grinding to prepare for finishing. This step ensures a professional appearance along with proper adherence of your chosen finish.
- Painting or Coating: Apply a primer followed by the chosen finish, whether it's paint, powder coating, or a clear coat. This not only enhances the appearance but also protects the metal from corrosion and wear, which is especially important for outdoor table legs.
And there you have it - you’ve made your own DIY metal legs for a table! That being said, we still need to talk about how to attach table legs.
Attaching Your New Table Legs
Prepare your tabletop surface with a quick cleaning. Then, position the legs in their exact location for attachment, marking the spots for drilling.
Follow this up by actually drilling the holes in the tabletop according to your leg attachment points. You need to make sure you use screws or bolts suitable for the tabletop's material and the leg's design to secure the legs in place.
When it’s all said and done, check the table for stability, adjusting the legs if necessary to address wobbles. Add floor protectors to the leg bottoms to prevent scratching and reduce noise when the table is moved.
You can learn more about the best way to connect table legs in our blog if you’re interested. But before we wrap up this guide on how to make metal table legs, let’s talk about whether or not you should actually go through with this project.
Are DIY Metal Table Legs Worth the Work?
Deciding whether or not to craft metal table legs DIY involves weighing the benefits against the challenges. While we recognise how rewarding this project can be, it is important that you set your expectations and are realistic with yourself.
Benefits of DIY Metal Legs for Table
One of the main advantages of DIY metal legs for a table is the ability to tailor them to your specific design and size requirements. This level of customisation ensures that the final product perfectly matches your vision and the space it's intended for.
The other primary benefit is the cost side of things. While high-quality metal table legs aren’t necessarily going to break the bank, maybe you are trying to be as resourceful as possible. If you already have the tools and equipment on hand and have access to cheap (or free) materials, you can save some money.
Plus, those who have access to the essentials for crafting DIY table legs from metal may benefit from practicing their skills through this project. You can refine valuable metalworking skills such as cutting, shaping, and welding.
Challenges and Limitations in Making Your Own Legs
All the benefits aside, the harsh reality is that the DIY metal table legs project is not for everyone. In fact, most people should leave it to the professionals - here’s why:
- Technical Skill Requirement: Metalworking demands a certain level of technical skill and understanding, including proficiency in using tools and equipment safely and effectively. Beginners may find the learning curve steep.
- Equipment and Space: Fabricating metal requires access to specialised tools and a suitable workspace. The cost of purchasing equipment and the space needed for fabrication can be significant barriers.
- Time Investment: Crafting table legs is a time-consuming process. Design, fabrication, and finishing can take considerably longer than anticipated, especially for those new to metalworking.
- Quality and Durability Concerns: The last thing you want is to spend your time and resources on this project only to realise that your end result is less than satisfactory. You’ll end up with a table that serves its purpose poorly, or worse - is flat-out unsafe. You may be back to square one looking for replacement legs before you know it.
- Stress and Hassle Reduction: By entrusting the job to professionals, you avoid the stress and hassle of the DIY process, including the potential for costly mistakes and the need for redoing work.
Ultimately, only you can decide if the project is worth taking on or not. But if you determine you’d rather skip to the good part where you’re just installing the most beautiful, stable, long-lasting table legs on your furniture, head over to The Hairpin Leg Co.!
Skip the Hassle of Metal Table Legs DIY and Trust The Hairpin Leg Co. for Unparalleled Quality!
The best metal table legs are just a click away at The Hairpin Leg Co., where you’ll find a stunning selection of designs for any project you’re working on - whether you’re a DIYer or a professional. With over ten years in the business, our experience shines through in every product we create.
Our metal table legs are primarily made from steel, ensuring durability and strength. Each leg is coated to promote longevity, with options like sleek coloured powder coats, or a clear coat for an industrial look, maintaining aesthetics without succumbing to rust.
These special coatings like real metal brass, copper, chrome, and bright zinc not only enhance the look but also ensure suitability for both indoor and outdoor environments (zinc is the only outdoor appropriate material we offer).
You gain access to an extensive range of sizes from 10cm to 102cm, accommodating everything from coffee tables to tall bar tables. You can even narrow your search based on style, whether you’re looking for the best dining table legs, bar table legs, industrial table legs, scandi table legs, or anything in between.
Enjoy the convenience of free delivery across the UK for orders over £50. Plus, with our hassle-free 60-day returns policy, your satisfaction is guaranteed.
We're here to support your creative journey. Get in touch to discuss your specific project needs as we wrap up our guide to making metal table legs DIY and we'll help you find the right solution!
Wrapping Up Our Guide to Making DIY Table Legs From Metal
That does it for today’s guide on how to make metal table legs. As you can see, this project requires a blend of art and precision engineering for a successful end result.
While the DIY route offers customisation and skill-building opportunities, many of the challenges will leave the inexperienced overwhelmed, frustrated, and ultimately, disappointed. If you feel confident in your abilities to make metal table legs DIY, great! Best of luck. If not, remember that the quality solutions your furniture deserves are just a click away.
Our blog has additional resources on how to change dining table legs, how to restore metal table legs, how to make hairpin legs without welding, the standard desk leg height, and more.
Otherwise, if you’re ready to buy table legs in the UK, it’s time to explore our offerings at The Hairpin Leg Co. and see firsthand what has earned us the trust of DIYers and professionals since 2013.
Shop today to avoid the stress and hassle of welded DIY metal table legs and enjoy beautiful, functional, long-lasting furniture!
Leave a comment
This site is protected by hCaptcha and the hCaptcha Privacy Policy and Terms of Service apply.