


Hairpin legs have become a staple in modern furniture making with their sleek and elegant design. They blend minimalism with a mid-century vibe, appealing to both DIY enthusiasts and design aficionados.
However, not everyone has the skills or tools for welding, the ideal method for making hairpin legs. In this article, we'll explore some options to achieve a hairpin leg effect without welding - a challenging yet rewarding DIY project.
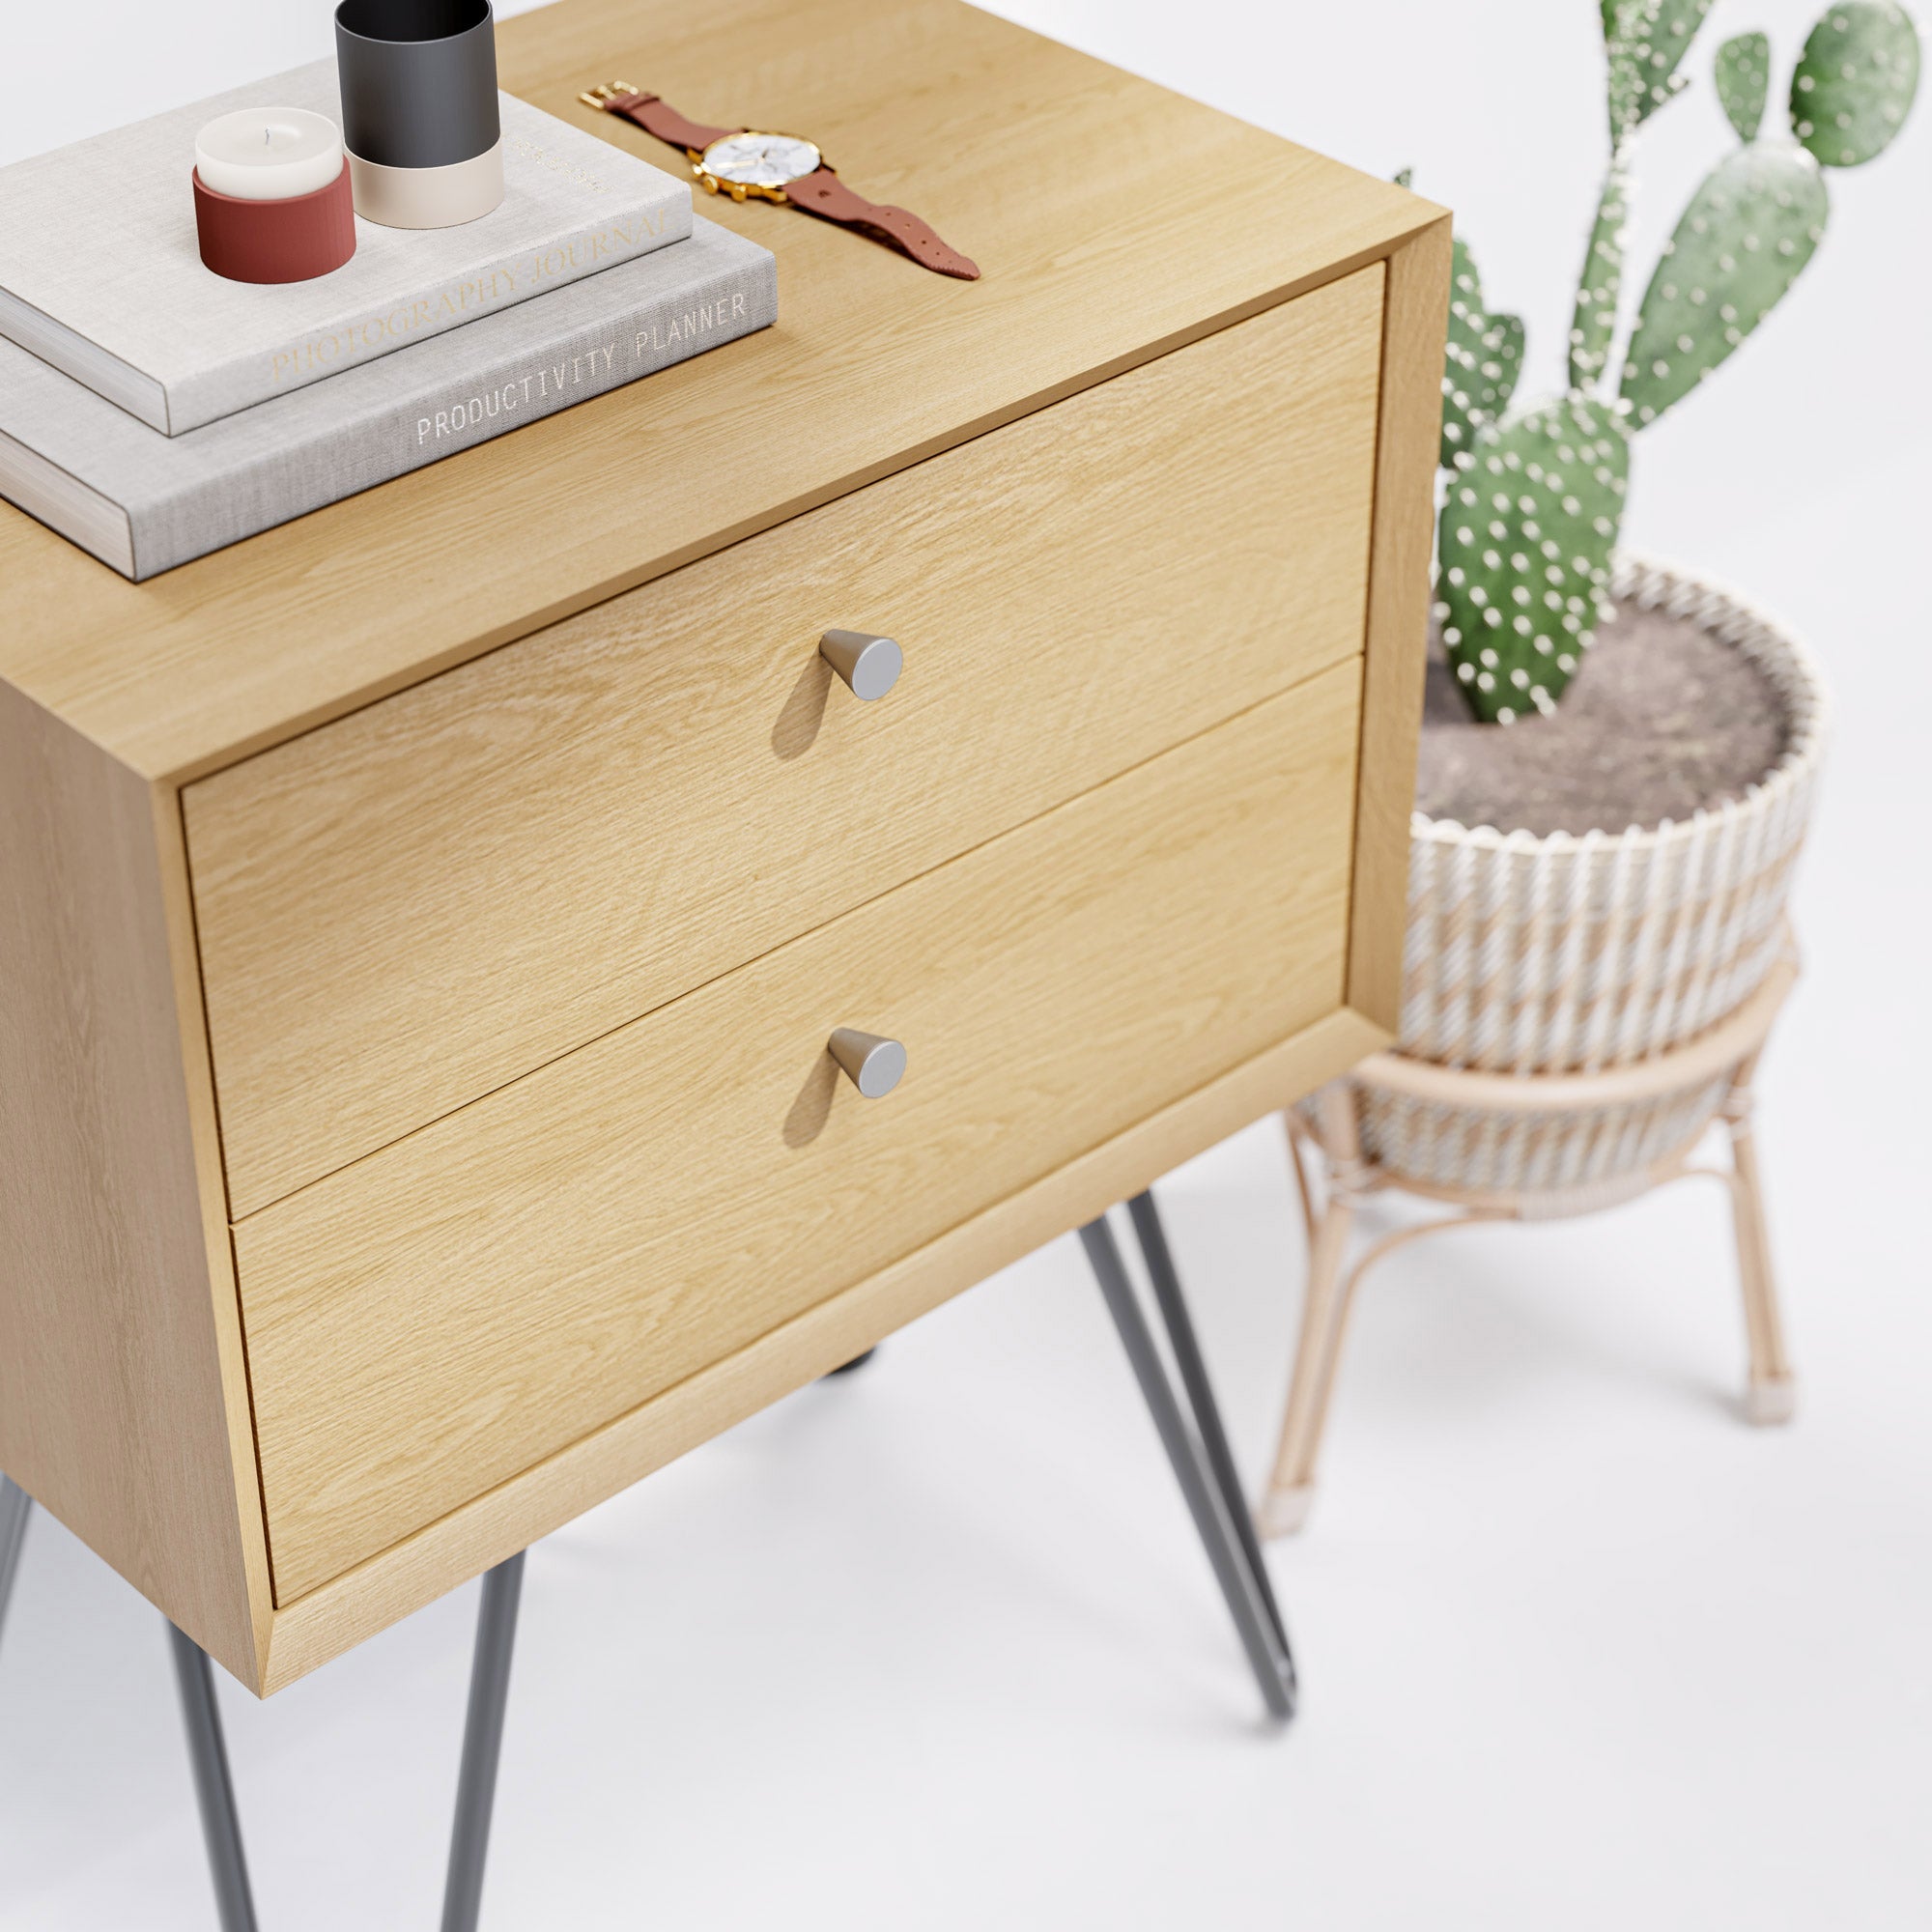
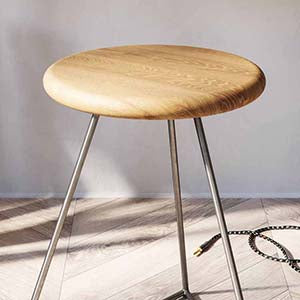
Do note that these kinds of DIY hairpin legs, without welding, do have a limited use case, although can be good for decorative projects. This could include a plant stand or in some cases a very small side table.
Ultimately, though, if you plan to use these legs for furniture you’ll want something more robust. The Hairpin Leg Co. offers a stunning selection of ready-made hairpin legs when strength and stability are important.
These are made for makers, whether you’re building furniture to resell it or you just want to spruce up some of your existing furniture around the house or office. Browse our styles and discover why our furniture legs are the most sought-after in the UK and globally!
Why We Love Hairpin Legs
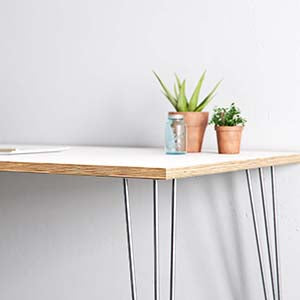
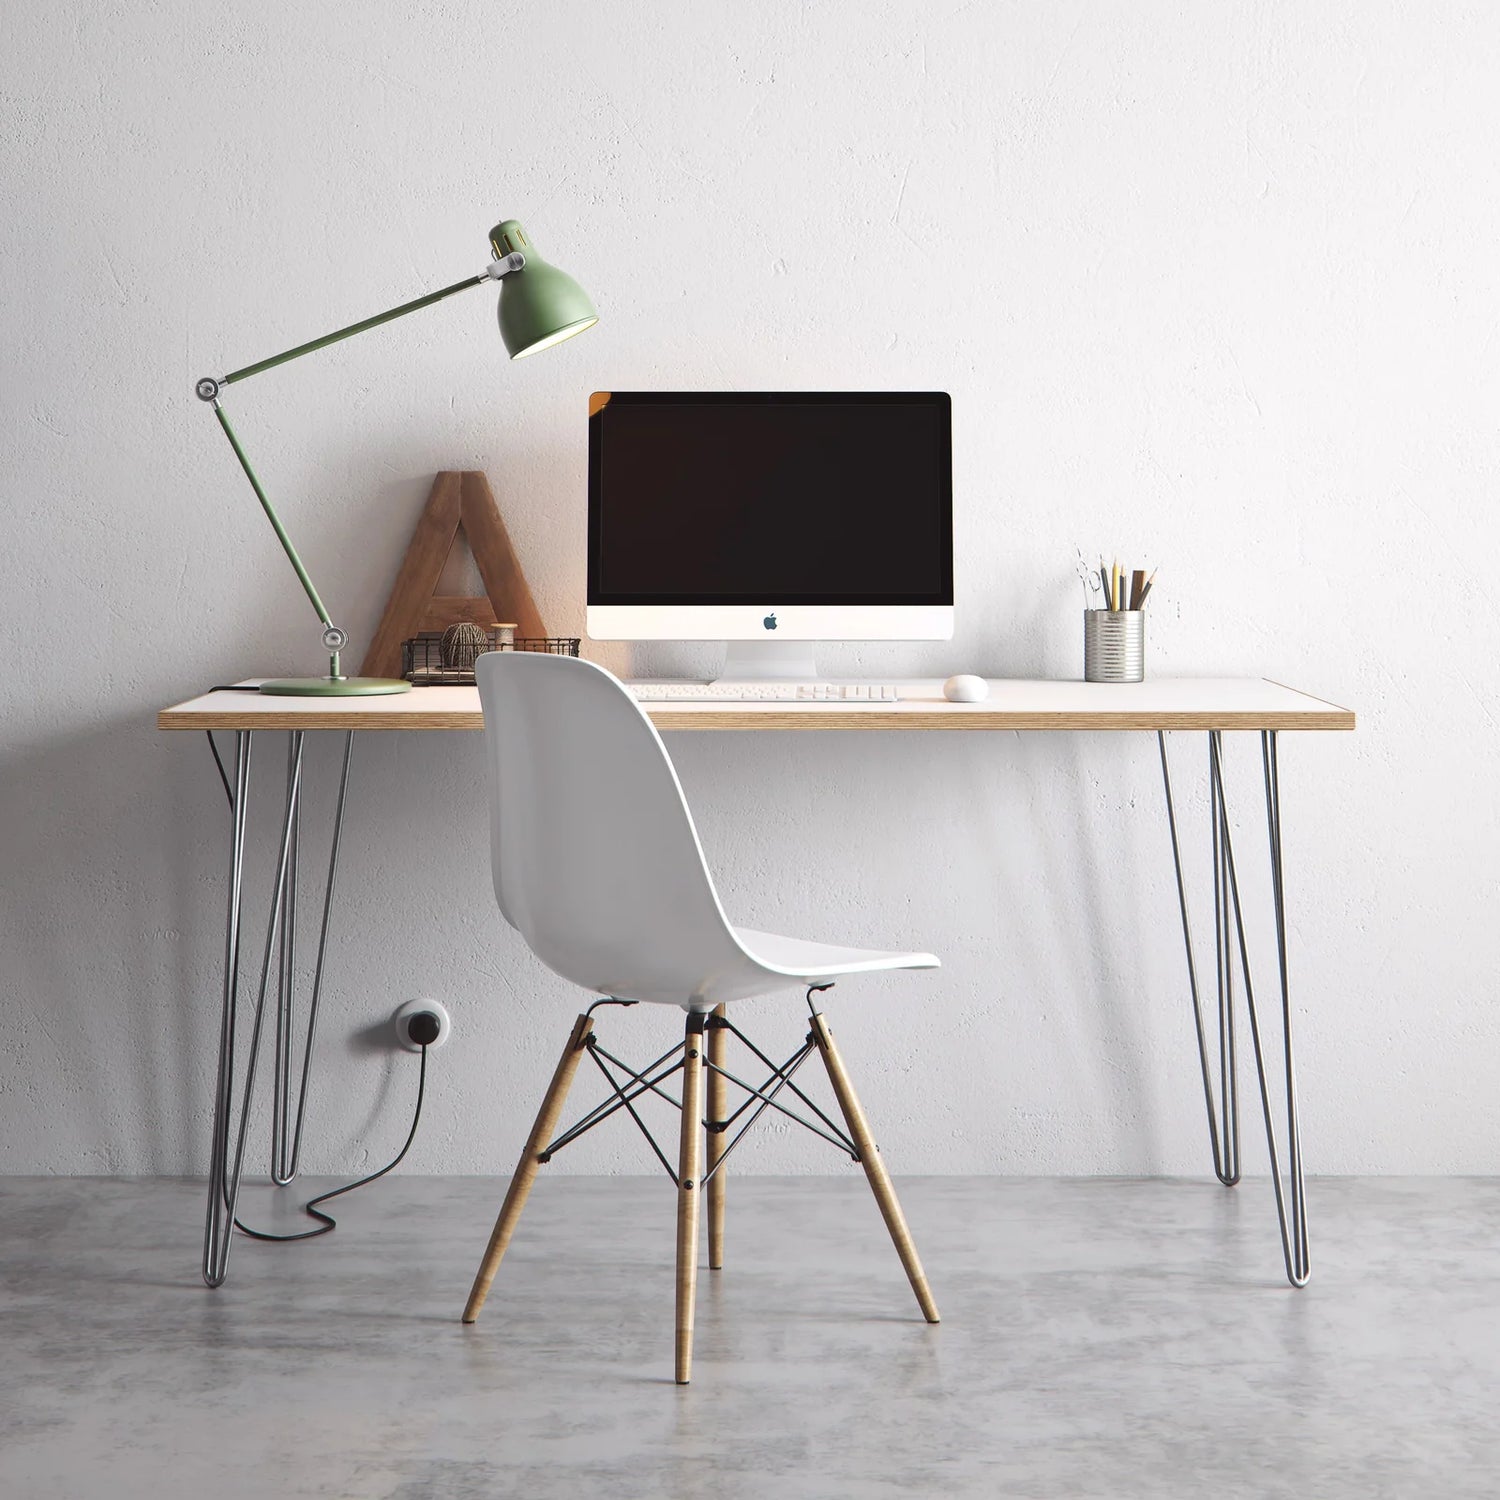
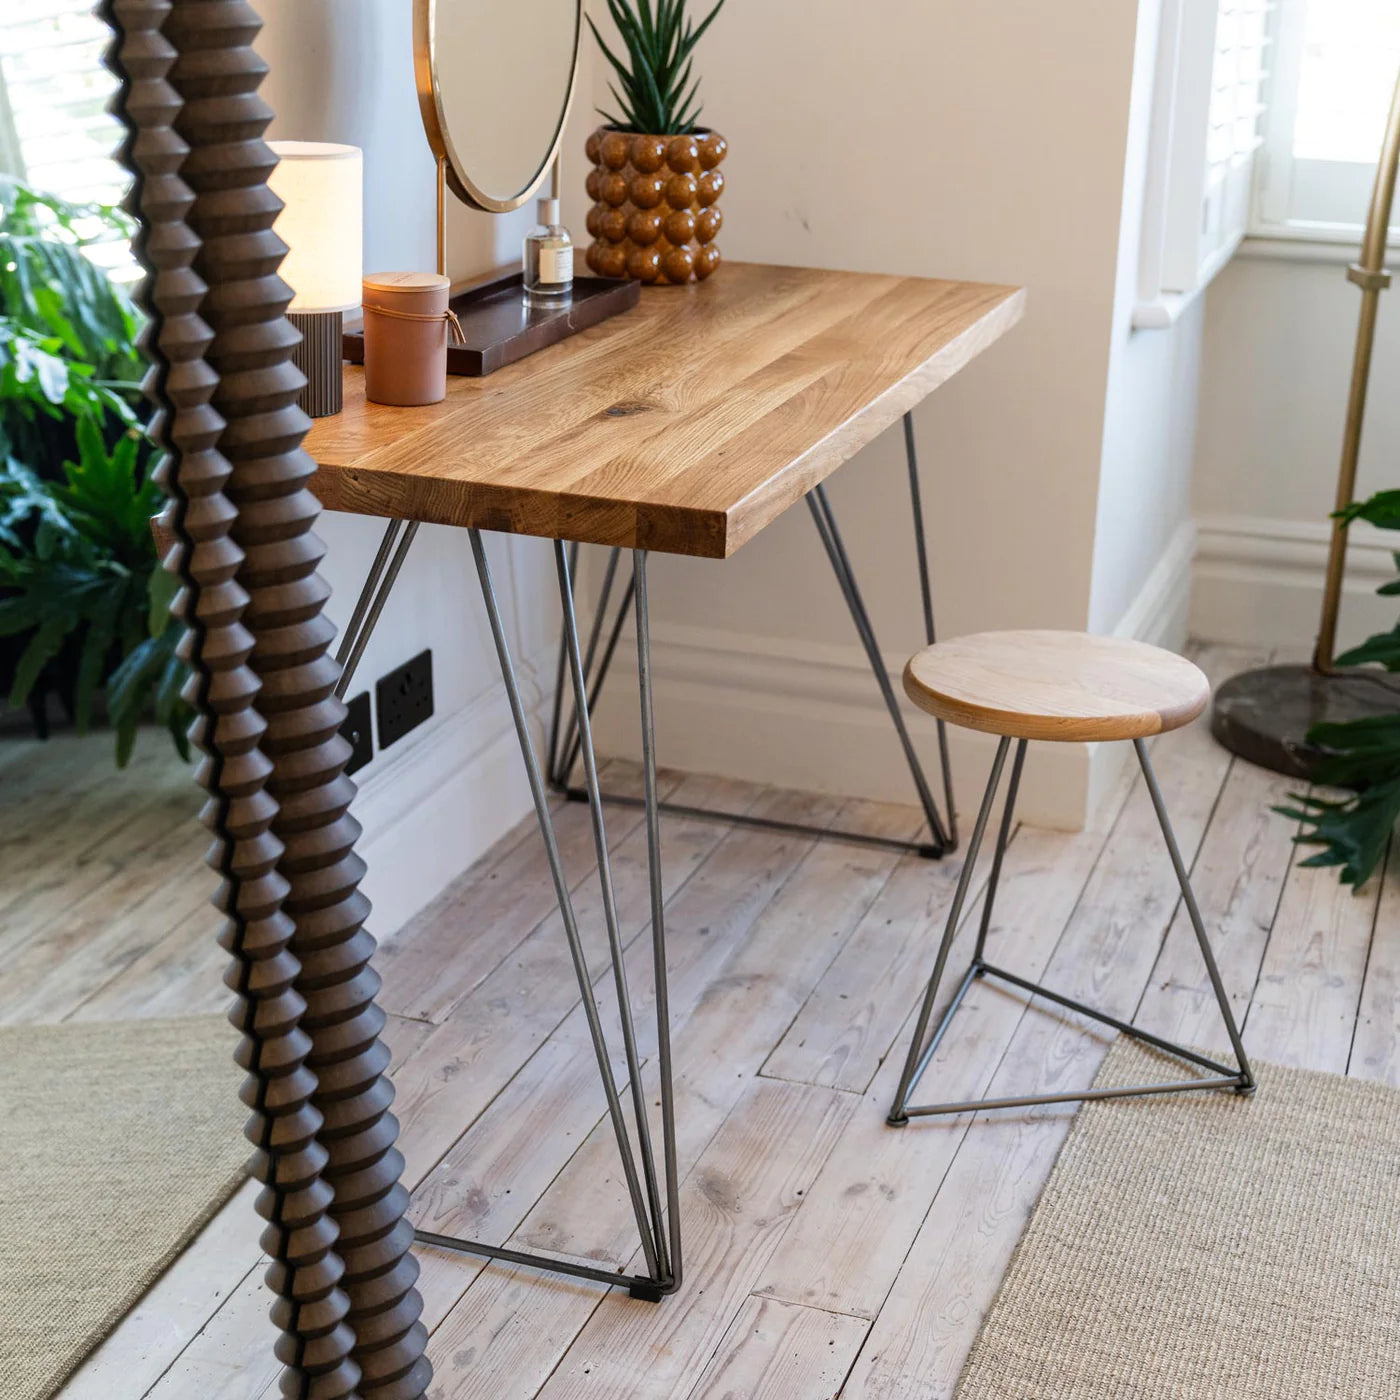
The allure of hairpin legs lies in their timeless elegance and versatility. But what are hairpin legs? These slender, yet robust, supports are a nod to the classic mid-century design, seamlessly blending into both contemporary and traditional decor.
Their clean lines and industrial charm elevate any piece of furniture, offering a sleek silhouette that is both understated and statement-making.
The genius of hairpin legs is in their simplicity. They are an artful expression in metal that transforms wood planks or even reclaimed materials into chic, functional furnishings.
This is why hairpin legs continue to capture the imagination of designers and DIYers alike. Speaking of which, why would you want to make your DIY hairpin legs instead of purchasing a professional set from a company like us?
The Desire for DIY Hairpin Legs
Embracing DIY hairpin legs is a great opportunity to express your creativity and achieve personalisation in your furniture.
For the spirited DIYer, the process of making hairpin legs is a hands-on way to imbue a piece of furniture with individuality and pride of craftsmanship. It's the joy of turning a vision into reality with one's own hands.
Choosing the DIY route allows for customization that can't always be found in pre-made products. From selecting the perfect metal finish to adjusting the leg height for a bespoke fit, DIY offers a tailored experience.
Moreover, there's a sense of accomplishment and sustainability in repurposing materials and reducing waste. We love upcycling here at The Hairpin Leg Co.!
For those with a passion for learning new skills and the drive to tackle a project head-on, crafting hairpin legs from scratch is an enriching challenge that enhances both the home and the maker's skill set.
That being said, is it even feasible - especially if you’re interested in learning how to make hairpin legs without welding? Before we get into the process, it’s important to set your expectations.
Can You Make Your Own Hairpin Legs Without Welding, Though?
The short answer is yes, it's possible to make hairpin legs without welding, but it's important to be aware of the challenges and limitations of alternative methods. As we said from the start, these legs are not really going to be strong enough to support anything with real weight to it.
Traditional hairpin legs are crafted through traditional metal working techniques of bending and welding to ensure maximum strength and stability for furniture.
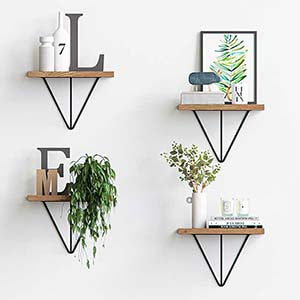
Without welding, you'll need to consider alternative ways to secure the bends in the metal rods that form the legs, which may not offer the same durability or weight-bearing capacity. These kinds of legs are generally only suitable for decorative purposes such as very small side tables, desk monitor stands, plant display stands or even cake stands!
For instance, methods like using strong adhesives or mechanical fasteners can be employed, but they require precision and the right materials to ensure the legs are not only aesthetically pleasing but also functional.
Moreover, bending metal rods into the perfect hairpin shape demands both the right tools and a degree of skill to achieve a clean, consistent curve without the metal weakening or snapping.
The process also involves a significant time commitment and a willingness to experiment and learn from potential mistakes. This can be a rewarding experience.
However, for those looking for a more straightforward, time-efficient solution with guaranteed results, purchasing professionally made hairpin legs might be the more practical choice.
In considering DIY, factor in the costs of tools and materials, which can add up and sometimes exceed the price of ready-made legs, especially if you value the assurance of quality and longevity.
While the DIY route offers a unique and custom touch, The Hairpin Leg Co. provides a range of high-quality, expertly crafted hairpin legs that ensure your project is both beautiful and built to last.
But, you came here to learn how to make hairpin legs without welding, and we’re not here to steer you away from any project you’re passionate about! So, let’s get into how you can make your hairpin leg vision a reality.
How to Make Hairpin Legs Without Welding: Step-by-Step Guide
Making hairpin legs without welding is a challenging but feasible project for the dedicated DIY enthusiast. Here's a comprehensive guide to help you through the process:
Selecting the Right Materials
First things first, what are you going to make your hairpin legs from? Obviously, you’ll need some metal rods to form the hairpins, but there are other supplies you need to grab as well:
- Metal Rods: When making decorative hairpin legs, we are not so concerned about strength. Using a 4 to 6mm rod will be thick enough that it can support lightweight objects, but not so thick that bending requires specialist tools. For anything over 6mm specialist bending tools will be required.
- Mounting Plates: For this kind of hairpin leg, we will either be using mounting plates made of wood, or no mounting plates at all, if you are able to drill into the top directly. I.e. solid wood greater than 2cm thick.
- Screws: Select the appropriate length to secure the mounting plates to your furniture without piercing through the top.
- Adhesive or Fasteners: Opt for high-strength epoxy to keep the hairpin fixed securely into the mounting plate
Bending Techniques for Metal Rods
Now comes the hard part - bending your rods into their hairpin shape. Here’s the process we recommend:
- Creating a Jig: Construct a jig out of wood with the desired leg shape. This will be your template for bending the rods.
- Bending the Rods: Clamp one end of the rod to the jig. Slowly apply pressure to bend the rod around the jig, maintaining consistent pressure to avoid kinks.
- Repeating the Process: Ensure all legs are bent uniformly by using the same jig for each leg.
Securing the Legs to a Mounting Plate for Stability and Strength
After bending your hairpin leg rods, it’s time to get them attached to the mounting plate, which is what you’ll install on the furniture you plan on pairing them with -
For a decorative hairpin leg, we suggest using a wooden mounting plate that is at least 2 cm thick, or alternatively fitting the steel directly to a top that is greater than 2cm thick.
Start by drilling some oversized holes into the wood and then insert your hairpin leg steel at the desired angle. Holding them in place, now fill the hole with the epoxy resin glue to ensure the legs remain fixed and secured.
Finishing Touches for Durability and Aesthetics
Now, there are just a few finishing touches to put on your legs to enhance durability and appearance. You can start by cleaning them up to remove any grease or rust from the metal with a cleaner or solvent.
Then you can put your own personal touch on the legs. Apply a rust-inhibiting primer followed by paint for colour. This step not only adds to the appearance but also protects the metal from corrosion.
Attach rubber feet to the bottom of the legs to prevent scratching your floor. Then, it’s time to get your legs attached to the furniture in question.
Attach the Legs to the Furniture
We have a thorough guide on how to attach table legs if you’re interested in learning more - much of that advice will apply to all types of furniture. That being said, here’s how you can go about it:
- Positioning: Once the hairpin legs are securely attached to the mounting plates, position them on the underside of the furniture piece where you want them to be installed. Ensure they are evenly spaced and aligned with the edges or corners for balance and aesthetics.
- Marking: Use a pencil to mark the screw holes from the mounting plate onto the furniture. This will be your guide for where to drill pilot holes.
- Drilling Pilot Holes: Drill pilot holes at the marked spots. The pilot holes should be slightly smaller than the diameter of the screws you will be using to ensure a tight fit.
- Attaching the Legs: Align the mounting plates over the pilot holes. Using a screwdriver or drill, secure the legs to the furniture with screws. Make sure the screws are not too long as they could poke through the top surface of the furniture.
- Checking Stability: Once all the legs are attached, place the furniture upright and apply slight pressure to ensure the legs are firmly in place and the furniture does not wobble.
- Final Inspection: Give your furniture a thorough inspection to ensure all legs are properly secured and the piece sits level on the floor. Adjust if necessary by tightening any screws or adding protective pads under the legs to balance out any irregularities in the floor.
There you have it - how to make hairpin legs without welding! As you can see, the process is fairly simple and straightforward.
That being said, it’s not nearly as quick and easy as simply buying hairpin legs online. So, if you’re interested in saving yourself time and trouble while ensuring a beautiful final product, head over to our catalogue and shop today!
Save Yourself the Time and Trouble - Get Brilliant, High-Quality Legs at The Hairpin Leg Co.!
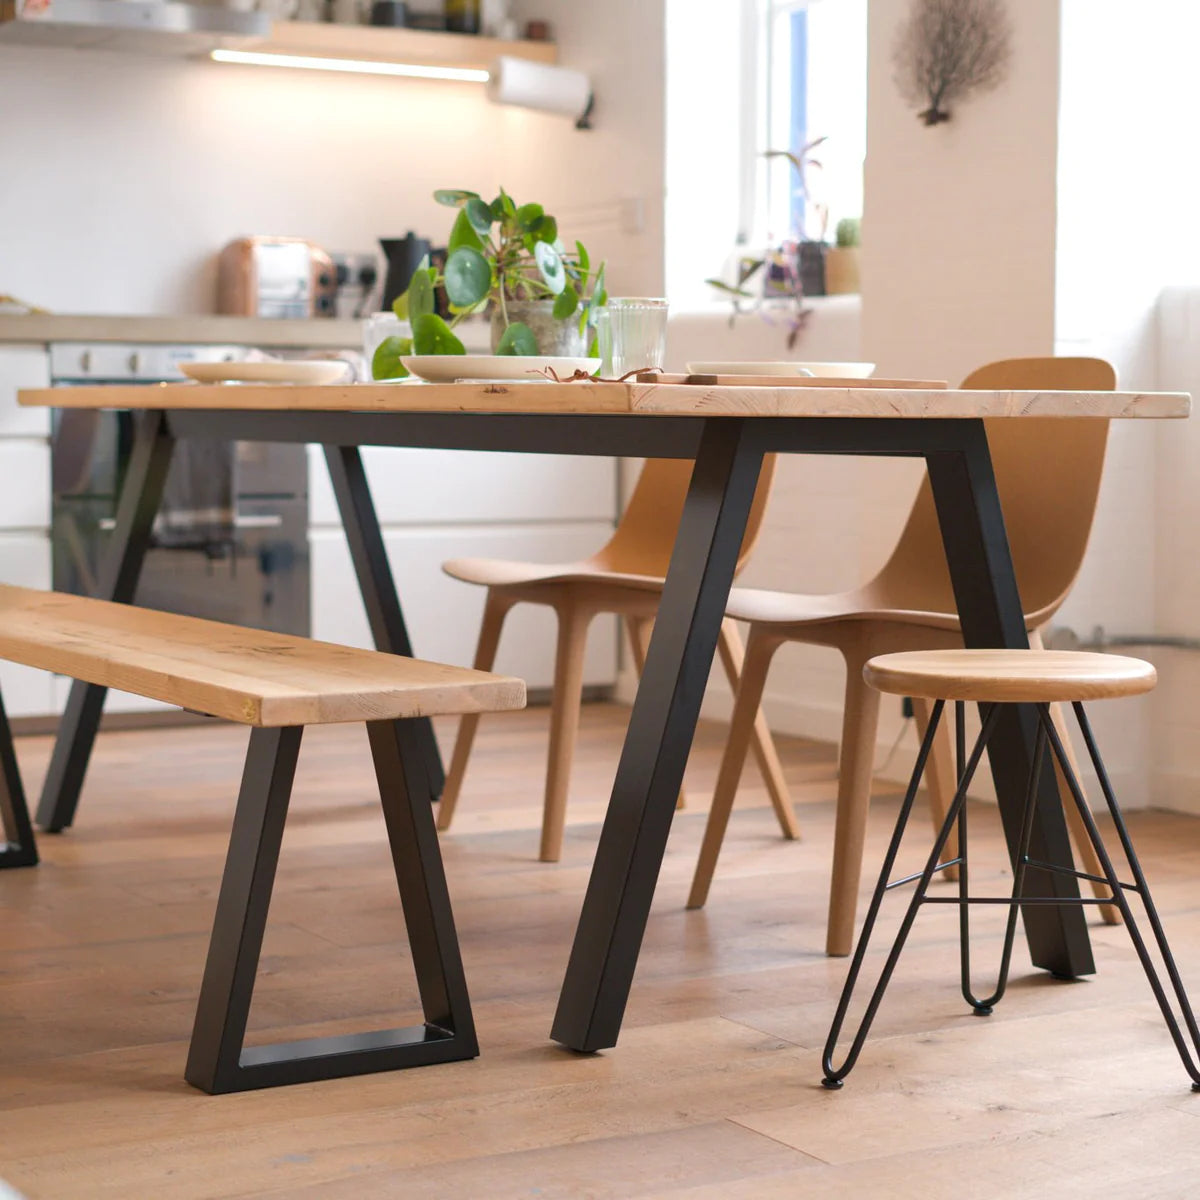
Embrace the elegance and simplicity of mid-century modern design with the unparalleled selection at The Hairpin Leg Co., where you can find the perfect match for every furniture project.
Whether you're looking to elevate a chic cabinet, craft a sturdy bed frame, design a sleek table, or construct a robust desk, our extensive range has you covered. With a plethora of styles, sizes, and finishes, our hairpin legs cater to every aesthetic and functional need.
Crafted with the maker in mind, our hairpin legs are a nod to the classics, mirroring the iconic design pioneered by Henry Glass in the 1940s.
From the minimalist appeal of twin rods to the added support of triple rods, our legs boast a slender silhouette and a subtle recline, ensuring your furniture not only stands out but also stands strong.
At The Hairpin Leg Co., we understand the diversity of DIY projects. That's why we stock leg sizes from a compact 10cm all the way to an impressive 102cm, accommodating anything from a petite dresser to a grand bar setup.
Our standard 10mm rod diameter seamlessly integrates with most designs, while our heavy-duty options provide the extra strength needed for weightier endeavors.
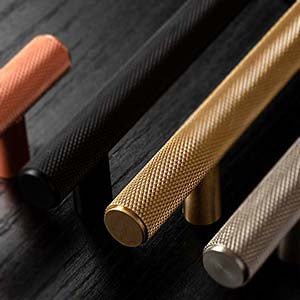
Dive into our stylish finishes to discover the perfect complement to your project. Choose from powder-coated paints for a sleek look or a burst of color, raw steel for an industrial vibe, or indulge in the contemporary luxury of real brass, copper, or chrome finishes. For outdoor ventures, our bright zinc or stainless steel options ensures durability against the elements.
From desk legs to breakfast bar legs, cabinet legs, bar stool legs, bed legs, footstool legs, and more - we’ve got you covered no matter what type of furniture you intend to attach your legs to.
So, what are you waiting for? If you’re ready to elevate your home or office with practical, stylish furniture, shop today at The Hairpin Leg Co. and experience the peace of mind that comes with our commitment to happiness and quality.
Not completely satisfied? Our 60-day, no-questions-asked refund policy has you covered. UK customers can enjoy free shipping and hassle-free returns with prepaid labels. Plus, with a 5-year guarantee, you can trust in the enduring quality of our products.
Parting Thoughts on How to Make Hairpin Legs Without Welding
That concludes our guide on how to make hairpin legs without welding. This style embodies a timeless appeal, merging function with the sleek lines of mid-century modern design.
Crafting your own hairpin legs without welding involves selecting the right materials, meticulously bending metal rods, and ensuring secure attachment to furniture for stability.
Even still, it’s important to note that these types of hairpin legs aren’t strong enough to really be used for anything other than decorative uses - such as a plant stand or a very small side table. Welding is truly the only way to make strong hairpin legs that can be used for furniture.
And while the DIY route can be rewarding, it presents challenges, including the need for precision and the potential for time-consuming errors. Why bother when the perfect set of legs is just a few clicks away?
For those seeking to bypass these hurdles, The Hairpin Leg Co. offers a diverse range of high-quality, ready-to-install hairpin legs for any project. Elevate your furniture effortlessly; visit The Hairpin Leg Co. and transform your space with ease.
Leave a comment
This site is protected by hCaptcha and the hCaptcha Privacy Policy and Terms of Service apply.