


When it comes to furniture craftsmanship and DIY projects, there's nothing quite as satisfying as creating a beautiful and functional table from scratch or giving new life to an old one. From first sanding the wood to adding the final touch of paint, the journey is often as fun as the final product.
Whether you're building a brand-new table or restoring an antique piece, one crucial aspect that can make or break the final product is how you attach the table legs. Properly attaching table legs ensures stability, durability, and a polished appearance that complements your overall design.
In this comprehensive step-by-step guide, we’ll show you how to attach table legs safely and securely. Whether you’re using hairpin legs or solid wood, we’ll give you some tips and tricks for attaching table legs that will make it easier for you to craft your next furniture masterpiece.
Why Proper Attachment Matters
When it comes to crafting or restoring tables, attaching the legs correctly might seem like a minor detail, but it is a critical step that can significantly impact the final result. Proper attachment matters for several important reasons - let’s explore them next.
Safety First
Safety should always be a priority when working on any woodworking project. Tables serve as platforms for a variety of activities, from holding dinnerware to supporting heavy objects.
If the legs are not securely attached, there is a risk of the table collapsing or becoming unstable, potentially leading to accidents or injuries. Ensuring that your table legs are firmly attached and suitable for your project is a crucial step in guaranteeing the safety of anyone who uses the table. Learn more about how much weight our legs support.
Longevity of Your Furniture
Making your own table is an investment in both time and resources, and you want it to stand the test of time. Properly attaching the legs ensures the structural integrity of your table. Without secure attachment, tables are more prone to wobbling, leaning, or even falling apart over time.
By taking the time and learning how to attach table legs correctly, you can extend the lifespan of your furniture and reduce the need for frequent (and potentially costly) repairs or replacements.
Aesthetic Appeal
The visual aspect of your table is just as important as its structural integrity. Attaching table legs properly gives you a polished, professional end product, while uneven or misaligned legs can detract from the overall aesthetic appeal of the table.
Enhanced Functionality
Tables serve various functions in our homes, from dining and working to socialising and displaying decorative items. Properly attached legs ensure that the table functions as intended.
Tables with sturdy, well-attached legs provide a stable surface for various activities, while those with wobbly or uneven legs can be frustrating to use. Whether you're crafting a dining table, a coffee table, or a work desk, the functionality is directly influenced by how secure the legs are.
Understanding Table Leg Types
Before diving into how to attach table legs, it's important to understand the various leg mechanisms available and the common attachment methods associated with them. This will help you choose the right approach for your project.
Types of Table Legs
Table legs come in a wide variety of styles, shapes, and materials, each with its own unique characteristics. So, what’s the best for your project? Some of the most common table leg designs you can choose from include:
- Tapered legs, which are wider at the top and gradually narrow down toward the bottom
- Turned legs, with an ornate, cylindrical shape and a popular vintage-style choice
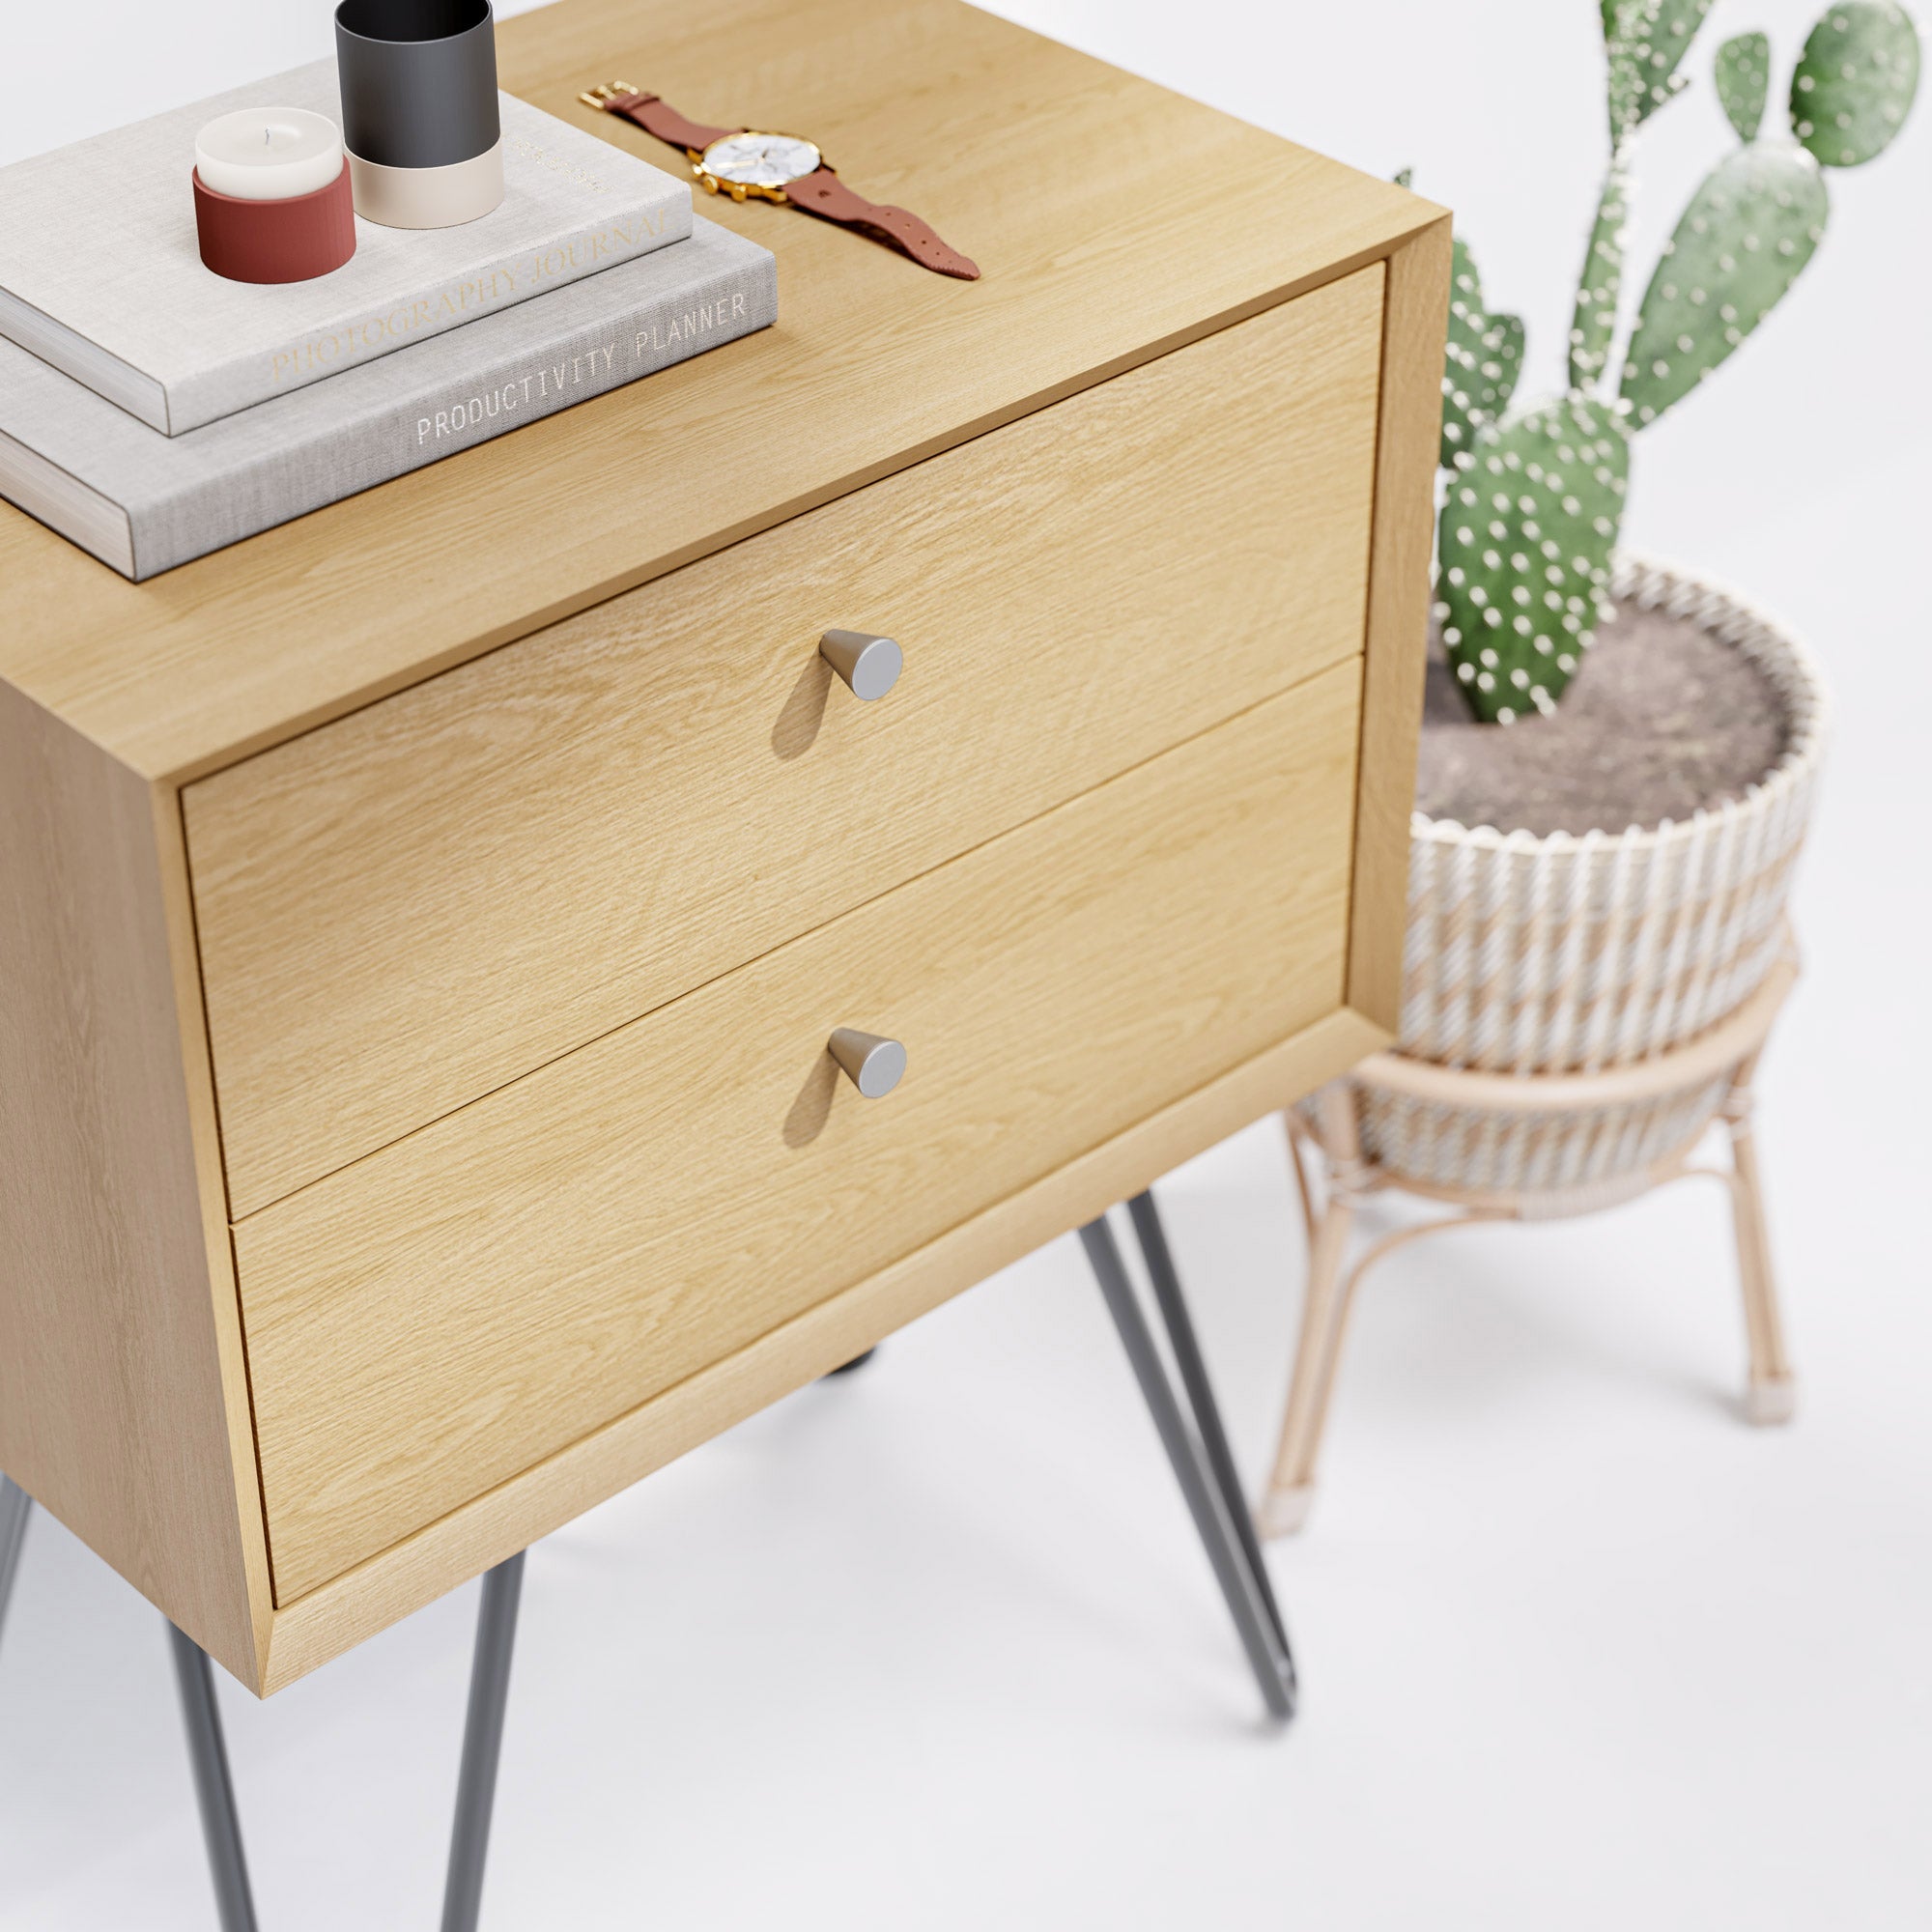
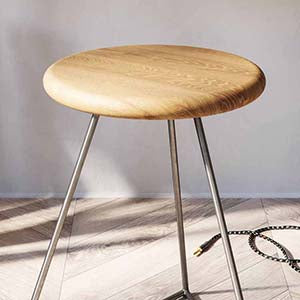
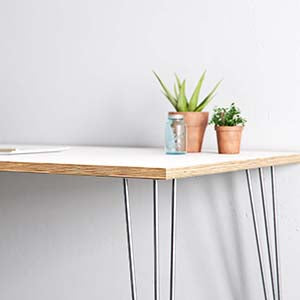
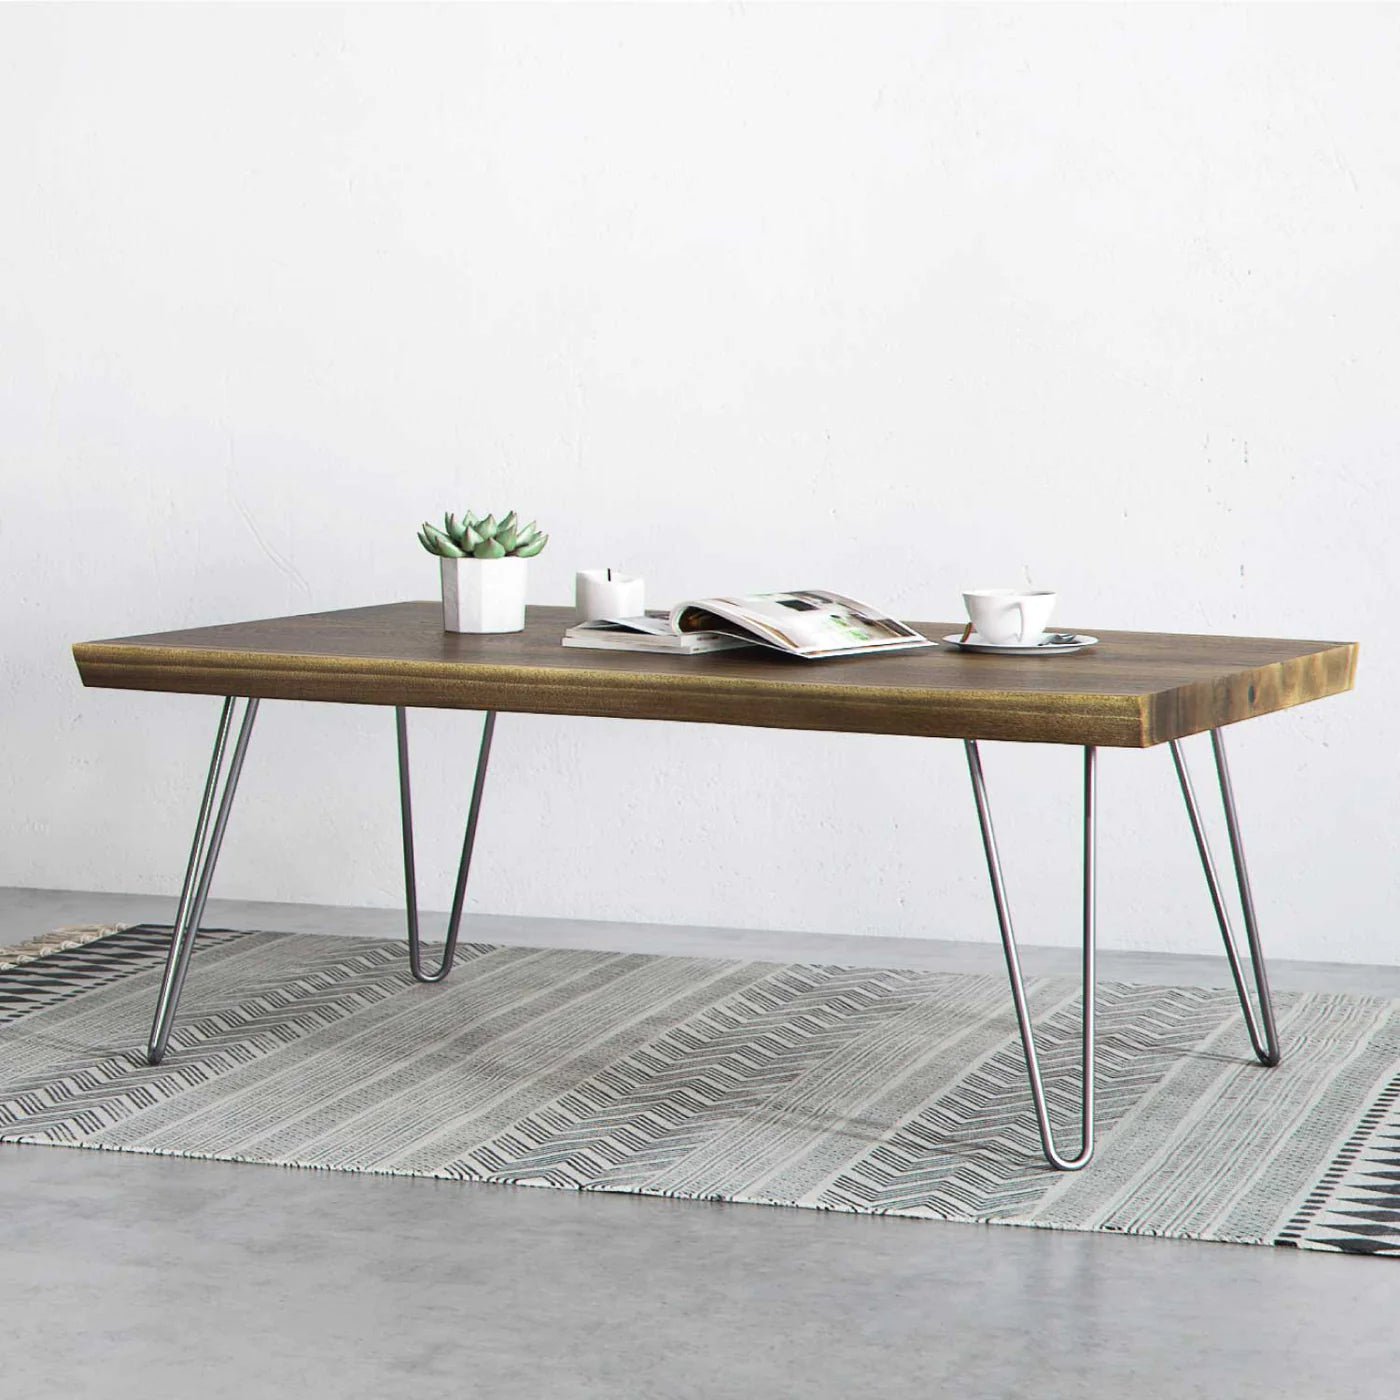
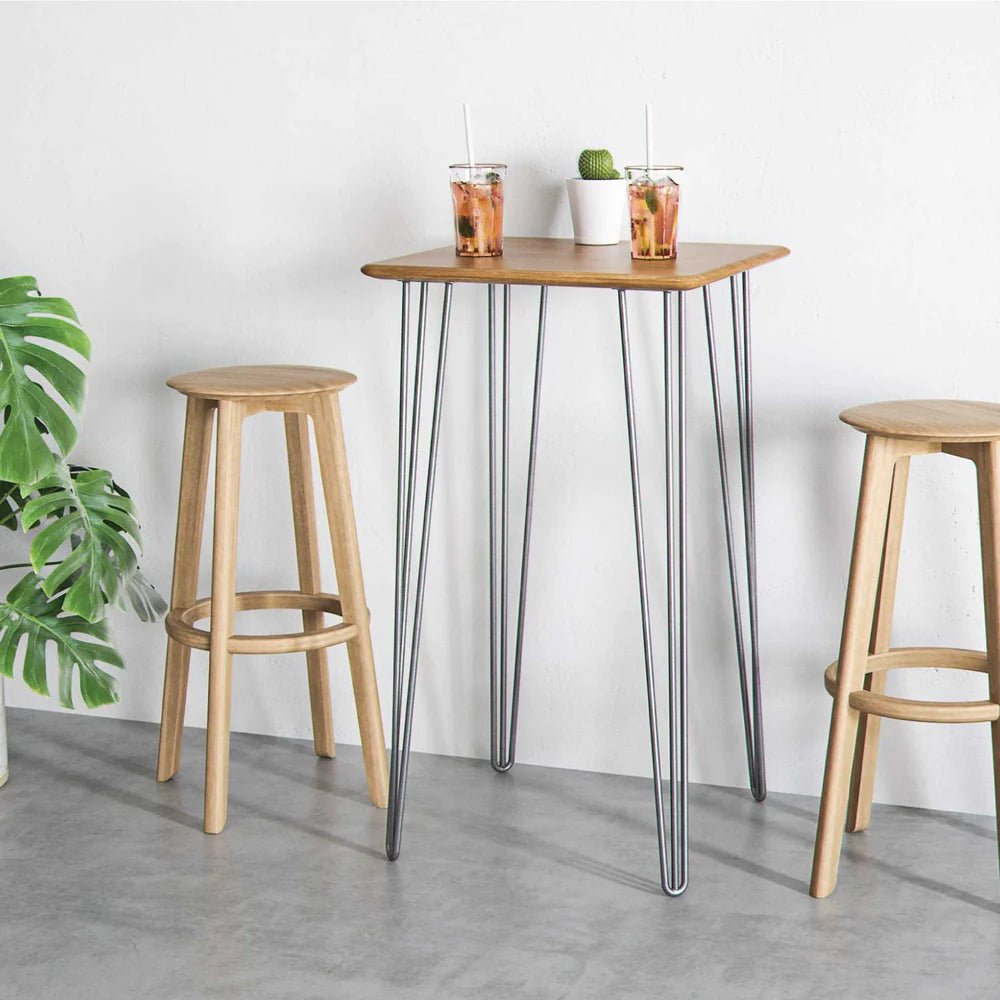
- Hairpin legs. with a distinctive "U" shape for a classic mid-century modern look
- Cabriole legs, which have a graceful S-shaped curve and elegant appeal
Instead of traditional table legs, some designers also opt for a pedestal base or folding table legs for practicality. In certain situations, you’ll need specifically designed legs, like outdoor table legs with weatherproofing and greater durability.
But, it’s also important to look beyond design. In terms of fitting, there are 2 main formats:
- Individually attached legs: Usually come in pairs (box section legs) or sets of 4 (hairpins, single pins, wooden legs etc). These provide the most versatility and screw directly into the table top. This design uses the top as a structural support so it must be both well secured to the legs and stable. I.e. using glass is tricky due to fitting. Using a thin/weak top is also tricky as it will wobble easily.
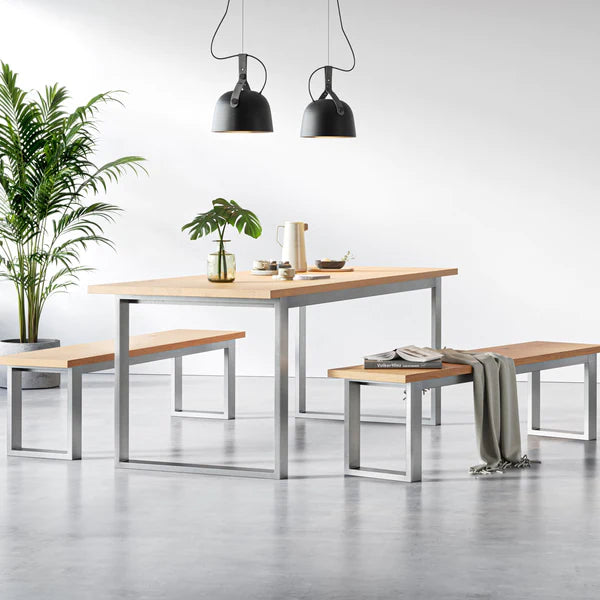
- Free standing/self supporting: This is where the legs act as a self supporting base and the top just needs to be placed on top. Any fixings between the top and the legs are to prevent the top from sliding around/falling off and are not required to maintain a strong table. Any kind of table base falls into this category - we make “table frames” but you can also get pedestal tables within this category.
A free standing frame will work in almost all cases and will provide a sturdier base, especially for larger tables. Individually attached legs are more versatile in their placement, but require a top that is at least 20 - 30mm thick. The larger the top, the thicker it needs to be, or additional underside bracing should be added.
Common Attachment Methods: Which is Best For You?
Once you've chosen the type of table legs that suit your project, the next step is to decide how to attach table legs securely. The choice depends on factors such as the table's design, intended use, and personal preference.
Wood screws are the simplest and often the strongest method for attaching table legs to the tabletop. This method is suitable for a wide range of table leg types, including bar table legs and dining table legs, and provides a strong and reliable connection.
Through bolts can be good for tops that are hard to fix into such as glass or stone. With a through hole bolt you will see the bolt head on the top side of the table so you will want to consider this in your design. Stainless steel countersink bolts can add a design twist to your project.
Threaded inserts are metal casings that are fitted to wood, resin or plastic tables. They are designed so that you only need to bite into the softer material once and then your legs can be bolted and unbolted many times without risk of damaging the threads.
Contrary to popular opinion, these are actually quite a bit weaker than using just normal wood screws of bolts. However, they are a good choice if you need to remove and replace the legs from the table many times.
How to Attach Table Legs: Step-by-Step Guide to Attaching Table Legs
In this step-by-step guide, we’ll show you how to attach table legs to your table, safely and securely.
Start By Choosing the Right Table Legs at The Hairpin Leg Co!
Before you get started, you need to get your hands on the best table legs for your project! Whether you’re looking for breakfast bar legs, industrial table legs, metal table legs, or scandi table legs, you’ll find the best quality and largest selection at The Hairpin Leg Co.
Choose from an incredible range of colours, sizes, and styles, including our single table legs, coffee table legs, and wooden table legs. Our hairpin legs are made for makers - we know exactly what you need and strive to deliver nothing but the highest quality table legs.
All of our table legs also come with free wood screws, that are suitable for most projects.
Gathering Your Other Materials
In addition to your table legs, gather the necessary materials and tools. You'll typically need screws, a screwdriver, a drill with the appropriate drill bits, measuring tape, and a pencil.
Preparing Your Table
Prepare your table surface by placing it on a flat, stable work surface. Ensure that the tabletop, and especially the attachment points, are clean and free from any debris. Positioning your table upside down is usually the easiest way to attach your table legs.
Step-by-Step Process of Actually Attaching Legs to a Table
- Measure and mark the precise locations where you want to attach the legs on the underside of the tabletop. We usually suggest inserting them 5cm from the table’s edge.
- For a wooden tabletop, use plain wood screws directly into the wooden surface for the most durable and simple fitting method.
- A small 1-2mm pilot hole is suggested for hardwoods to ease the screw in and reduce the risk of cracking.
- Screw the legs into the tabletop. Tighten them evenly to ensure the table is level and stable.
With all of our table legs, we provide 4.5mm wood screws, suitable for most sized tables over 18mm thickness. If you are building a larger table, go as wide as a 5mm wood screw and maximise the length for your top to ensure the best engagement.
For heavier table tops, it can be a good choice to use longer screws if your top allows it.
Checking for Stability Before Use
Once the legs are attached, flip the table right side up and check for stability. Gently rock the table to ensure it doesn't wobble. If it does, double-check the attachment points and tighten any loose screws.
Tips for Various Types of Tabletops
For wooden tabletops, threaded inserts can be a good choice if your project requires assembly or disassembly of the legs many times or you are shipping off to a customer and want a more professional finish.
We suggest using an M5 bolt or 5mm threaded insert to fit into our legs’ 6mm hole. This provides a little wiggle room for wood expansion and hole alignment.
When attaching legs to glass or acrylic tabletops, use specialised adhesives designed for these materials. For heavy stone or concrete tabletops, consult a professional or use heavy-duty attachment methods that can withstand the extra weight.
Caring for Your Newly Attached Table Legs
Now that you know how to attach legs to a table, how do you protect your craftsmanship? Regularly check for loose screws or bolts and tighten them as needed. Clean and maintain your table to prevent damage to the legs, and always use caution when moving your table.
Still Need Help Attaching Table Legs? Don’t Hesitate to Reach Out!
Each project is different, and we know you might have questions about how to attach legs to a table in your specific case. Don’t hesitate to ask us!
At The Hairpin Leg Co., we’ve been crafting table legs for many years and would be happy to share what we’ve learned and help you create a table you can be proud of. Whether you need help attaching legs to a table or aren’t sure which legs you need, we’d love to assist!
Final Thoughts on How to Attach Legs to a Table
Attaching legs to a table properly is often the final step in constructing your masterpiece. Learning to do it properly, and with the right attachments, can help you create a table that’s both structurally sound and beautifully crafted.
At The Hairpin Leg Co., we have an incredible selection of hairpin table legs to suit every design and style. Carefully crafted to add to your table’s aesthetic, our legs will add the perfect finishing touches to your designs. Plus, we’re always happy to talk shop and guide you through attaching your legs!
Complete your table with beautiful legs from The Hairpin Leg Co - browse our range today!
Leave a comment
This site is protected by hCaptcha and the hCaptcha Privacy Policy and Terms of Service apply.