Making your own DIY wooden table legs can be a fun, fulfilling project that offers a touch of personal flair to your space and potentially cuts costs.
However, learning how to make wooden legs for tables is no small feat. You’ll need some level of woodworking skills to achieve both functionality and aesthetic appeal. It’s also important to consider whether you’re better off saving time and stress and just getting high-quality wooden table legs right here at The Hairpin Leg Co.
We’ll walk you through the wooden table legs DIY process below to show you what you can expect along the way and help you set your expectations.
But if you’re seeking quality and convenience, just remember that the finest table legs in the UK are just a click away at The Hairpin Leg Co., helping you elevate your furniture without the hassle!
How to Make Wooden Legs for a Table: Step-by-Step Guide to DIY Wooden Legs for Table
Let’s not waste any time getting into how to make wooden table legs DIY. This guide will help you understand what goes into creating table legs from design inception to woodworking, finishing options, and attachment.
This way, you can either get started on the right foot or decide once and for all that you’re better off avoiding the headache of DIY wooden table legs and ordering a set from us instead.
Designing Your Table Legs
The journey begins with a well-thought-out design that combines your aesthetic preferences with the functional needs of the table. Consider the style of the table, its size, and the weight it needs to support.
From there, you can start to narrow down your design. Determine whether you want straight, tapered, turned, or custom-shaped legs. Each style has its own set of considerations in terms of the tools and skills required.
Then you need to come up with the dimensions for your legs. Figure out the height, width, and thickness of the legs based on the table's size and the intended use.
For example, how long are dining table legs? These tend to be around 71 cm tall. But what about bar table legs? These tall tables will need legs that are at least 86cm tall. You’ll find different guidelines for coffee tables, console tables, etc.
Once you have a better vision of what you want to create you can put it down on paper. Draw a detailed sketch or blueprint of your design. This will serve as a guide during the construction process, helping you visualise the end product and identify any potential issues before the actual work begins.
Choosing the Right Wood
The type of wood you select for your table legs influences the aesthetics and durability of the finished product. Thus, you should take some time to research the options you have at your disposal.
There are tons of species you can choose from, which can make it overwhelming to pick the right one. A good starting point is to decide whether you want a hardwood or a softwood.
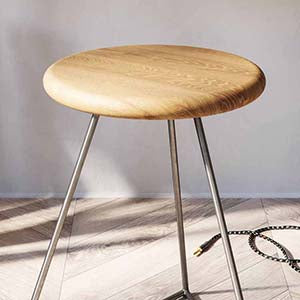
Hardwoods like oak, maple, and walnut are durable and great for table legs that need to support heavy loads. Softwoods like pine or cedar are easier to work with and cost less but might not be as durable. Our personal preference here at The Hairpin Leg Co. is oak.
From there you can start to weigh your local options for lumber or see what’s available online. Whatever approach you take, look for wood with a straight grain, which is stronger and less prone to warping. The colour of the wood should complement the tabletop and the room’s decor.
Consider the availability of the wood in your area and how the cost fits into your budget. Local hardwoods are often the most readily available and least expensive.
Tools and Other Necessary Materials
There are a few other tools and materials you’ll need beyond your lumber. These include:
- Basic Woodworking Tools: At a minimum, you will need a saw to cut the wood to length, a plane to smooth and shape the surfaces, and chisels for any detailed carving work.
- Measuring and Marking Tools: A tape measure, ruler, and square are vital for accurate measurements and ensuring your cuts are straight and precise.
- Sanding and Finishing Supplies: Various grits of sandpaper, from coarse to fine, will be needed for smoothing the wood before applying a finish. You'll also need brushes or cloths for applying the finish.
- Clamps and Workbench: Clamps will hold the wood in place as you work, while a sturdy workbench provides a stable surface to work on.
If you don’t have some (or any) of these essentials already, take the time to factor these costs into your DIY wooden table legs budget and be realistic with yourself about how much money you’ll actually end up saving.
Cutting and Shaping the Wood
This is where the real fun begins as you get to watch your vision take shape. Start by marking the wood for cutting. If possible, ensure each piece is slightly longer than the required final length to allow for any adjustments. Then, follow these steps:
- Cutting to Size: Use a saw, preferably a table saw for straight cuts or a band saw for curved designs, to cut the wood according to your markings.
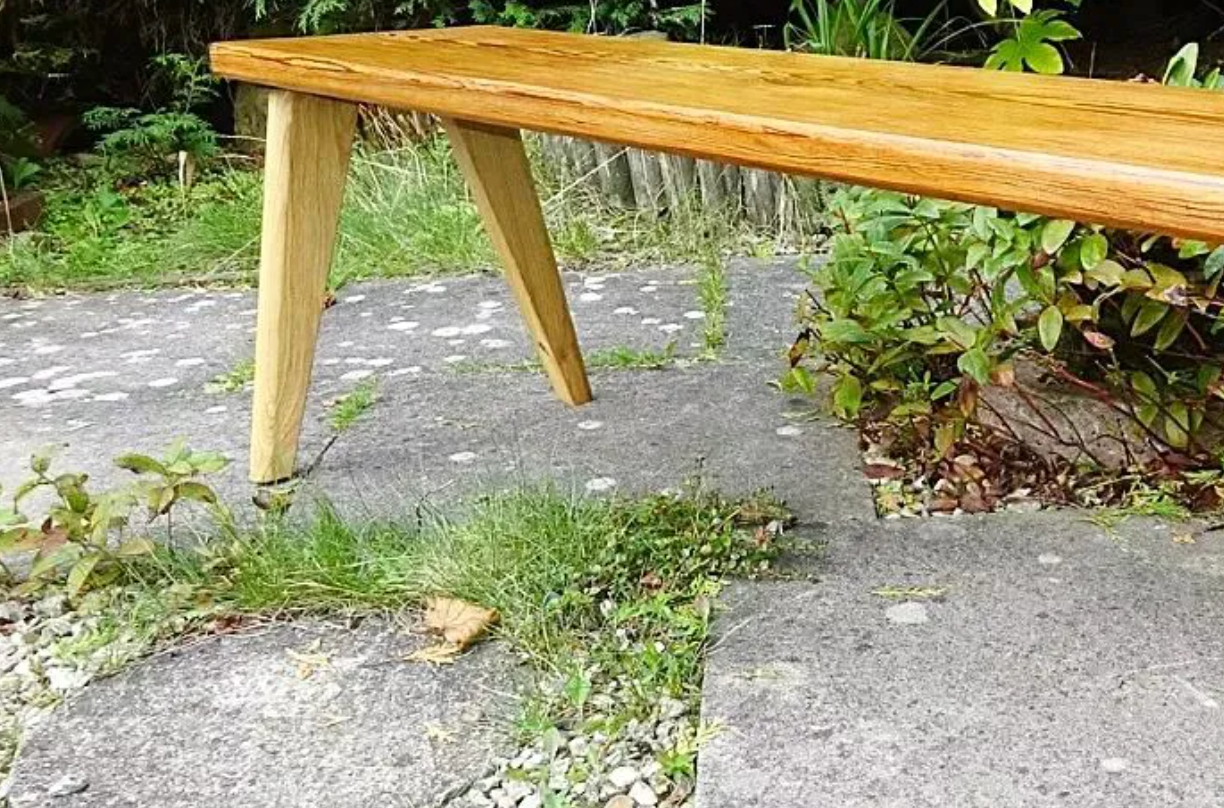
- Shaping the Legs: Shaping may involve turning the legs on a lathe for rounded shapes or using a planer and chisel for square or tapered legs. Consistency is key, so use templates or jigs if possible to ensure all legs are identical.
- Refinement: After the initial shaping, refine the legs with finer tools, like sanders or files. The goal is to smooth out any rough edges or detail work, which will leave you with a professional-looking finish.
Applying a Finish to the Legs
The base of your table legs is complete, but now, it’s time to put the finishing touches on them. This will not only enhance their appearance but also protect the wood from wear and environmental factors.
Begin with coarse sandpaper to remove any major imperfections and gradually move to finer grits until the surface is smooth and even. This process prepares the wood for the finish, ensuring it adheres properly.
Then, select a finish such as varnish, stain, oil, or paint based on the desired look and the wood type. Apply it according to the manufacturer’s instructions using consistent, even strokes.
Always do this type of work in a well-ventilated area. Multiple layers may be needed, with light sanding between coats to achieve a smooth, durable surface. This step can be tedious, but it’s the little things that make the big difference in the final product!
Overview of Leg Attachment
With your project just about complete you’re ready to finally get the DIY wooden table legs you’ve brought to life attached to their tabletop.
This final step is important for the stability and functionality of the piece, which is why you should read our more thorough guides on how to attach table legs and how to stabilise wooden table legs. That being said, here’s an overview of the process:
- Determining Leg Position: Decide where on the underside of the table the legs will be attached. Consider the table’s size and use, ensuring the legs are placed for optimal stability and legroom.
- Preparation for Attachment: Ensure legs are aligned correctly if they are designed with attachment plates. For direct wood-to-wood attachment, mark the points on the table where the legs will be connected.
- Securing the Legs: The best way to connect table legs tends to be wood screws or bolts depending on the leg design and table material. Drill pilot holes to prevent splitting the wood. For a stronger bond, especially in heavy-use tables, consider adding wood glue or using metal brackets to reinforce the attachment.
Inspect the table for stability and balance after you’ve attached all the legs. Adjust as necessary to ensure it stands firm and even on the floor. And there you have it! You’ve made your own DIY wood table legs.
Why Make Your Own Wooden Table Legs?
As you can see, there’s a lot that goes into the DIY wood table legs project. Why bother? Not only can you elevate your furniture, but you’ll also learn some valuable skills along the way and potentially save some money. Here are all the benefits of learning how to make wooden table legs:
- Customisation: DIY wooden table legs mean you can achieve the exact size, style, and finish you desire, ensuring your furniture perfectly matches your space and style.
- Skill Enhancement: Building table legs allows you to develop and refine woodworking skills, which can be both satisfying and empowering. Who knows - you may just find your calling!
- Cost Savings: While not always the case, crafting your own legs can be more economical than purchasing pre-made ones, especially if you're looking for something bespoke or high-quality.
- Quality Assurance: When you make the legs yourself, you control the quality at every stage, from selecting the wood to applying the finish, ensuring a product that meets your standards.
- Sustainability: By choosing locally sourced materials and environmentally friendly finishes, you can reduce the ecological impact of your furniture, making a choice that's better for the planet.
It’s clear that making wooden table legs DIY can be a fun, fulfilling way to spend a weekend. That being said, is this project really worth the work if you don’t already have the skills and equipment necessary?
Are DIY Wooden Table Legs Worth the Work, Though?
From a skill perspective, crafting table legs requires basic woodworking knowledge, including measuring, cutting, and finishing. If you're already handy with tools and enjoy woodworking, great! Making your own legs can be a rewarding experience.
However, beginners might face a steep learning curve, as precision and attention to detail are crucial for creating stable and aesthetically pleasing legs.
The process can be time-consuming and might require investment in specific tools and materials, which should be considered against the convenience of buying ready-made legs.
While DIY offers customisation and a personal touch, it comes with challenges like ensuring the legs are perfectly symmetrical and fit the tabletop properly. You may find that your first few attempts leave much to be desired in terms of both functionality and aesthetics.
On the other hand, investing in professional wooden furniture legs from a trusted brand offers several benefits:
- Quality and Durability: Professionally made legs are crafted to high standards, ensuring they are both functional and durable. There is no guesswork or uncertainty surrounding the end result. It’ll be perfection every time.
- Variety of Designs: Buying gives you access to a wide range of styles and finishes, making it easier to find legs that suit your table’s design and room’s decor.
- Convenience: It saves time and effort, particularly for those who have limited experience in woodworking or are pressed for time. All you need is a few minutes to choose your style and place your order!
- Support and Guarantee: Professional sellers often provide customer support, warranties, and guarantees, offering peace of mind that DIY projects can't match.
At the end of the day, only you can decide if you should make your own wood table legs DIY. but if you decide that you’d rather save yourself the time and stress, you won’t need to worry about where to buy wooden furniture legs - your search ends at The Hairpin Leg Co.
Save Yourself the Time and Trouble of Making Wooden Table Legs DIY at The Hairpin Leg Co.!
Since 2013 the UK has trusted us for furniture legs, and you can too. We’re passionate about our craft and have curated a brilliant range of wooden table legs to choose from.
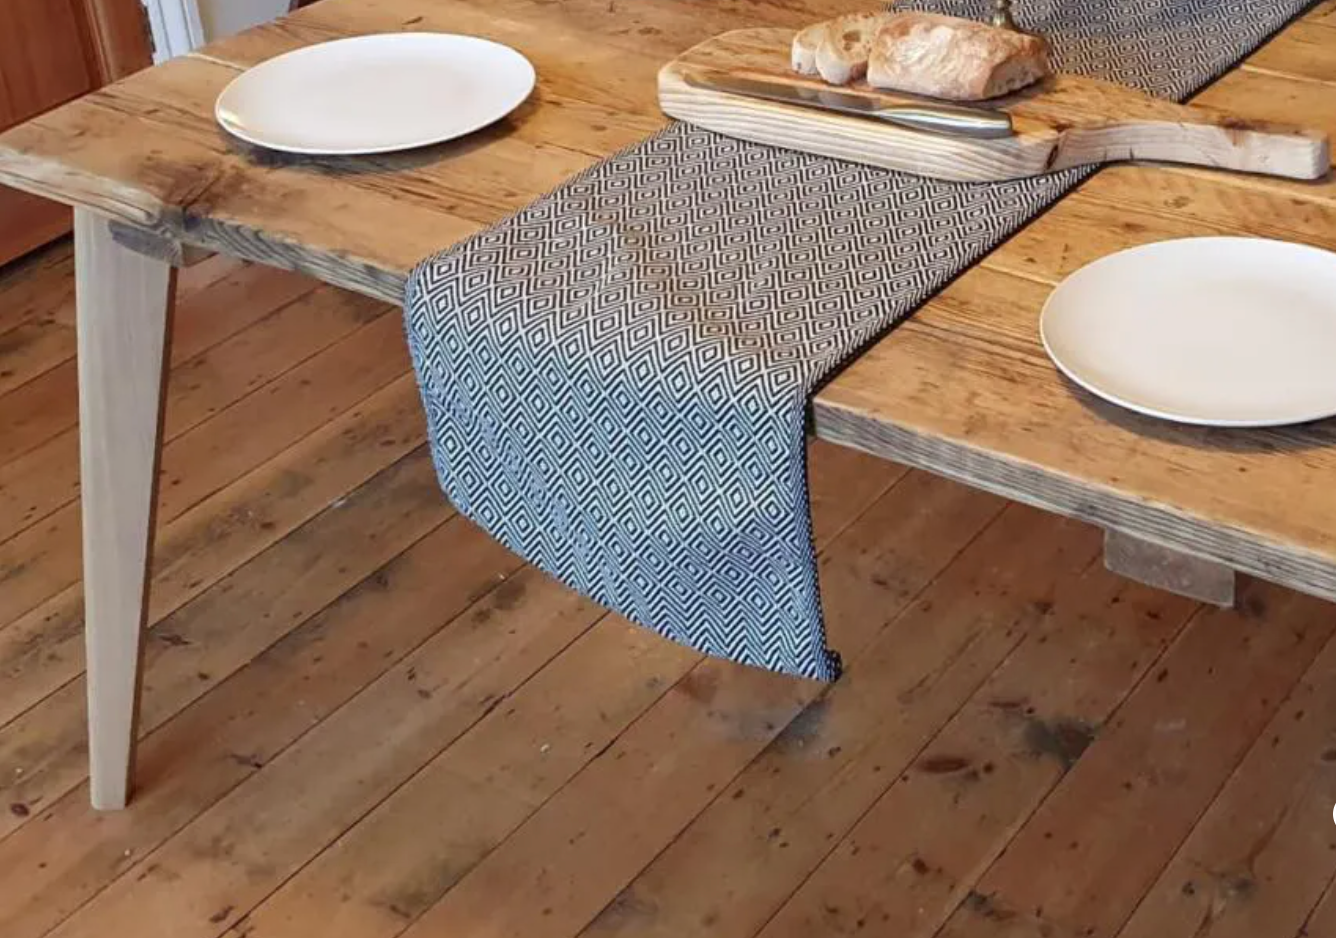
Each of our legs is crafted from durable, high-quality European oak. We’re meticulous about selecting the single stave oak boards these are made from, ensuring a beautiful wood grain that stands out.
Sizes range from 20cm cabinet legs to expansive 86cm countertop legs, with options in between for any other table. These legs are all finished with a natural look, hard wax oil to preserve their natural, rustic beauty for the long haul.
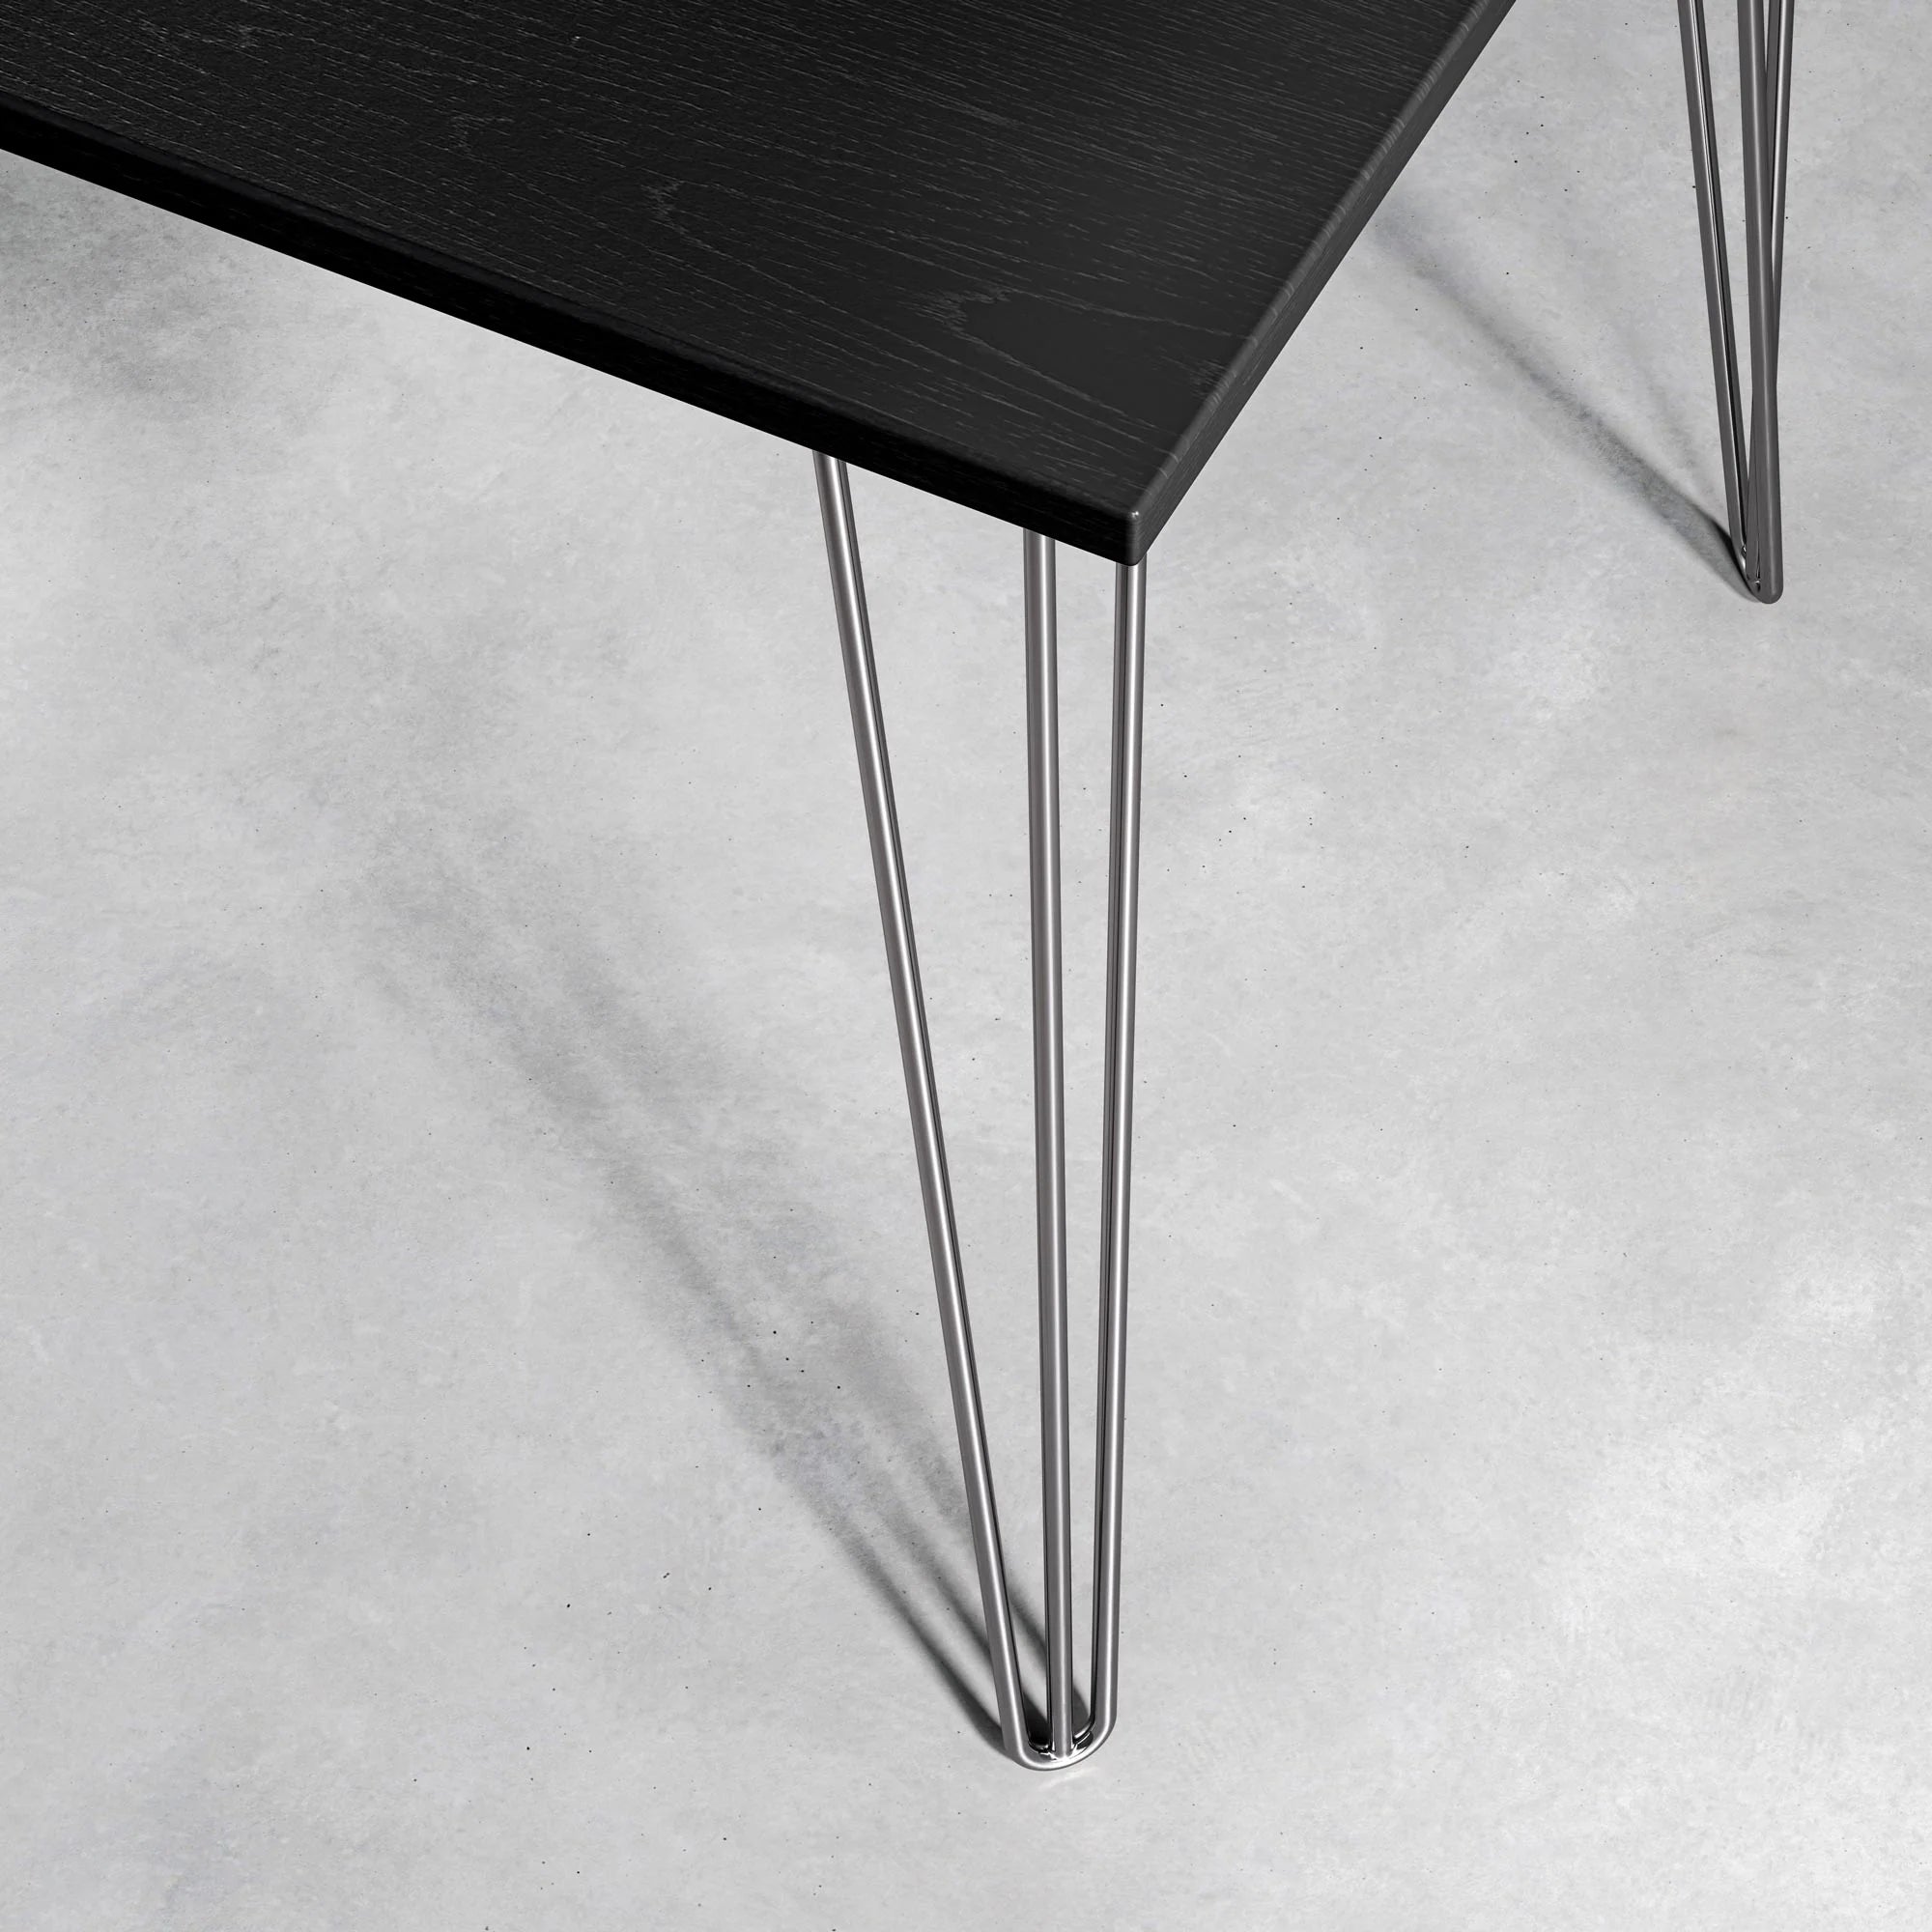
The best part? We have far more than just our high-quality wooden table legs to choose from. You can explore some of our metal table legs, which range from industrial table legs to hairpin legs, with something for every taste and preference. You can narrow your search for the best table leg design by browsing some of our most popular categories below:
Across our entire catalogue you’ll enjoy free UK delivery on all orders over £50 and tax-free international shipping, a 5-year warranty, and 60-day hassle-free returns. That’s how confident we are you’ll love these legs.
So, what’s holding you back? Discover the difference between DIY and professional wooden table legs today as we wrap up our guide on how to make wooden furniture legs!
Bringing Our Guide on DIY Wood Table Legs to a Close
Crafting DIY wooden table legs is a journey of skill, creativity, and precision, offering a unique way to personalise your furniture.
We hope this guide on how to make wooden legs for table has left you with a clear understanding of your next steps - whether it’s gathering materials and sketching a design or shopping here with us.
You can learn more about how to change dining table legs or how to fix table legs in our blog. We also have a customer service team on standby to answer any questions you may have as you seek to elevate your furniture through our designs.
Whether you’re after the best dining table legs or the finest coffee table legs, you can rest assured the perfect pick is a few clicks away at The Hairpin Leg Co.!



Leave a comment
This site is protected by hCaptcha and the hCaptcha Privacy Policy and Terms of Service apply.