

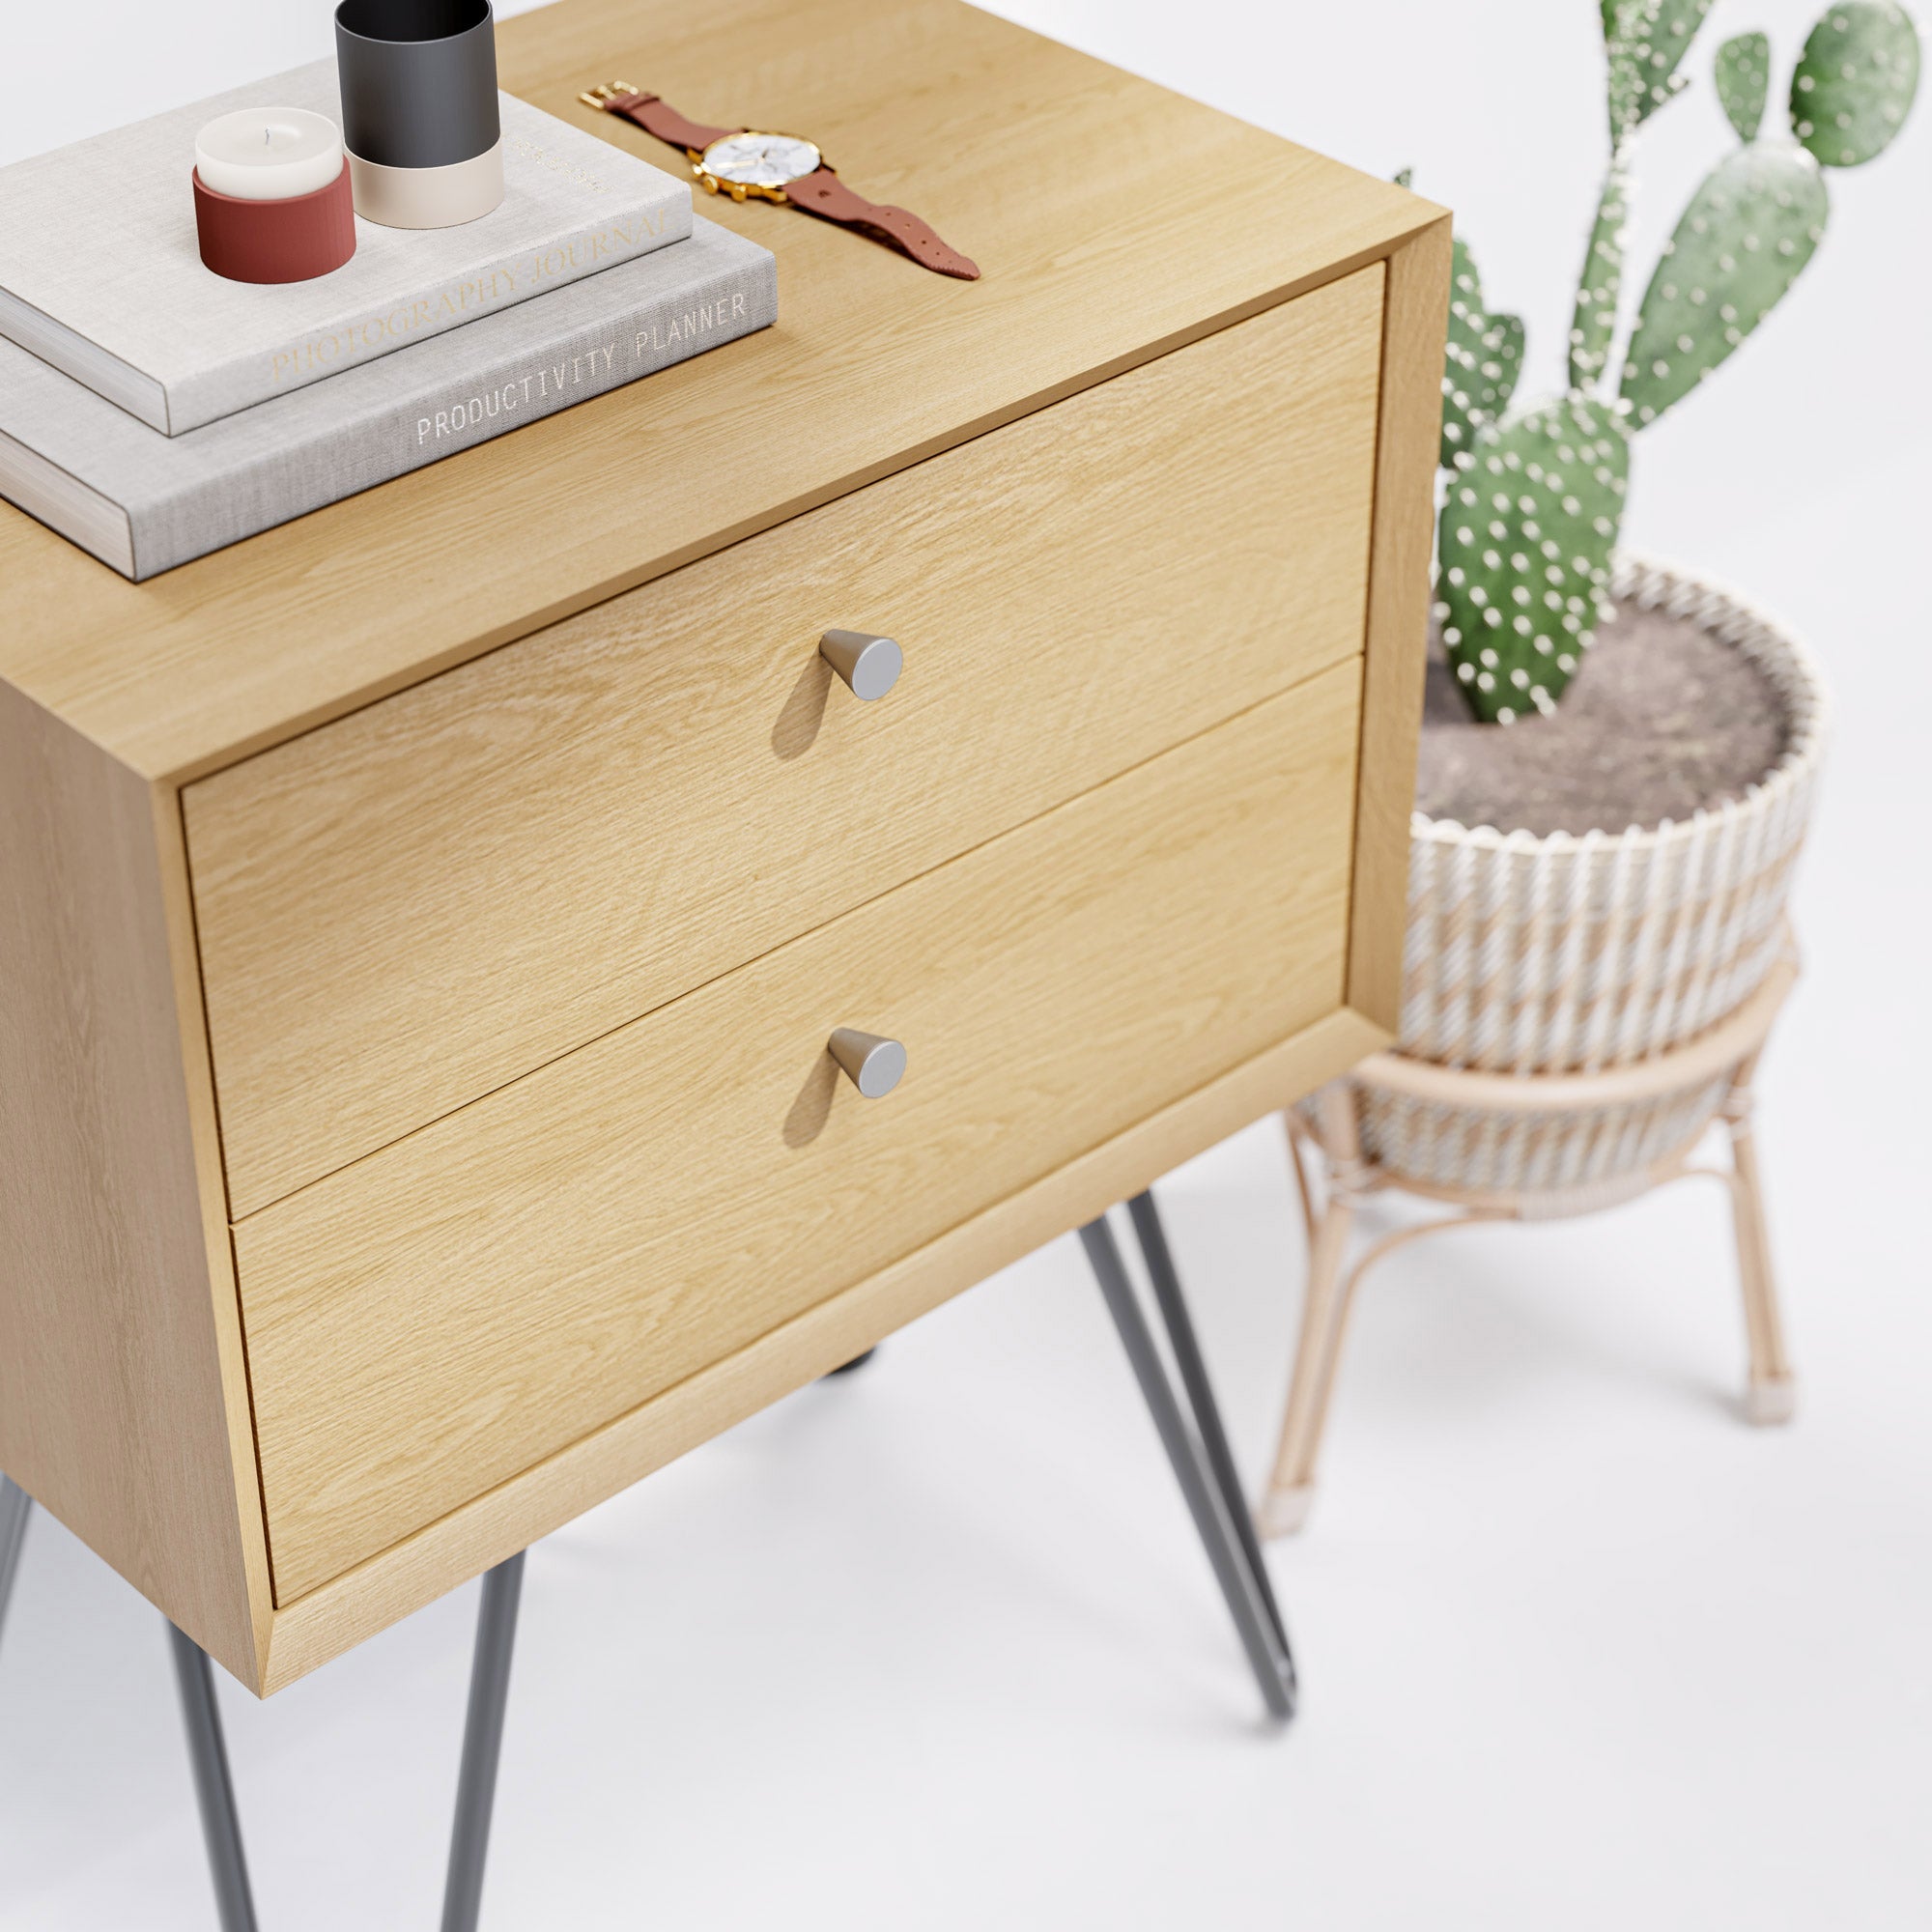


Revitalising your cherished furniture with new legs is a great way to transform your space. Whether you're giving a vintage desk a modern twist or elevating your bed for extra storage space, attaching new legs is a surefire way to infuse character and functionality into your home.
If you’re wondering how to install furniture legs, you’ve come to the right place. We’ll cover everything from choosing your legs to attaching them, maintaining them, and more.
That being said, the first step is finding the perfect furniture legs for your unique preferences - and your search ends here at The Hairpin Leg Co. We’ve created a premium selection of durable, stylish legs for any type of furniture imaginable.
Discover what has made us the #1 choice across the UK since 2013!
How The Hairpin Leg Co Simplifies Installing Furniture Legs
The Hairpin Leg Co. is in the business of turning the ordinary into the extraordinary, empowering you to seamlessly upgrade to your living spaces.
When you choose a set of legs from us, you're choosing simplicity. Each purchase comes equipped with all the necessary hardware and a comprehensive builder's guide, meticulously detailing every step of the installation process.
This means no more second-guessing on tools or techniques - we've got you covered from start to finish. Should you encounter any hiccups or need tailored advice, our world-class customer support team is just a call away, ready to assist you with any queries.
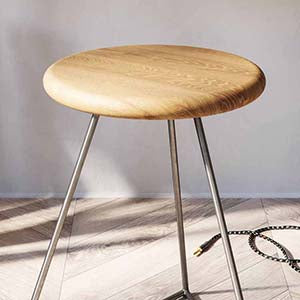
But beyond how much simpler we make it to learn how to attach furniture legs, you’ll also love the legs themselves. They’re crafted from the finest materials, including robust steel and sturdy wood, ensuring durability and longevity.
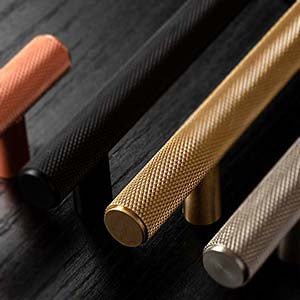
Our metal furniture legs are precision-cut, expertly welded, and available in a variety of finishes, from raw industrial to sleek powder coatings that resist rust and corrosion.
For those who prefer the warmth of wooden furniture legs, our selection harnesses the rich grains of oak. All our legs are finished to highlight their natural beauty and ensure a timeless look that you never grow tired of.
The quality of our products is matched by our attention to detail. Each leg is designed with both aesthetics and functionality in mind, ensuring that your furniture not only looks splendid but also stands strong.
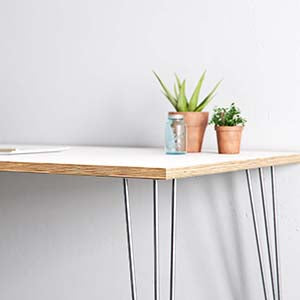
The Hairpin Leg Co.'s range includes everything from the classic mid-century hairpin legs to contemporary box section legs, offering an array of choices to suit any design preference.
So, take a look around and see what catches your eye today. From there, you’ll be able to learn how to install furniture legs quickly and easily! We’ll provide a general overview of the process below, which you can model if you already have a set of legs that you purchased elsewhere.
How to Install Furniture Legs: Step-by-Step Guide
Whether you’re wondering how to add legs to a cabinet, how to attach table legs, or how to attach bed legs, we’ve got you covered with a simple process from start to finish.
That being said, step one in how to attach table legs is picking the right style for your specific piece of furniture and your home. Let’s start there.
Selecting Your New Legs from The Hairpin Leg Co.
Consider the height and weight of your furniture and the look you're aiming for. A heavier tabletop might require thicker, more robust legs, while a lighter piece could suit slender, elegant designs.
When browsing our collection, pay attention to the material that will complement your furniture. Our steel legs come in various finishes, including raw steel for an industrial look or powder-coated options for a sleek, modern feel.
For a warmer, more organic vibe, our wooden legs showcase the natural grain of the wood and are treated to preserve their beauty.
Remember, the right leg can transform a simple piece into a statement item, so choose legs that reflect your style and meet the functional requirements of your furniture. When in doubt, reach out - we’ll offer a personalised recommendation based on your specific situation.
Preparing Your Furniture for New Legs
We ship your legs fast, so you can get them attached in just a few days. But after you place your order, you can turn your attention to preparing the furniture itself while you wait.
Start by removing any existing legs or hardware. If there are any damages or weaknesses in the area where the new legs will attach, now is the time to repair them. Sand down rough spots and, if necessary, reinforce the structure to provide a solid base for the new legs.
Clean the underside of your furniture thoroughly to remove dust or debris that could interfere with installation. This ensures a clean working area and helps the new hardware adhere properly.
Positioning and Marking for Leg Placement
Proper leg placement is crucial for both the look and stability of your furniture. Turn your piece upside down and decide where you want your new legs to be.
Consider both aesthetic symmetry and structural integrity. Once you've determined the optimal spot for each leg, mark the positions clearly with a pencil.
Our legs have a mounting plate with multiple holes, centre the plate where you want the leg to go and mark the hole positions.
Drilling Pilot Holes
Drilling pilot holes ensures that your screws will go in smoothly and reduces the risk of splitting the wood. Use a drill bit slightly smaller than the screw's diameter for the pilot holes. In most cases a 2.5mm diameter drill bit will be suitable if screwing into softwood, or 3mm for hardwood.
Check the depth of your screws and tape off the corresponding length on the drill bit as a guide to prevent drilling too deeply.
Keep the drill perpendicular to the surface while drilling for a straight hole. Remove any wood shavings or debris after drilling to prepare for the next step.
Securing the Legs with Screws or Brackets
Now comes the fun part of learning how to install furniture legs - actually attaching the legs to your furniture!
If you're working with our hairpin legs or similar styles with pre-drilled plates, align the holes in the plate with the pilot holes on your furniture. Start by hand-screwing to ensure proper alignment, then use a screwdriver or drill to secure the screws firmly in place.
For legs that require brackets, fix the bracket to the furniture first, ensuring it's flush with the surface. Then attach the leg to the bracket, following any specific instructions provided. This might involve additional screws or bolts, depending on the design.
Remember - you can find specific advice on the best way to connect table legs, cabinet legs, bed legs, or anything in between within the builder’s guide that comes with your legs. Always consult that resource first and foremost.
Ensuring Stability and Levelness
It's crucial to check that your furniture sits level on the floor once all legs are attached. Place it upright and observe if there's any wobble.
If one leg is slightly shorter, you can add a furniture pad or adjuster to the bottom of the leg to achieve stability. This is also a great way to protect carpet from furniture legs or protect wood floors from furniture legs. For adjustable legs, simply twist the foot until your piece is perfectly level.
Testing the furniture's stability is also essential. Apply gentle pressure to different areas to ensure that the legs are securely attached and that there's no movement at the joints. If there is any give, tighten the screws or bolts until everything feels solid.
Customisation and Aesthetic Enhancements
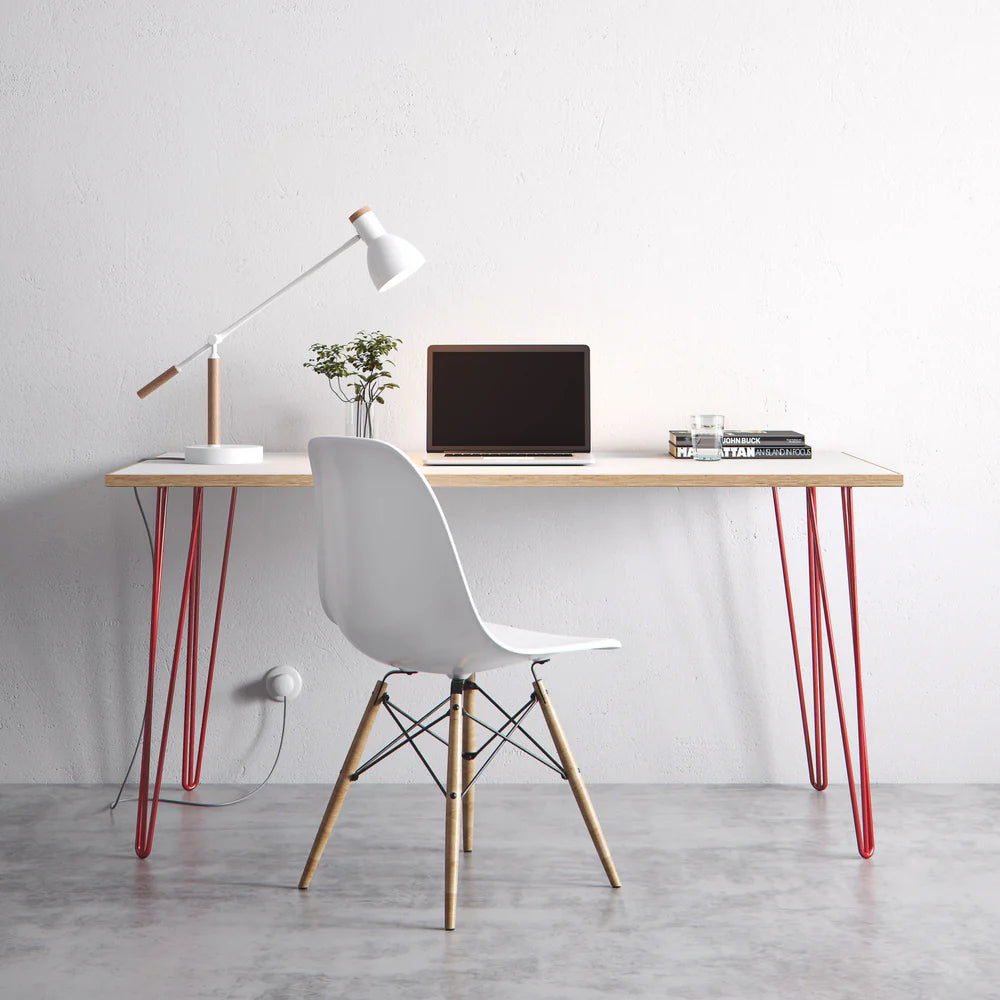
With your new legs installed, you might want to add finishing touches. If you bought plain legs or crafted your own, you can consider painting or staining wooden legs to match or contrast with your furniture.
Metal legs might be left as is for their industrial charm, or you could add a clear coat for extra protection against rust. This is especially important for furniture legs that will live outdoors in the elements.
Accessorise your furniture legs with stylish feet or castors for added functionality. Castors are particularly useful for heavy items that you need to move frequently, while custom feet can add a touch of elegance or a pop of colour.
Maintaining Your Furniture Legs Over Time
There you have it - how to attach furniture legs. But before we wrap this guide up, we want to offer a few parting tips to help you keep your legs looking stunning and performing well for the long haul.
For Metal Legs
Metal legs, renowned for their strength and stability, can still be susceptible to wear and tear over time. To maintain their lustre, give them a wipe down with a soft cloth and mild detergent every so often. It's best to avoid harsh chemicals or abrasive materials, as these can scratch or damage the finish.
For legs with a powder-coated finish, you can use a non-abrasive cleaner to remove any marks or stains. If you notice any scratches, you can touch them up with a matching paint, or for raw steel, a clear lacquer can prevent rust.
If your metal legs are installed on outdoor furniture, it's wise to check them periodically for signs of rust, especially if they're exposed to elements like rain or humidity. Should you spot any rust, gently sand the area and apply a rust-inhibitor before re-coating with a protective finish.
For Wooden Legs:
Wooden legs bring warmth and a natural aesthetic to your furniture but require a bit more TLC to keep them in pristine condition.
Dust them regularly to prevent build-up, and every once in a while, treat them to a polish with a suitable wood cleaner or oil. This not only cleans the wood but also nourishes it, enhancing its natural grain and protecting it from drying out.
Be mindful of changes in humidity and temperature, as extreme conditions can cause wood to expand or contract, potentially leading to cracks.
In the event that you do find a small crack or chip, a wood filler can be used to repair it, followed by sanding and re-finishing to match the original look.
Closing Thoughts on How to Attach Furniture Legs
That concludes our guide on how to install furniture legs. Attaching new legs from The Hairpin Leg Co. is a straightforward process that can breathe new life into your furniture.
Remember to select legs that match both your style and your furniture's requirements, prepare and measure carefully, drill with precision, secure the legs firmly, and ensure everything is level for a professional finish.
Don’t overlook the role of maintenance after you’ve got your new legs installed, either. A bit of TLC will keep your new legs looking fresh for years to come.
Whether you’re looking for different types of cabinet legs or the best metal table legs, your search starts and ends at The Hairpin Leg Co.
Ready to elevate your furniture's style and functionality? Explore our diverse range of quality legs at The Hairpin Leg Co. and find the perfect match for your next project. Shop now and start creating!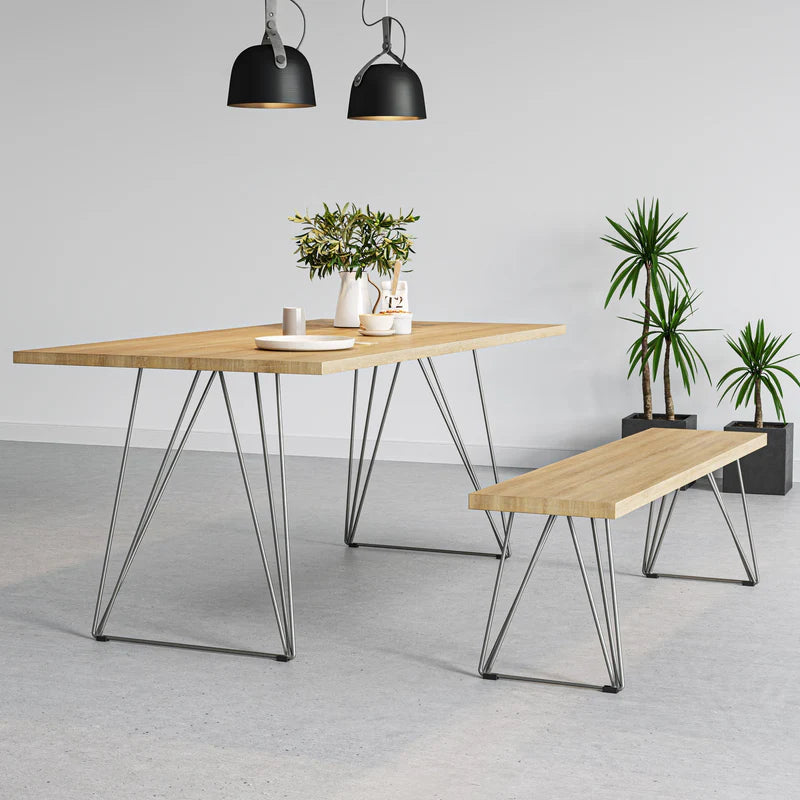
Leave a comment
This site is protected by hCaptcha and the hCaptcha Privacy Policy and Terms of Service apply.