

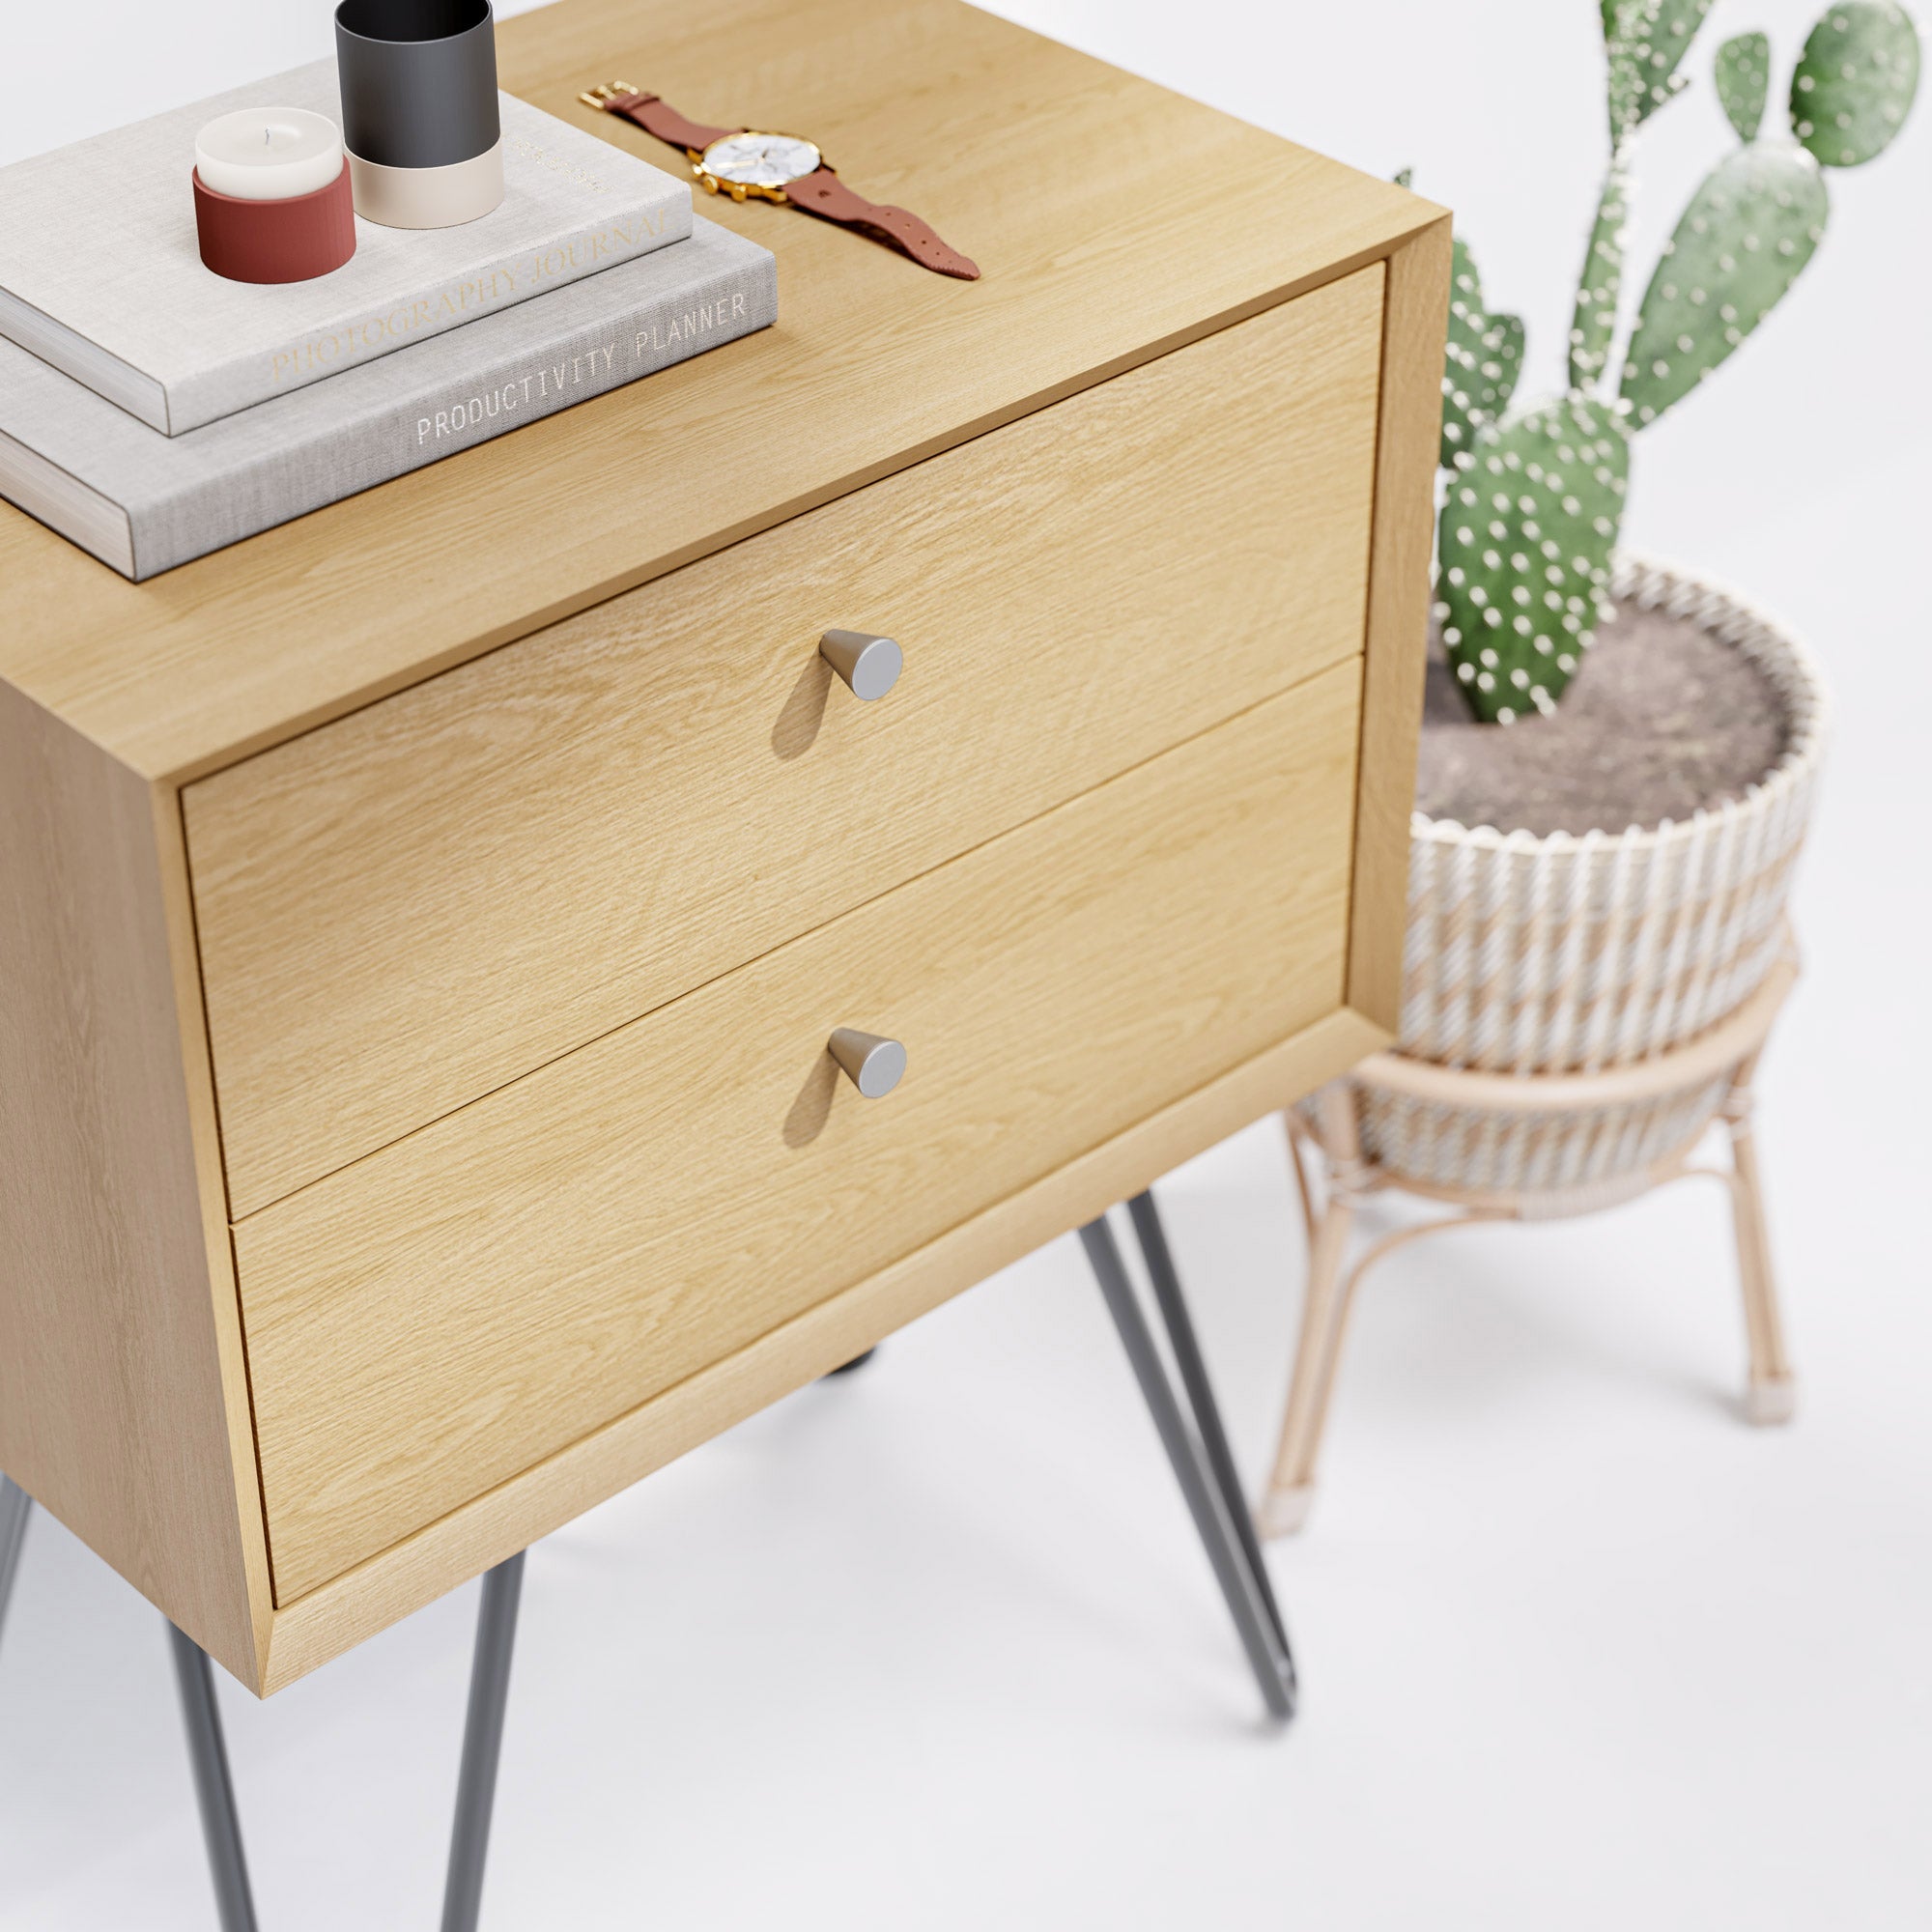


Cabinets are an essential element of any well-organised home, providing valuable storage space and contributing to the overall aesthetic of your living space. Building your own cabinets gives you the freedom to customise your storage spaces to suit your exact needs, as well as your style.
When it comes to crafting cabinets, there’s a lot you have to learn. Should you choose to add legs to your cabinet, which can provide height and a modern aesthetic, there’s even more to learn. In this guide, we’ll discuss how to add legs to a cabinet, safely and securely.
From selecting the right materials and tools to step-by-step instructions and expert tips, you'll learn everything you need to know to transform your cabinet into a uniquely stylish and functional piece of furniture.
A Brief Overview of Cabinets and Cabinet Legs
A cabinet is a piece of furniture with doors, drawers, and/or shelves, used for storing or displaying items. Cabinets are typically made of wood, metal, or other materials and can be found in various home or office rooms.
Cabinet legs range from 10cm to 40cm, although the most common sizes are 20cm to 30cm. Cabinets are versatile pieces of furniture and can often be used to store heavy items such as dining sets, glassware or hi-fi equipment.
Casually speaking, the terms Cabinet and Sideboard are often used interchangeably. G-plan is one of the UK's most famous sideboard/cabinet manufacturers and is a popular choice for upcycling and renovating.
You can create some stunning pieces of furniture by getting creative with the legs added to cabinets. But, can you add legs to all cabinets?
Can You Add Legs to Cabinets?
First of all, is it possible to add legs to a cabinet? While it’s often possible, there are a few considerations you need to keep in mind before diving in. Here’s what you need to know before learning how to add legs to a cabinet.
Types of Cabinets Suitable for Adding Legs
Not all cabinets are designed to accommodate cabinet legs, so it's essential to identify the types of cabinets that can be successfully enhanced with this modification.
Freestanding cabinets like standalone kitchen islands, bathroom vanities, or entryway storage units are excellent candidates for adding legs. These cabinets are meant to be seen from all sides, making legs a practical and aesthetic addition.
In the kitchen or bathroom, base cabinets that rest on the floor can benefit from the addition of legs. Elevating these cabinets provides space for easier cleaning and can be a functional design choice.
Potential Challenges and Considerations
Before learning how to add legs to a cabinet, it’s essential to be prepared for the potential challenges that might come up during your project. The first step is to make sure it’s feasible to add legs to your cabinet - it may not be possible depending on the construction materials.
Cabinets that hold heavy items need special care, both in choosing legs that are strong enough and ensuring the cabinet construction is suitable. Solid wood or engineered solid wood is generally fine, but cheaper particle board or fibreboard construction materials may not be.
Also, make sure you take into account how level the floor is where the cabinet will stand. If your floor isn’t level, you may need to factor this in when attaching your cabinet legs, to end up with a cabinet that’s stable and doesn’t rock when touched.
How to Add Legs to a Cabinet
Once you’ve established that it’s possible to attach legs to your cabinet, it’s time to learn how to add legs to a cabinet. Here’s what you need to know about elevating your cabinet with stable, sturdy legs.
Choosing the Right Legs For Your Cabinet
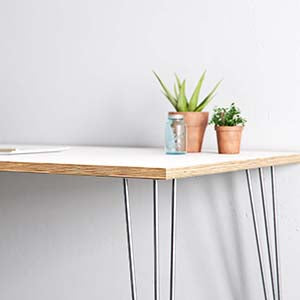
It’s critical to ensure that the legs you choose can support the weight of the cabinet and its contents. If you’re using hairpin legs, make sure the leg length you desire is strong enough.
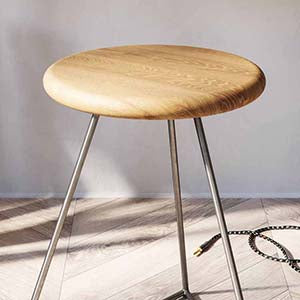
For shorter legs such as coffee tables and below, the standard 2-rod legs are already very strong and sufficient for most projects. As the legs get longer, more structure is needed to maintain strength and stiffness.
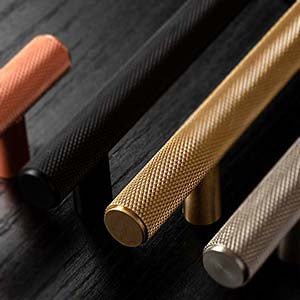
Also, choose legs that match the overall style and design of the cabinet. For hairpin legs, make sure you explore different colours and finishes, as some have properties that extend beyond aesthetics, like corrosion protection. And, for outdoor use, make sure you find specific outdoor table legs.
Preparing the Cabinet
Before you attach the legs, it's essential to prepare your cabinet. Remove all items from the cabinet to ensure it's lightweight and easier to handle during the installation process.
Decide on the placement of the legs for your cabinet. Measure and mark the desired positions on the cabinet to ensure a symmetrical and uniform look. We generally recommend placing your legs 5cm from the corners of your cabinet, but this can be adjusted depending on your personal preference.
Ensure that the location where you are to fit the legs is made of a suitable material such as solid wood, engineered wood or metal. Some cheaper cabinets are made from fiberboard which has a hollow centre and is not suitable for direct drilling and screwing into. There are alternative methods for these kinds of constructions.
Attaching the Legs
Finally, the moment you’ve been waiting for! Attaching hairpin legs to your cabinet is a relatively straightforward process. For wooden cabinets, use plain wood screws directly into the wooden surface for the most simple and durable fitting method.
A small 1-2mm pilot hole is suggested for hardwoods to ease the screw in and reduce the risk of cracking your cabinet’s base. In all of our cabinet and table legs, we provide 4.5mm wood screws, suitable for most sized cabinets and tables 18mm or thicker.
Additional Stability Measures
Depending on the weight of the cabinet and the type of legs you've chosen, you may want to install reinforcement brackets for additional support. Also, some people opt to bolt their legs on with threaded inserts. Although this method is generally not quite so strong, threaded bolts can be taken on and off more easily than wood screws.
Final Touches
Our customers generally buy one of our finished leg options, available in a range of powder coat paints; available in black and a range of colours. Or choose a clear-coat option for that raw steel look without the risk of rusting.
If you plan on finishing them yourself, you can paint them using both a primer and a top coat. First, clean your legs using WD40 and a kitchen scouring pad, then wipe with a rag and remove any greasy residue with acetone.
Next, use an acid etch primer in a spray can, which is specifically designed for metal. Most car shops will sell this. Apply at least 2 thin coats of primer, ensuring it doesn't go on too thick and run. The primer is essential to ensure your paint doesn’t chip off over the years.
Allow the primer to dry for at least 24 hours, then apply your top coat. We suggest a single part (1k) automotive paint in a spray can. Apply 2 3 thin and even coats, allowing a few hours of dry time between coats.
Caring for Your Newly Legged Cabinet
Now that you've successfully added legs to your cabinet, it's important to maintain and care for your newly upgraded piece of furniture to ensure its longevity and continued functionality.
Keep your cabinet clean to prevent dust and dirt from accumulating on the legs and the cabinet's surface. Dust or wipe it down with a soft cloth regularly.
Be mindful of the weight capacity of your cabinet, especially if you've added legs, as overloading your cabinet could strain them.
If you’ve added a protective coating like furniture wax to your legs, it can be re-applied every few years if needed, for prolonged protection.
Find the Perfect Cabinet Legs at The Hairpin Leg Co.!
Now that you know how to attach table legs and cabinet legs, you’re probably wondering where you can find legs for your next DIY project. Luckily, you’re already in the right place! At The Hairpin Leg Co., we have an incredible selection of high-quality, durable hairpin legs.
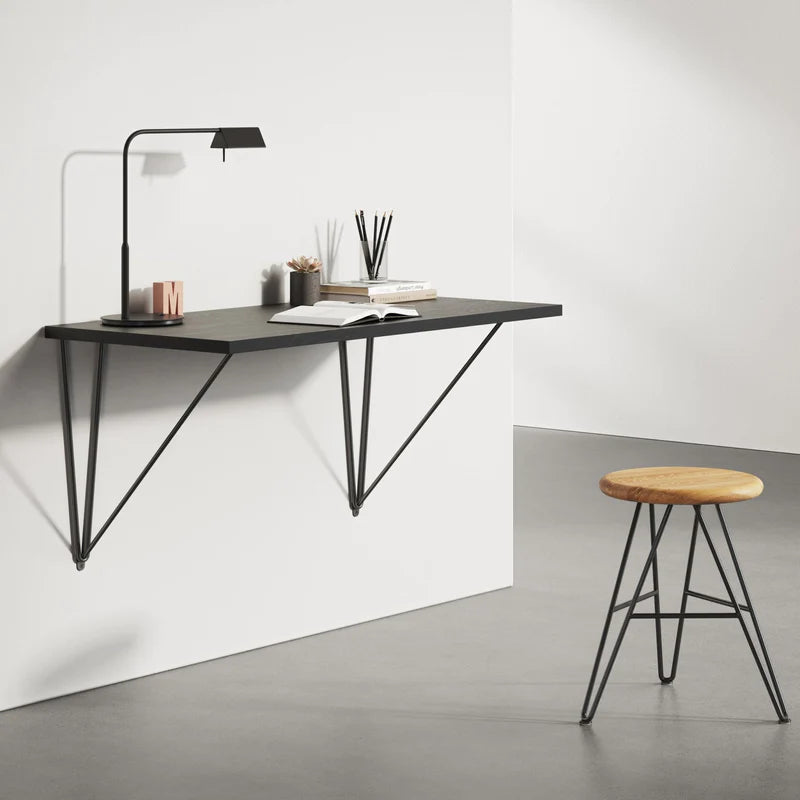
What are hairpin legs good for? Hairpin legs are an excellent choice for cabinets because they offer a minimalist design that can blend seamlessly into a wide range of styles and design aesthetics.
Our cabinet legs come in a huge range of styles, colours, and height options, making it easy to find a durable, sturdy option for your specific cabinet. Plus, our quality powder-coated finishes ensure that our cabinet legs are both durable and stable, serving you for years to come.
With our commitment to quality and our wide range of designs, you can be sure that you’ll find the perfect legs for your cabinets. And if you’re not completely satisfied, our satisfaction guarantee means you can return your cabinet legs within 60 days of purchase for a full refund.
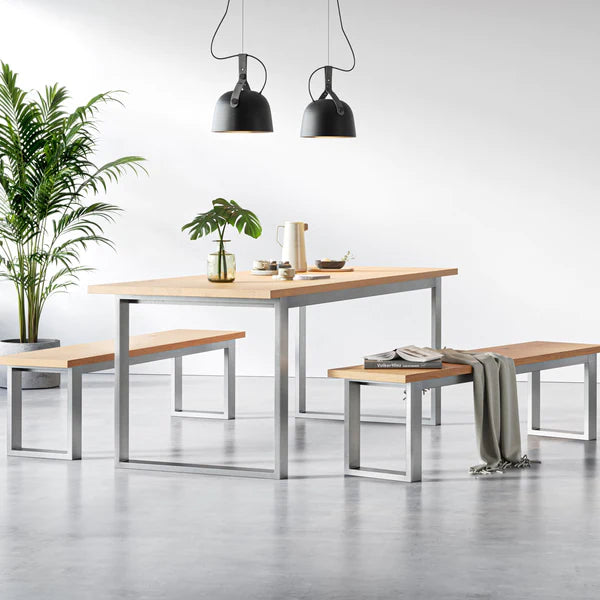
And, if you need legs for your other furniture, we have you covered there too! The Hairpin Leg Co. offers quality bar table legs, breakfast bar legs, footstool legs, bed legs, bar stool legs, coffee table legs, and bar stool legs - just about anything you could need.
Final Thoughts on How to Add Legs to a Cabinet
When you choose hairpin legs, learning how to add legs to a cabinet is a relatively straightforward process. Whether you’re looking for quality hairpin legs for your next DIY project, or working on a new piece of furniture for a client, you’ll find what you need at The Hairpin Leg Co.
With decades of experience and a commitment to quality, you won’t find more reliable, durable hairpin legs anywhere else. Plus, our team is always around to answer your questions and help you find the right legs for your next project.
Elevate your cabinets with simple, elegant hairpin legs - get yours today!
Leave a comment
This site is protected by hCaptcha and the hCaptcha Privacy Policy and Terms of Service apply.