Whether you’re building a desk from scratch or simply replacing the legs on your old desk, learning how to attach desk legs properly is essential for maintaining stability and ensuring longevity.
We’re here to help with this guide on attaching legs to desk, from sourcing the perfect legs to preparing the desktop to navigating the attachment process and more. When you start this project with the best desk legs from The Hairpin Leg Co., it becomes much easier!
Our desk legs are available in a wide variety of styles, from modern marvels to the classics that never go out of style. Pick from a range of sizes and materials to fit your preferences and make desk leg attachment as simple and straightforward as possible!
How to Attach Desk Legs
We understand that learning how to install furniture legs can be a stressful endeavour no matter what you’re building - a desk, a dining table, a cabinet, a bed, or anything in between.
But it doesn’t have to be complicated or overwhelming. When you choose the right legs and follow our blueprint it takes no more than 15-30 minutes and you’ll have a stunning, stable desk to show for it when it’s all said and done.
So, let’s start our guide on how to attach desk legs with choosing the right legs in the first place.
Choosing the Right Desk Legs
Customising your desk with new legs is a great way to breathe fresh life into your office space, transforming a mundane setting into something vibrant and captivating. You need to make sure the legs complement your desktop and enhance your workspace's functionality and style.
Start by narrowing down your vision for the design itself. The style, colour, and material of the legs should harmonise with your desktop and the surrounding furniture. Here are some recommendations:
- Modern and Minimalist Spaces: Opt for sleek, metal legs such as hairpin or tapered designs. These styles offer clean lines and a contemporary feel.
- Industrial and Rustic Interiors: Sturdy, robust legs like X-frame or V-frame legs made from metal provide a rugged look that fits well with industrial-themed spaces.
- Traditional and Classic Rooms: Wooden legs, such as turned or tapered oak legs, add warmth and a touch of elegance to more traditional settings.
You can also choose between wooden furniture legs and metal furniture legs depending on whether you’re looking for a more natural, warm feeling or sleek, modern flair.
As far as specific metal leg materials go, steel or iron are the go-to. They’re ideal for heavy-duty use and can support substantial weight, making them perfect for large desks or workstations. They can be powder-coated or left raw.
On the other hand, wooden legs should be sourced sustainably and crafted from premium lumber, such as oak. These legs may require more maintenance, which is why a finish is necessary. We prefer a natural wax finish that complements the woodgrain’s natural look.
Size is perhaps more important, though. This will influence the comfort and functionality of your desk. The standard desk leg height falls between 71 to 76 cm, but this should be adjusted based on your specific preferences.
You should also consider the width and depth of your desktop. The legs should provide sufficient support across the entire surface to prevent sagging or instability. Wider desks will likely need stronger legs with a broader base.
Attaching Legs to Desk is Quick and Easy When You Shop With The Hairpin Leg Co.!
No matter what your design, size, and material preferences are, one thing is for sure - your search for stunning, easy-to-install desk legs ends at The Hairpin Leg Co.! We’ve earned the trust of thousands of customers over the past 10 years and counting, helping DIYers, makers, and professionals alike.
We make our desk legs through a combination of advanced machining techniques and traditional craftsmanship, so each leg is both durable and visually appealing. The construction features precision-cut sections and sturdy base plates so you can trust our legs will support even the heaviest desks with ease.
Plus, you gain access to so many different furniture leg styles, whether you prefer wood or metal the perfect set of legs is just a few clicks away. Here are some of our most popular:
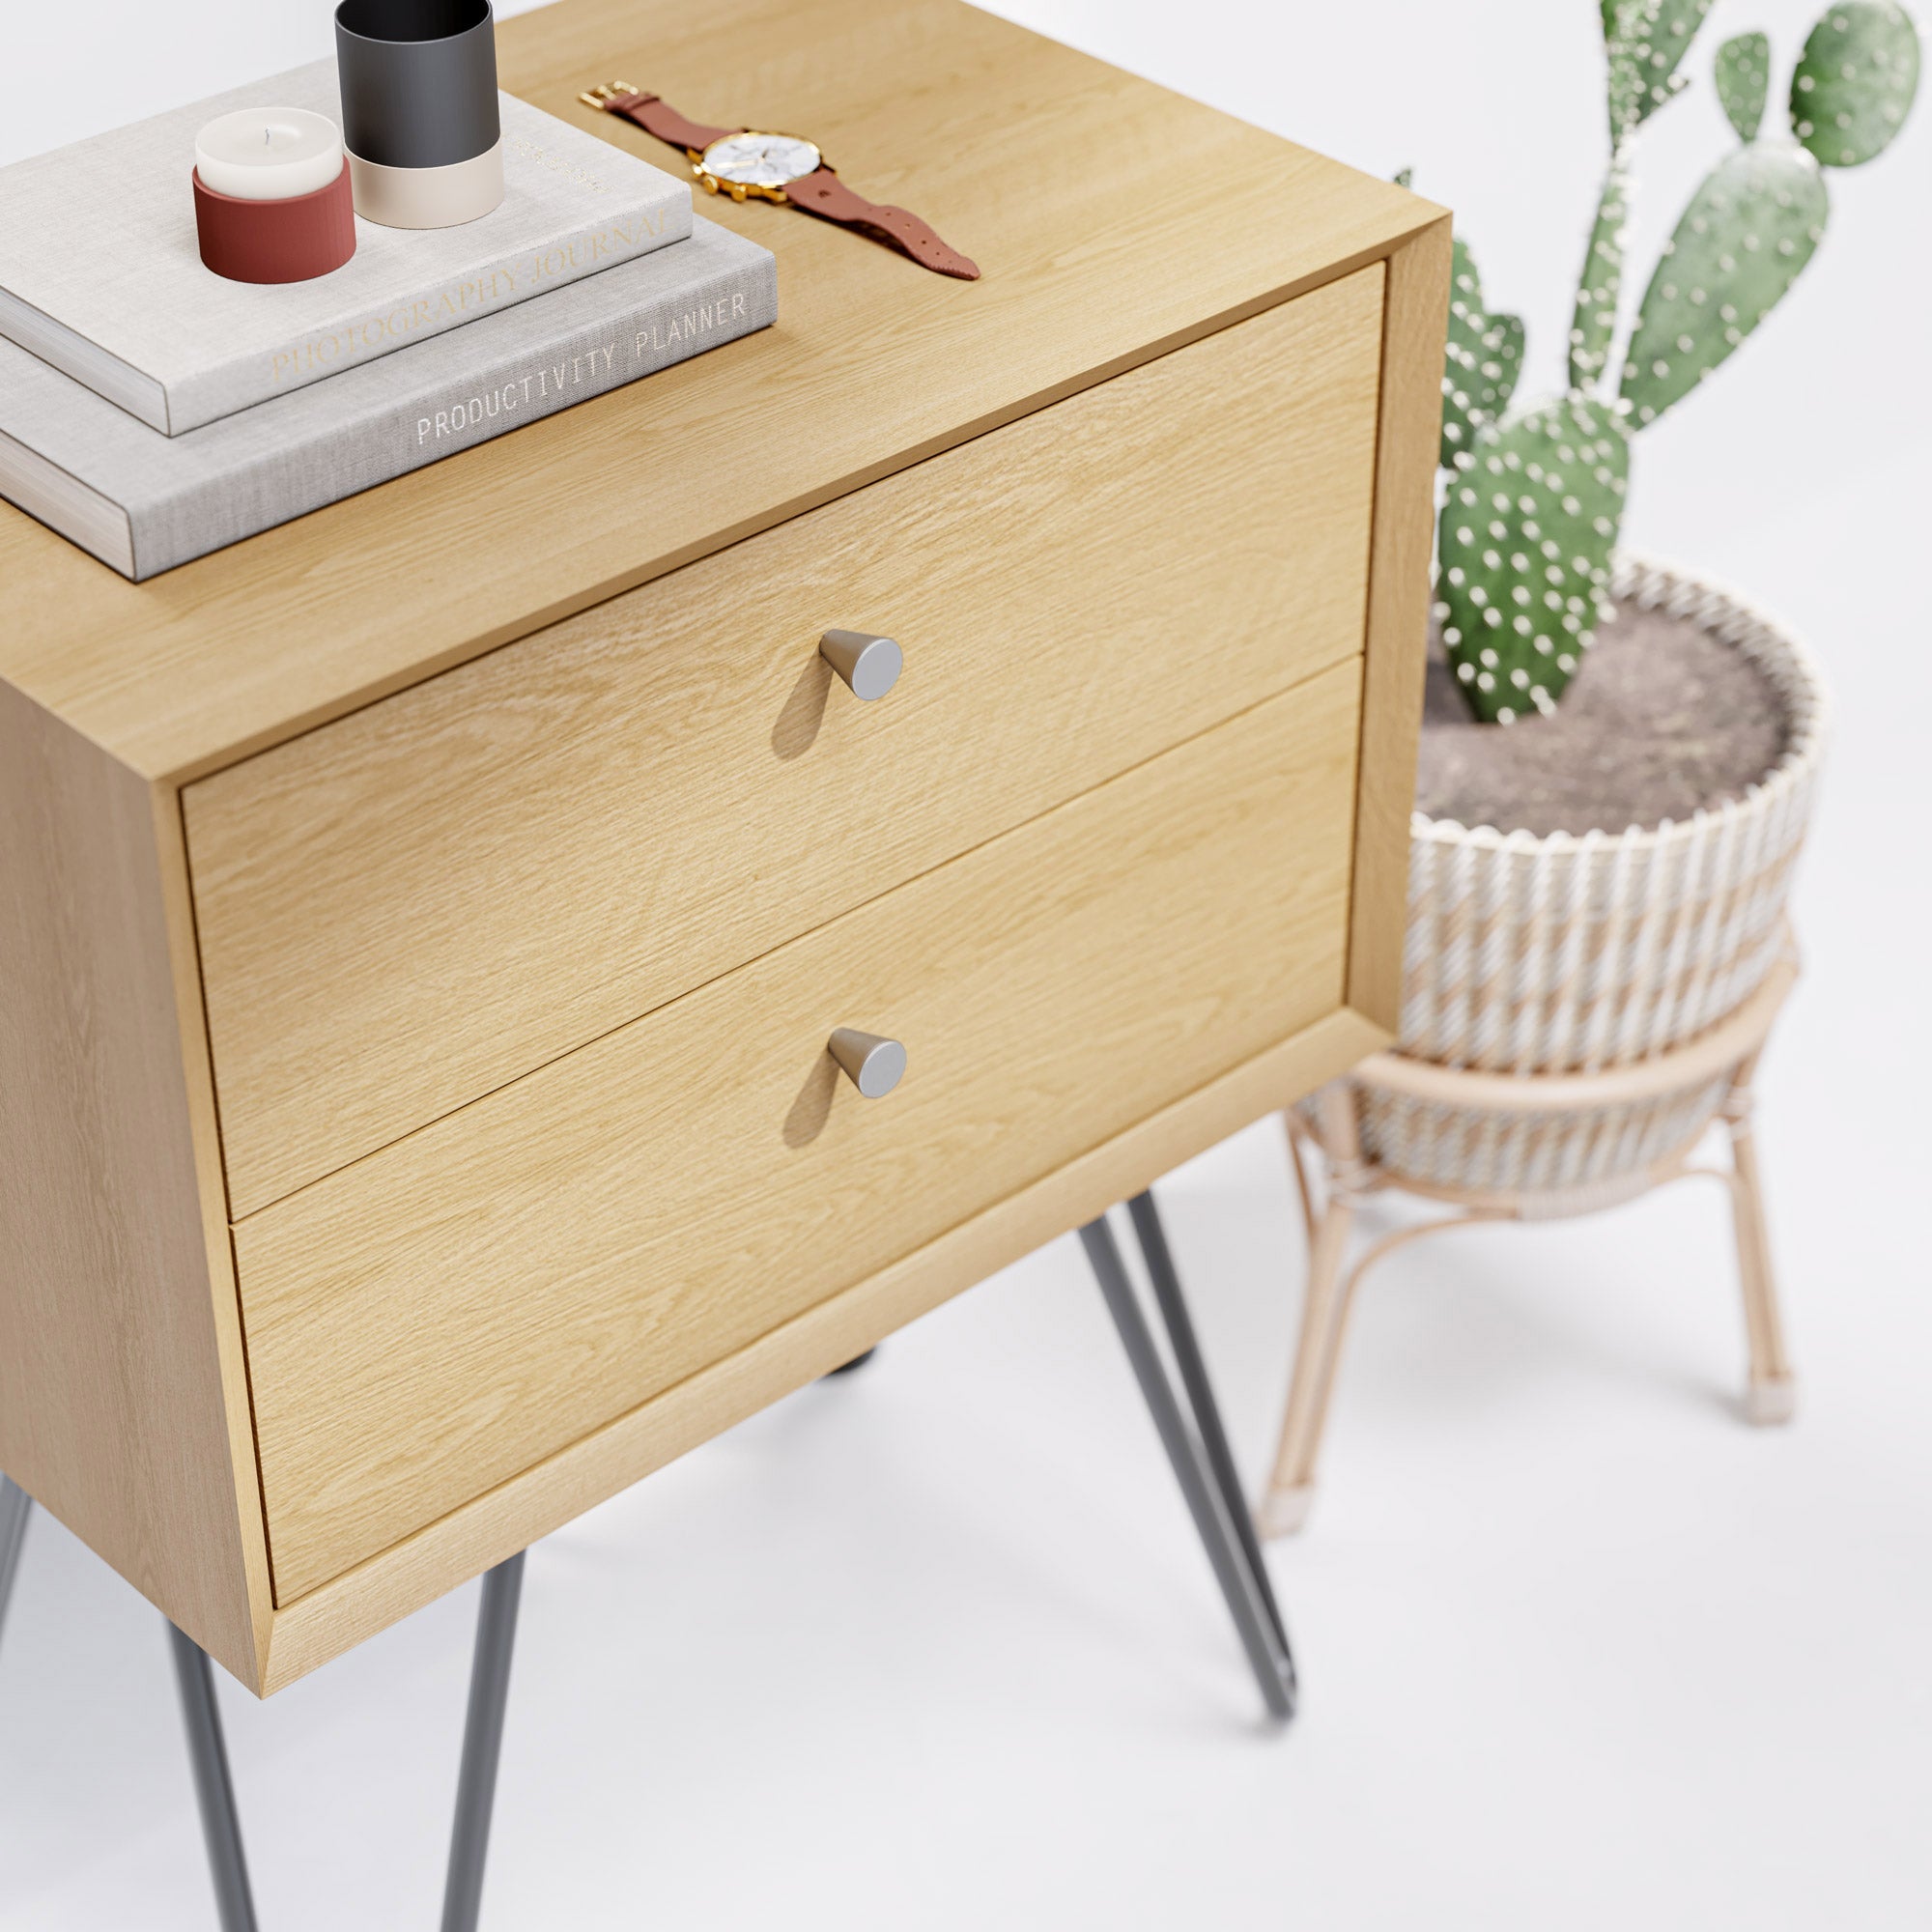
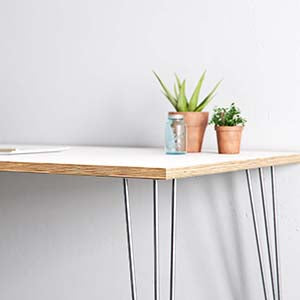
- Hairpin Legs: Classic and versatile, adding a touch of mid-century modern style to any desk.
- X-Frame Industrial Legs: Ideal for industrial-themed spaces, providing strong support and a bold look.
- Tapered Oak Table Legs: Perfect for traditional and classic interiors, offering an elegant, timeless appeal.
- Prism Wall Desk Brackets: Great for minimalist setups, providing sturdy support with a sleek design.
- Wire Frame Legs: Combining modern aesthetics with strength, these legs are both lightweight and robust.
- Box Hairpin Legs: A modern twist on the classic hairpin design, offering extra stability and a contemporary look.
- A-Frame Industrial Legs: Perfect for making a bold, contemporary statement.
You also get to choose from a range of finishes for our metal legs, such as powder-coated paints and raw steel, allowing you to personalise your desk to match your décor.
Place your order with confidence knowing it’s backed by our commitment to quality and customer satisfaction - including free UK shipping, 60-day free returns, and a 5-year guarantee.
Our world-class customer support is here to assist you every step of the way, ensuring a seamless and satisfying shopping experience. So, pick the perfect legs and then continue down our guide on how to attach desk legs.
Tools and Materials Needed
Many of the necessary materials and supplies will be included with your desk legs when you shop with us, but here’s a comprehensive list of things you’ll need before you can get to work.
Tools:
- Drill and appropriate drill bits
- Screwdriver (manual or electric)
- Measuring tape
- Pencil for marking
- Level (optional, for ensuring stability)
- Sandpaper (optional, if needed for smoothing surfaces)
- Clamps (optional, for holding legs in place during installation)
Materials/Supplies:
- Wood screws (typically 4.5mm diameter for standard desks)
- Threaded inserts (if planning on frequent assembly/disassembly)
- Strong adhesive (for additional reinforcement)
- Protective pads or feet (to prevent floor damage)
Preparing the Desk Surface
You can start preparing the desk surface while you await the arrival of your new desk legs. This involves removing the old legs if they’re still attached. Be careful not to damage the old attachment points when removing the legs.
You can also clean the underside of the desk from dust and debris to help the legs adhere better and ensure a smooth installation. If the underside of your desk is rough, lightly sand it to create a smooth, even surface for the legs to attach to. Wipe away any dust with a damp cloth.
Attaching the Legs
Now comes the fun part - attaching legs to the desk. The attachment process varies depending on the type of legs and the desktop material, which is why we suggest deferring to the builder’s guide we provide with your legs. Here’s an overview of attaching our hairpin legs, for example:
- Inset the legs about 5cm from the corners. Again, this can be adjusted based on personal preference and desk size.
- Use the included wood screws to attach the legs directly into the wooden surface. Drill small pilot holes (1-2mm) for hardwoods to ease screw insertion and reduce the risk of cracking.
- Large desks may justify using wider screws (up to 5mm) and maximising their length to ensure a secure attachment.
- Projects requiring frequent assembly/disassembly may benefit from threaded inserts. Drill holes to fit M5 bolts or 5mm threaded inserts, providing a professional finish and allowing for easy removal and reattachment.
For materials that cannot be directly screwed into - like glass or concrete - you may want to use one of our freestanding table frames. These can better support heavy desktops. You can rest the top on the frame or secure it using strong adhesive or heavy-duty double-sided tape.
The alternative is to glue a piece of 24mm plywood to the underside of the desktop. This provides a solid base for screwing in the legs. Just make sure the plywood is smaller than the desktop to keep it hidden.
Depending on what you’re trying to attach the new desk legs to, you might consider hiring an expert for the project. This will help you avoid the stress of DIY desk legs in more complex circumstances.
Finishing Touches
At this point the hard work is done, it’s just a matter of checking for stability. Place the desk upright and make sure it doesn’t wobble. You can also add protective pads or feet to the bottom of the legs to prevent scratching your floors and enhance stability.
Wipe down the entire desk to remove any dust or debris from the installation process. This ensures your desk looks clean and professional. Then, simply enjoy your revitalised workspace!
Still Need Help With Desk Leg Attachment?
If you encounter any issues or need further assistance, don't hesitate to reach out. Our team at The Hairpin Leg Co. is always ready to help you with expert advice and support.
With our high-quality products and dedicated customer service, you can be confident in achieving a professional and stylish desk setup!
Final Thoughts on Attaching Legs to a Desk
That does it for our guide on how to attach desk legs. We hope you feel clear and confident in your next steps, whether you still need to source your legs or you’re ready to start the installation process.
Attaching legs to a desk is a straightforward process that can enhance the functionality and aesthetics of your workspace, and it’s easier than you might think when you shop with us.
Our blog has more resources like how to fix wobbly desk legs, how to stabilise metal table legs, how to attach wooden table legs, how to attach table legs, how to restore metal table legs, and more.
Otherwise, it’s time to transform your workspace with our premium desk legs at The Hairpin Leg Co. Now that you know how to attach legs to a desk, get to shopping and discover a range of styles and materials designed to fit any project, backed by our satisfaction guarantee!






Leave a comment
This site is protected by hCaptcha and the hCaptcha Privacy Policy and Terms of Service apply.